Navigating the Dashboard to Customize Reward Store
In this image, we’re viewing the Reward Store Dashboard of BlinkSwag, a platform for managing orders and tracking rewards. The main elements here are:
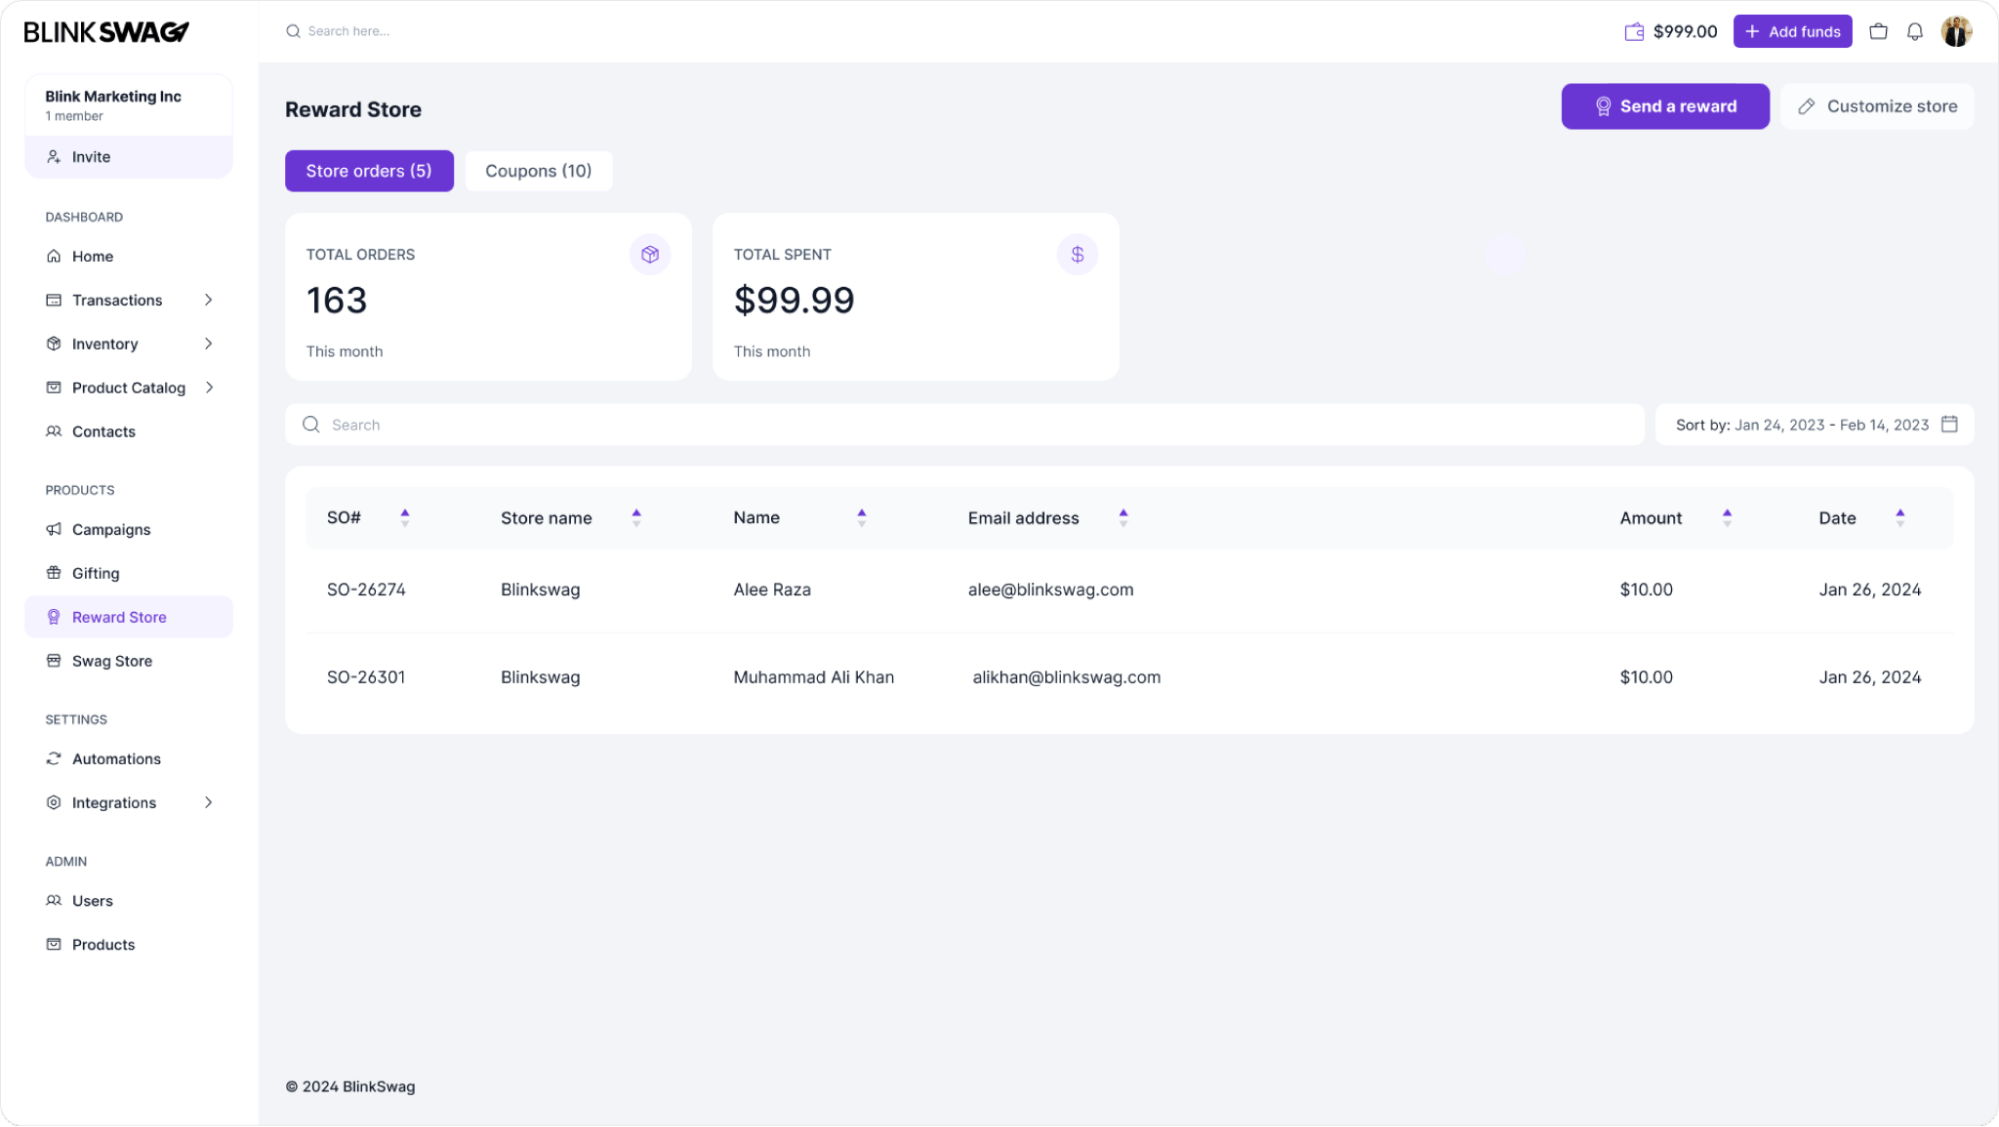
- Total Orders and Total Spent panels at the top give an overview of activity within the current month.
- Two tabs labeled Store Orders and Coupons allow users to switch between different data types.
- A search bar and sorting options to filter order information effectively.
The list below displays specific orders with details like Order Number (SO#), Store Name, Recipient Name, Email Address, Amount, and Date. This layout allows users to quickly access order information and analyze spending within the reward program.
Step 01: Customize Store
Click the Customize Store button to start and customize your reward store.
Step 2: Customizing Your Reward Store
In this screen, the focus is on customizing the appearance and settings of the Reward Store.
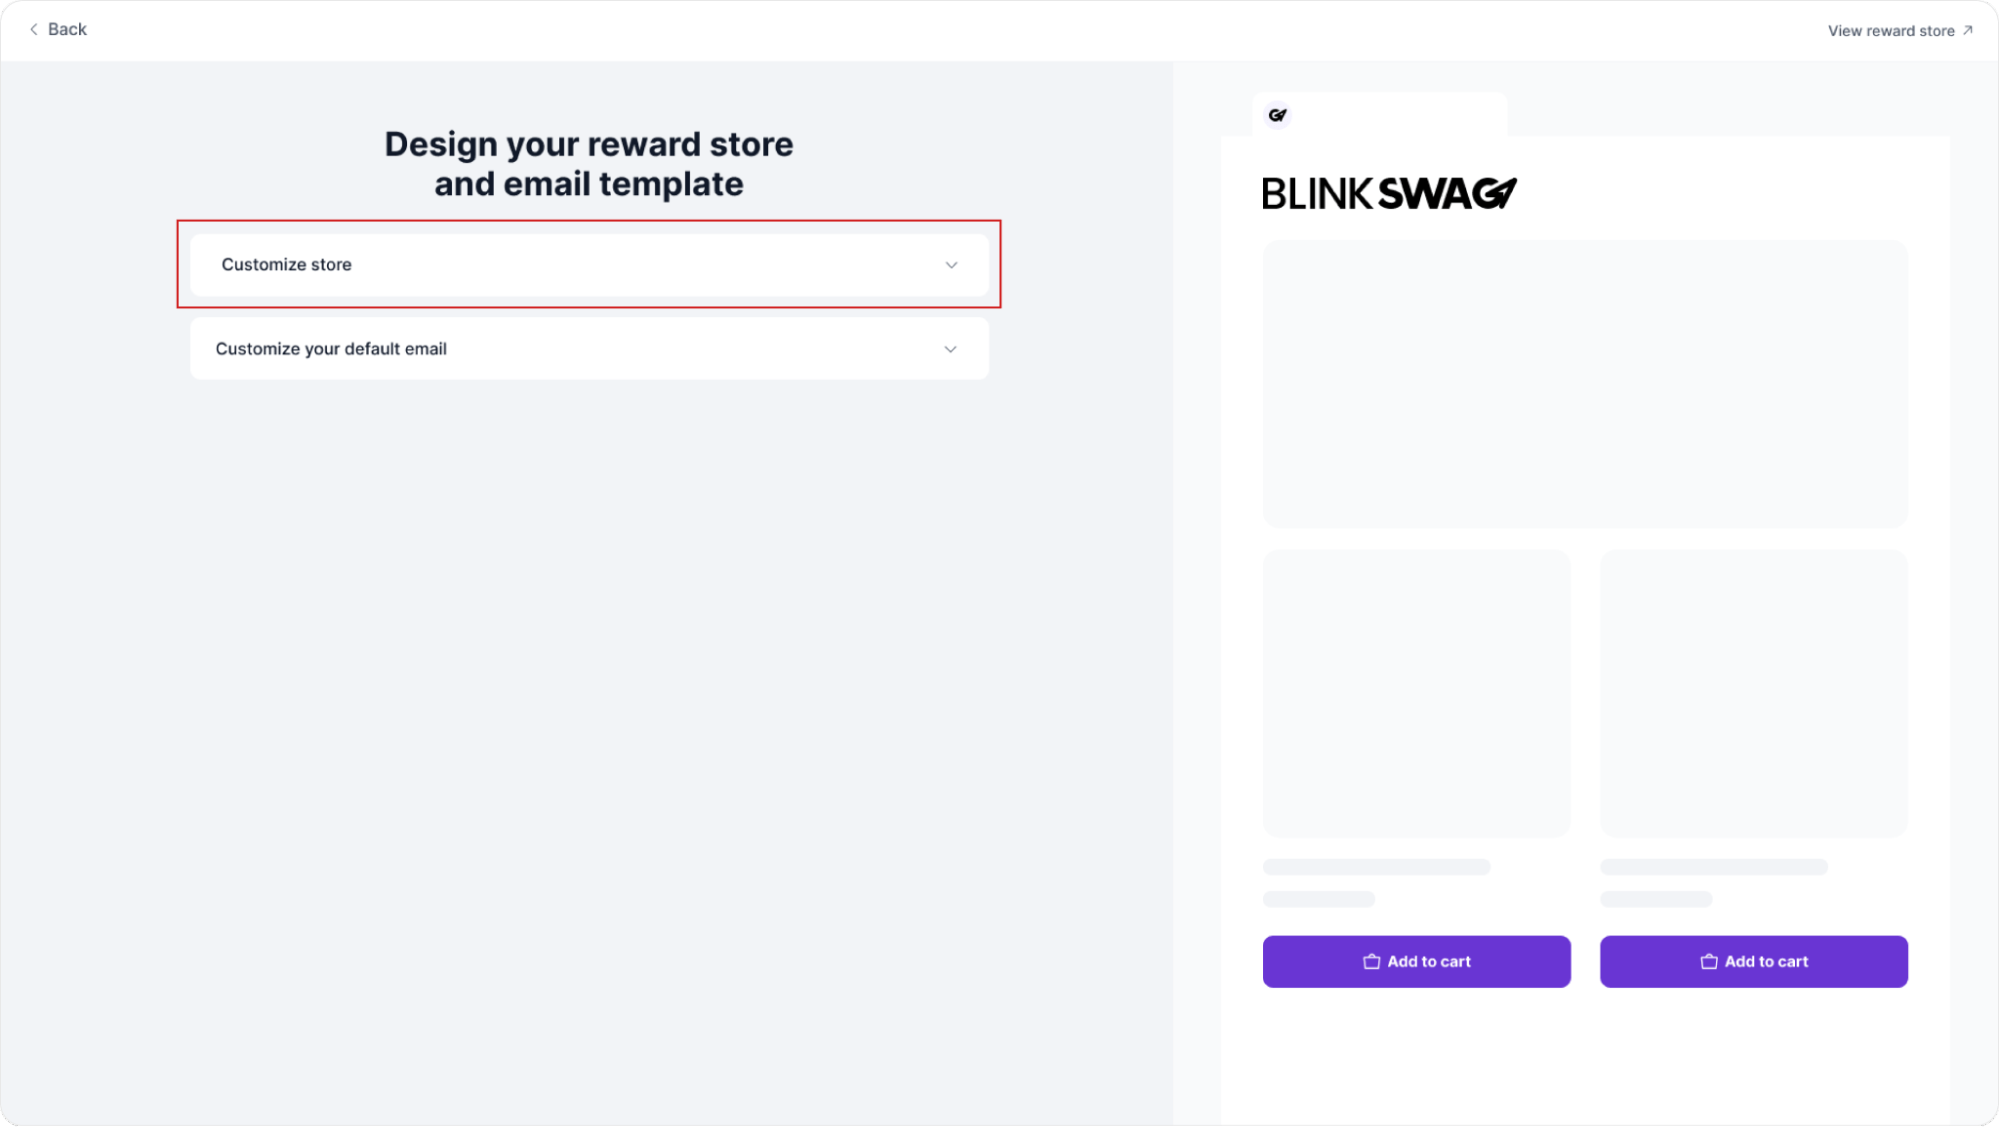
- Customize Store: Click the dropdown labeled Customize Store (highlighted in red) to access options for modifying the look and feel of your Reward Store. This feature lets you adjust visual elements such as the layout, branding, colors, and potentially product display to fit your desired aesthetics and company branding.
- Customize Default Email: Below the store customization option, there’s a feature for Customizing your default email, allowing you to personalize the email templates sent out with rewards.
This page gives you control over the store’s appearance and communication style, ensuring a consistent brand experience for your users.
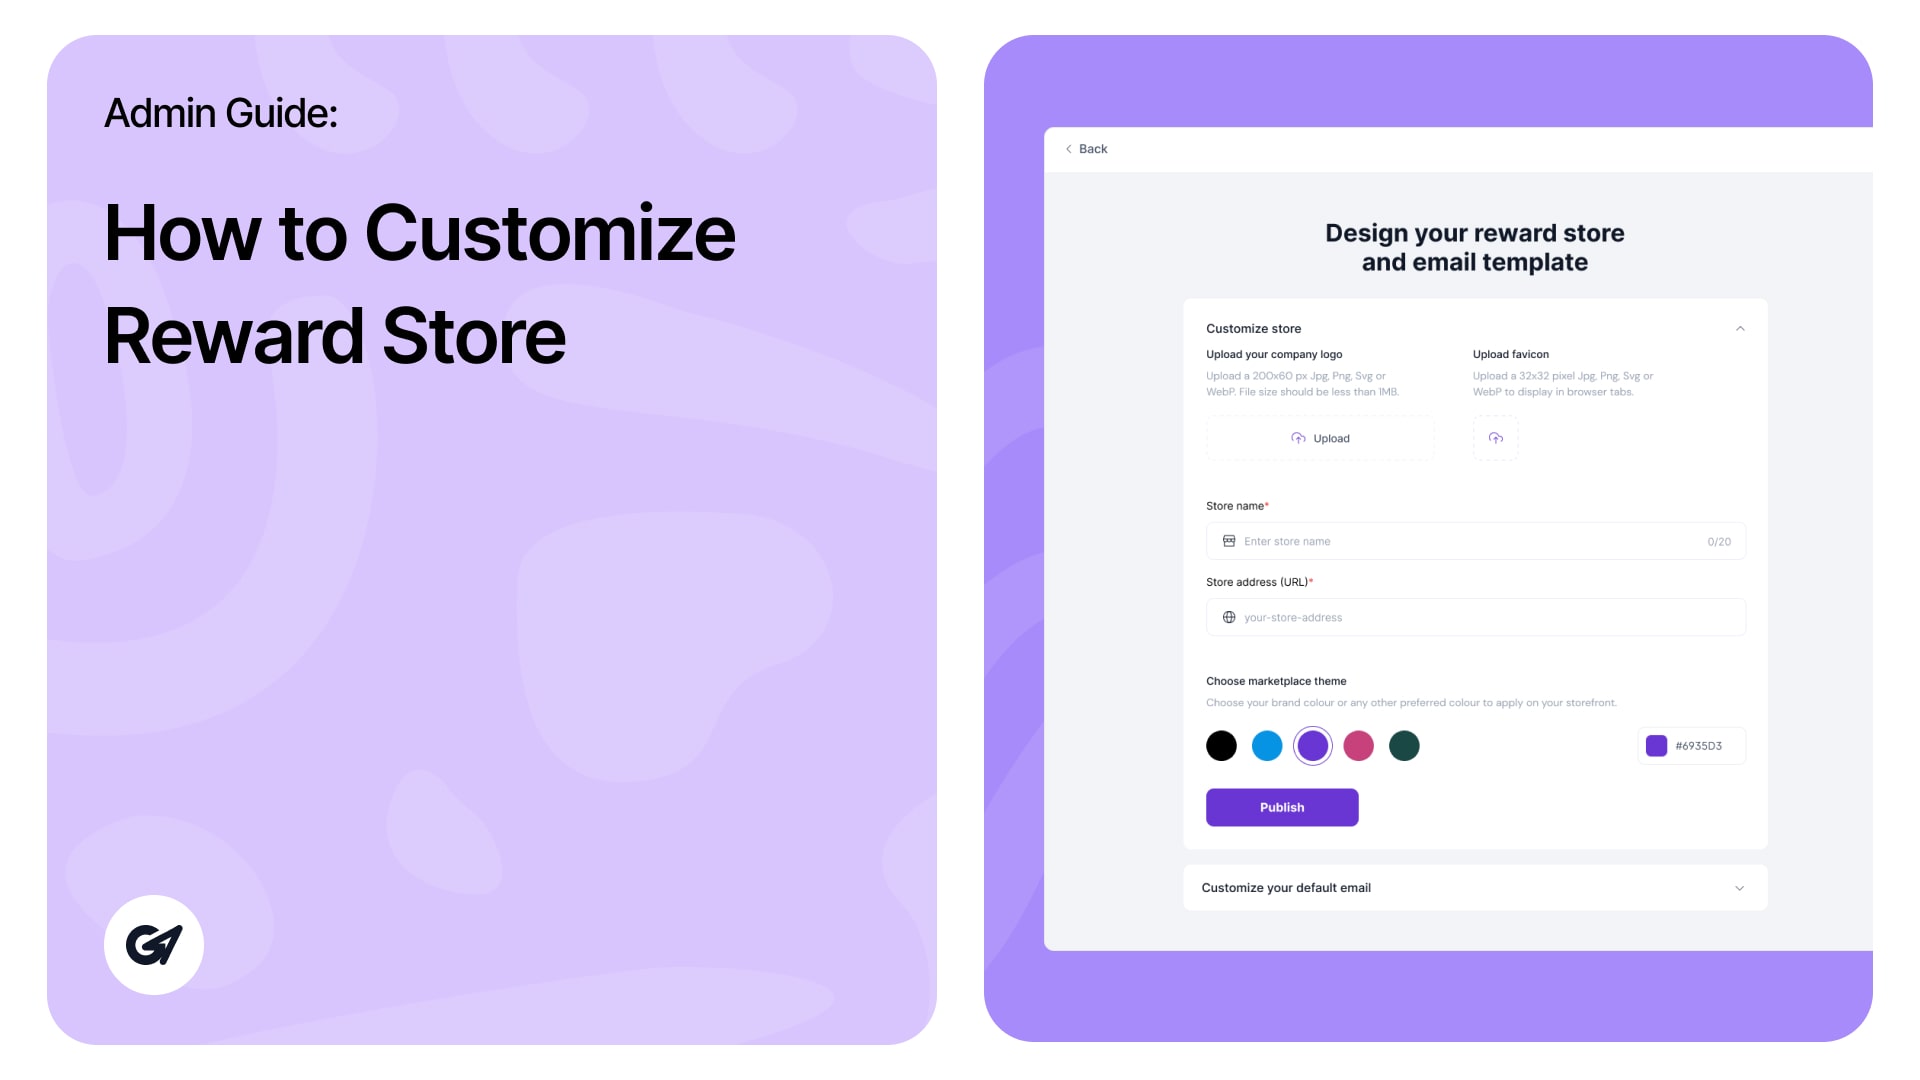
Step 3: Uploading Your Company Logo and Customization
On this screen, you are setting up the branding for your Reward Store by uploading a company logo.
- Upload Company Logo: Click the Upload button in the highlighted area to add your company logo. The logo should be 200×60 pixels in JPG, PNG, SVG, or WebP format and under 1 MB in size. This logo will represent your brand in the Reward Store, making it recognizable to users.
- Upload favicon: Next to the logo upload, you can upload a favicon (32×32 pixels) that will appear in browser tabs.
- Below, you can enter the Store Name and Store Address (URL) to finalize your store’s identity.
- Choose Marketplace Theme: From the options, select a theme color to align the Reward Store with your brand’s color palette.
After completing these details, press Publish to apply your settings.
Step 4: Share it with your users
Once you’ve set up your Reward Store, you’ll see a confirmation screen indicating your store is live.
- Store URL: The URL for your Reward Store is displayed here, along with a Copy link button, allowing you to share this link with others easily.
- Manage Orders and Visit Reward Store: You have two options:
- Manage Orders: Click this to go back to the dashboard where you can oversee and manage orders.
- Visit Reward Store: Click here to view the live version of your Reward Store and check that everything looks as expected.
- Social Sharing: Quick links are provided to share your Reward Store link on popular social media platforms, making promoting and reaching a broader audience convenient.
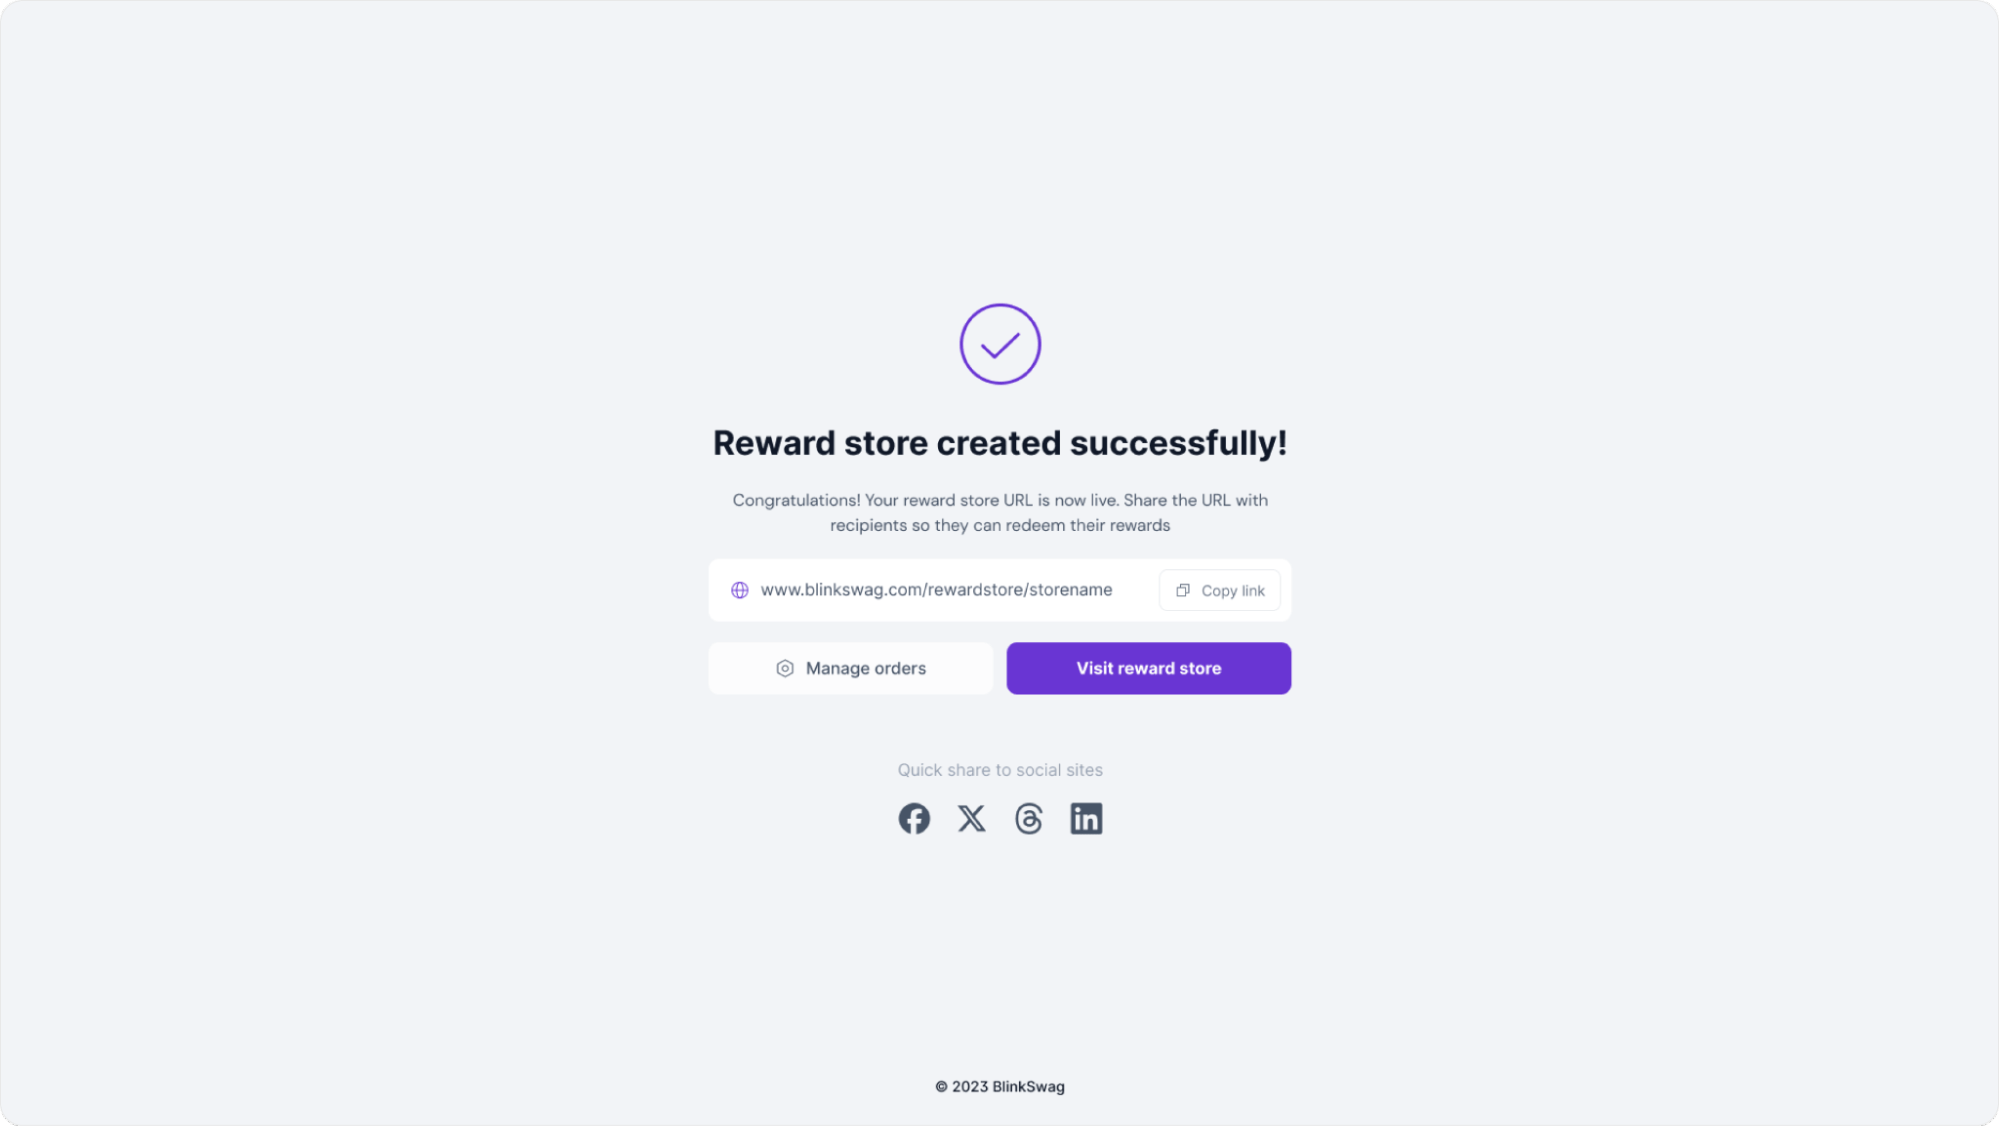
This screen serves as your final confirmation that the store is ready and accessible, along with options to manage, view, and share it.