Creating an Automated Swag Workflow for “Swag” Automation
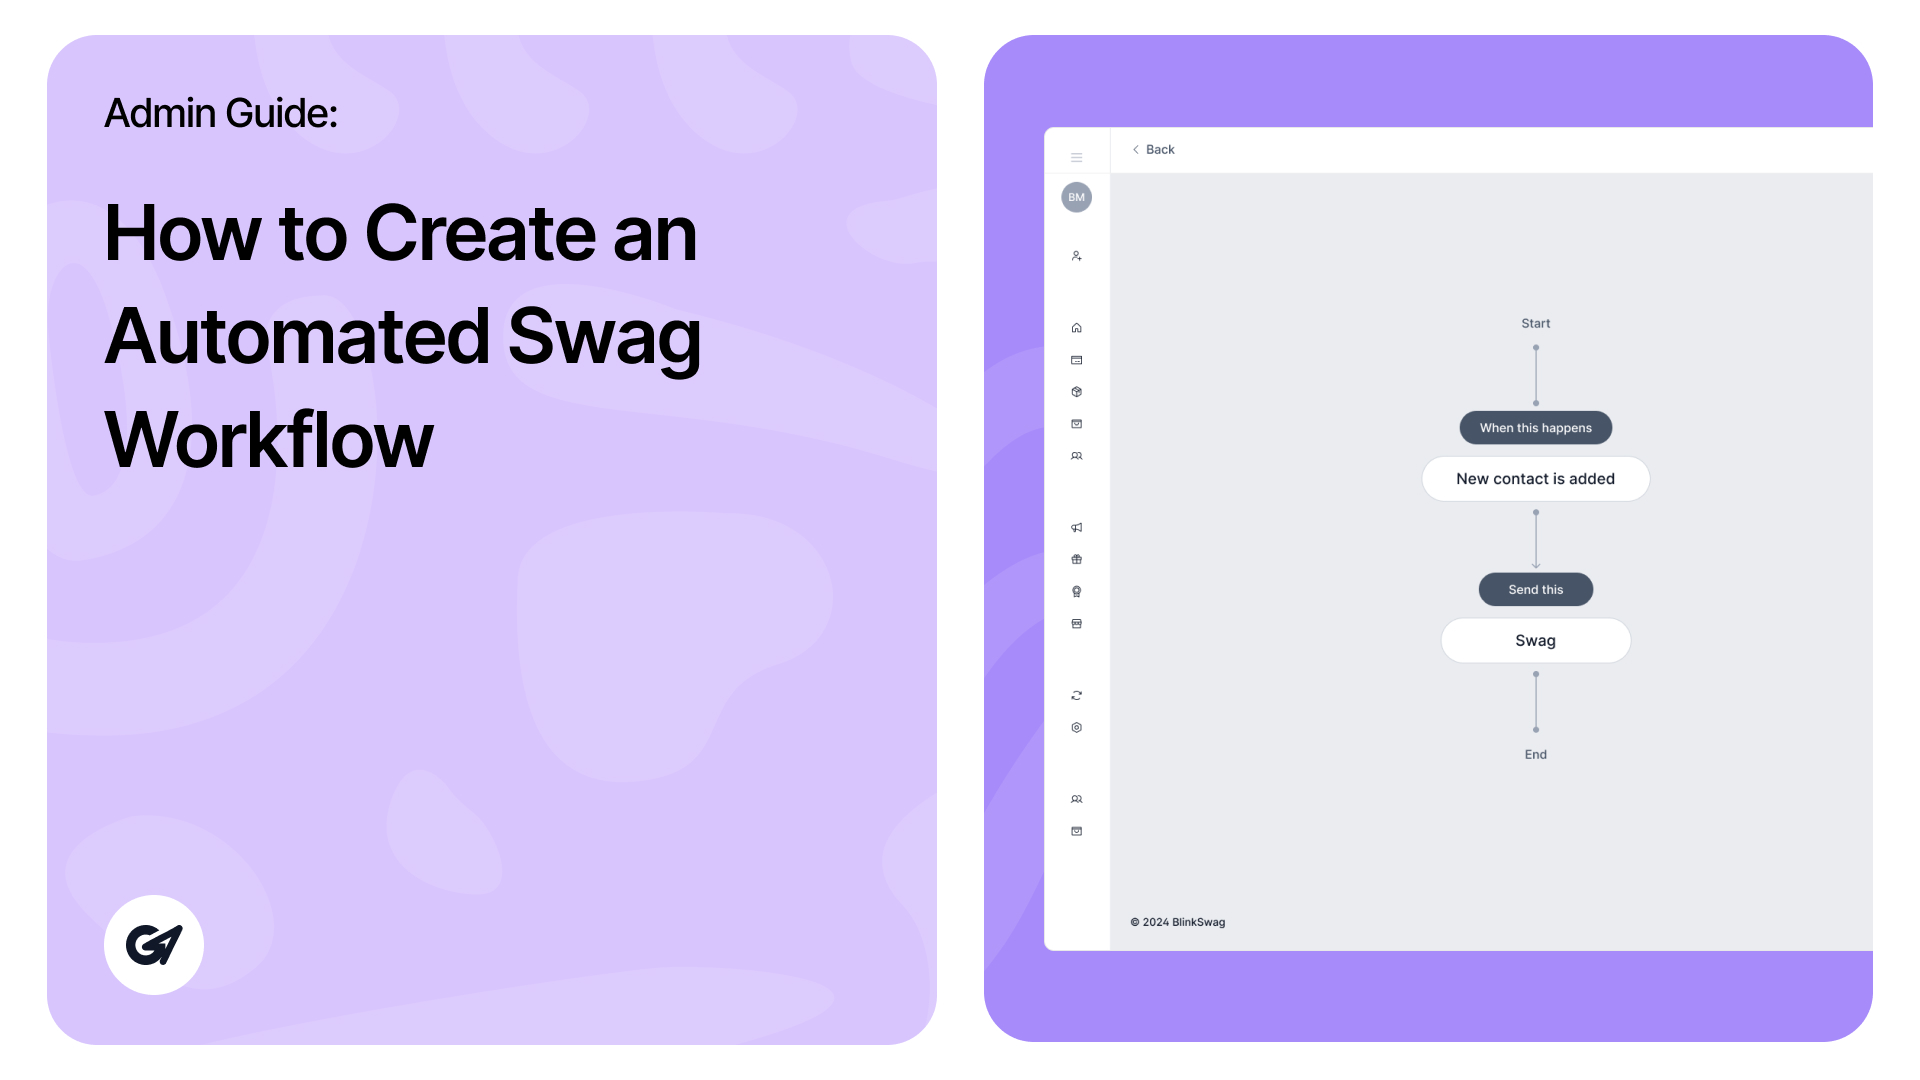
To set up an automated swag workflow specifically for sending Swag, follow the steps below, similar to the previous setup but with a few changes:
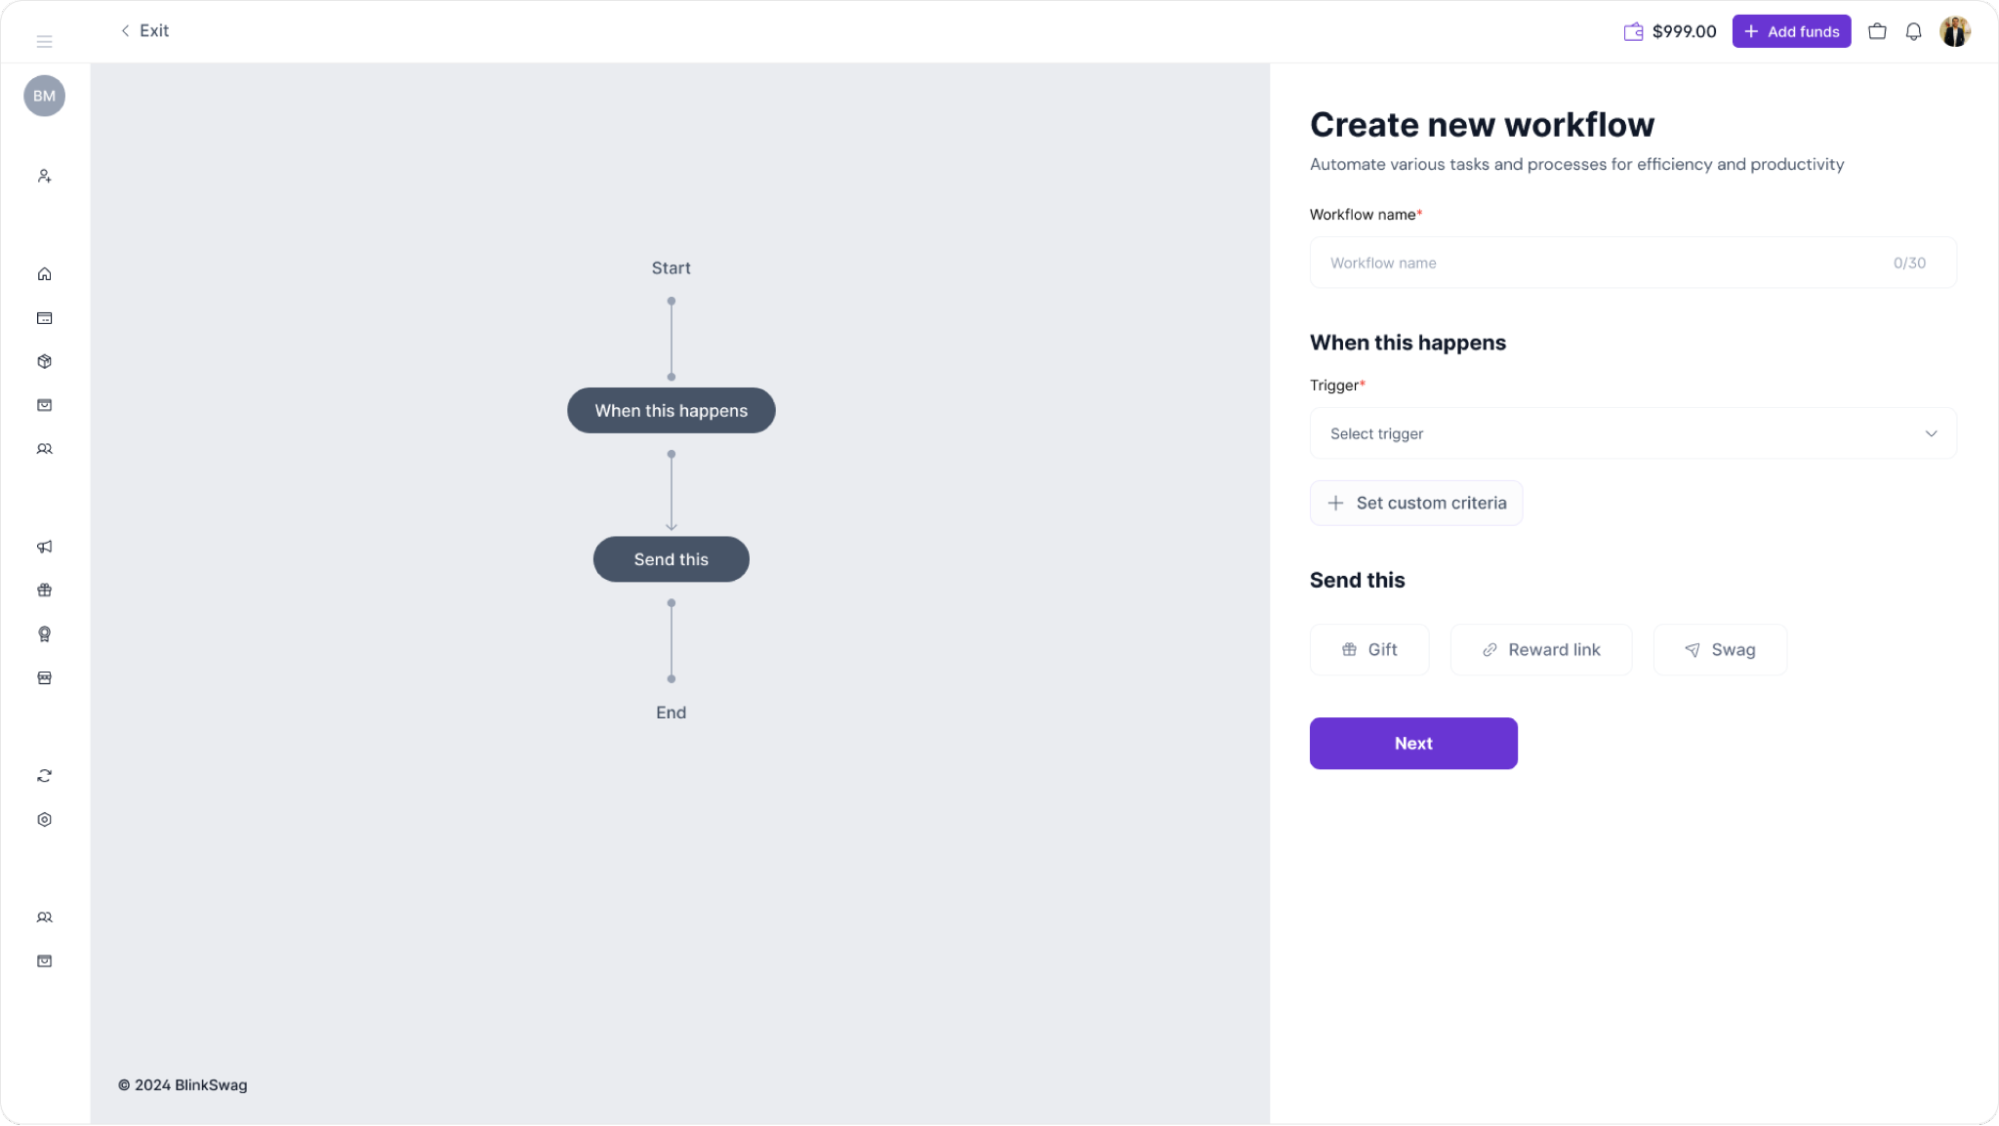
1. Enter a Workflow Name: In the Workflow name field, give this workflow a descriptive name, such as “Swag Automation.”
2. Select the Trigger Event: Under When this happens, choose an event that will initiate the swag automation, such as when a new contact is added or a specific date occurs (if available).
3. Configure Custom Criteria (Optional): Click + Set custom criteria if you want to define more specific conditions for when this workflow will activate.
4. Choose Swag: In the Send this section, select Swag by clicking the swag icon. This designates the workflow to send swag items rather than gifts or reward links.
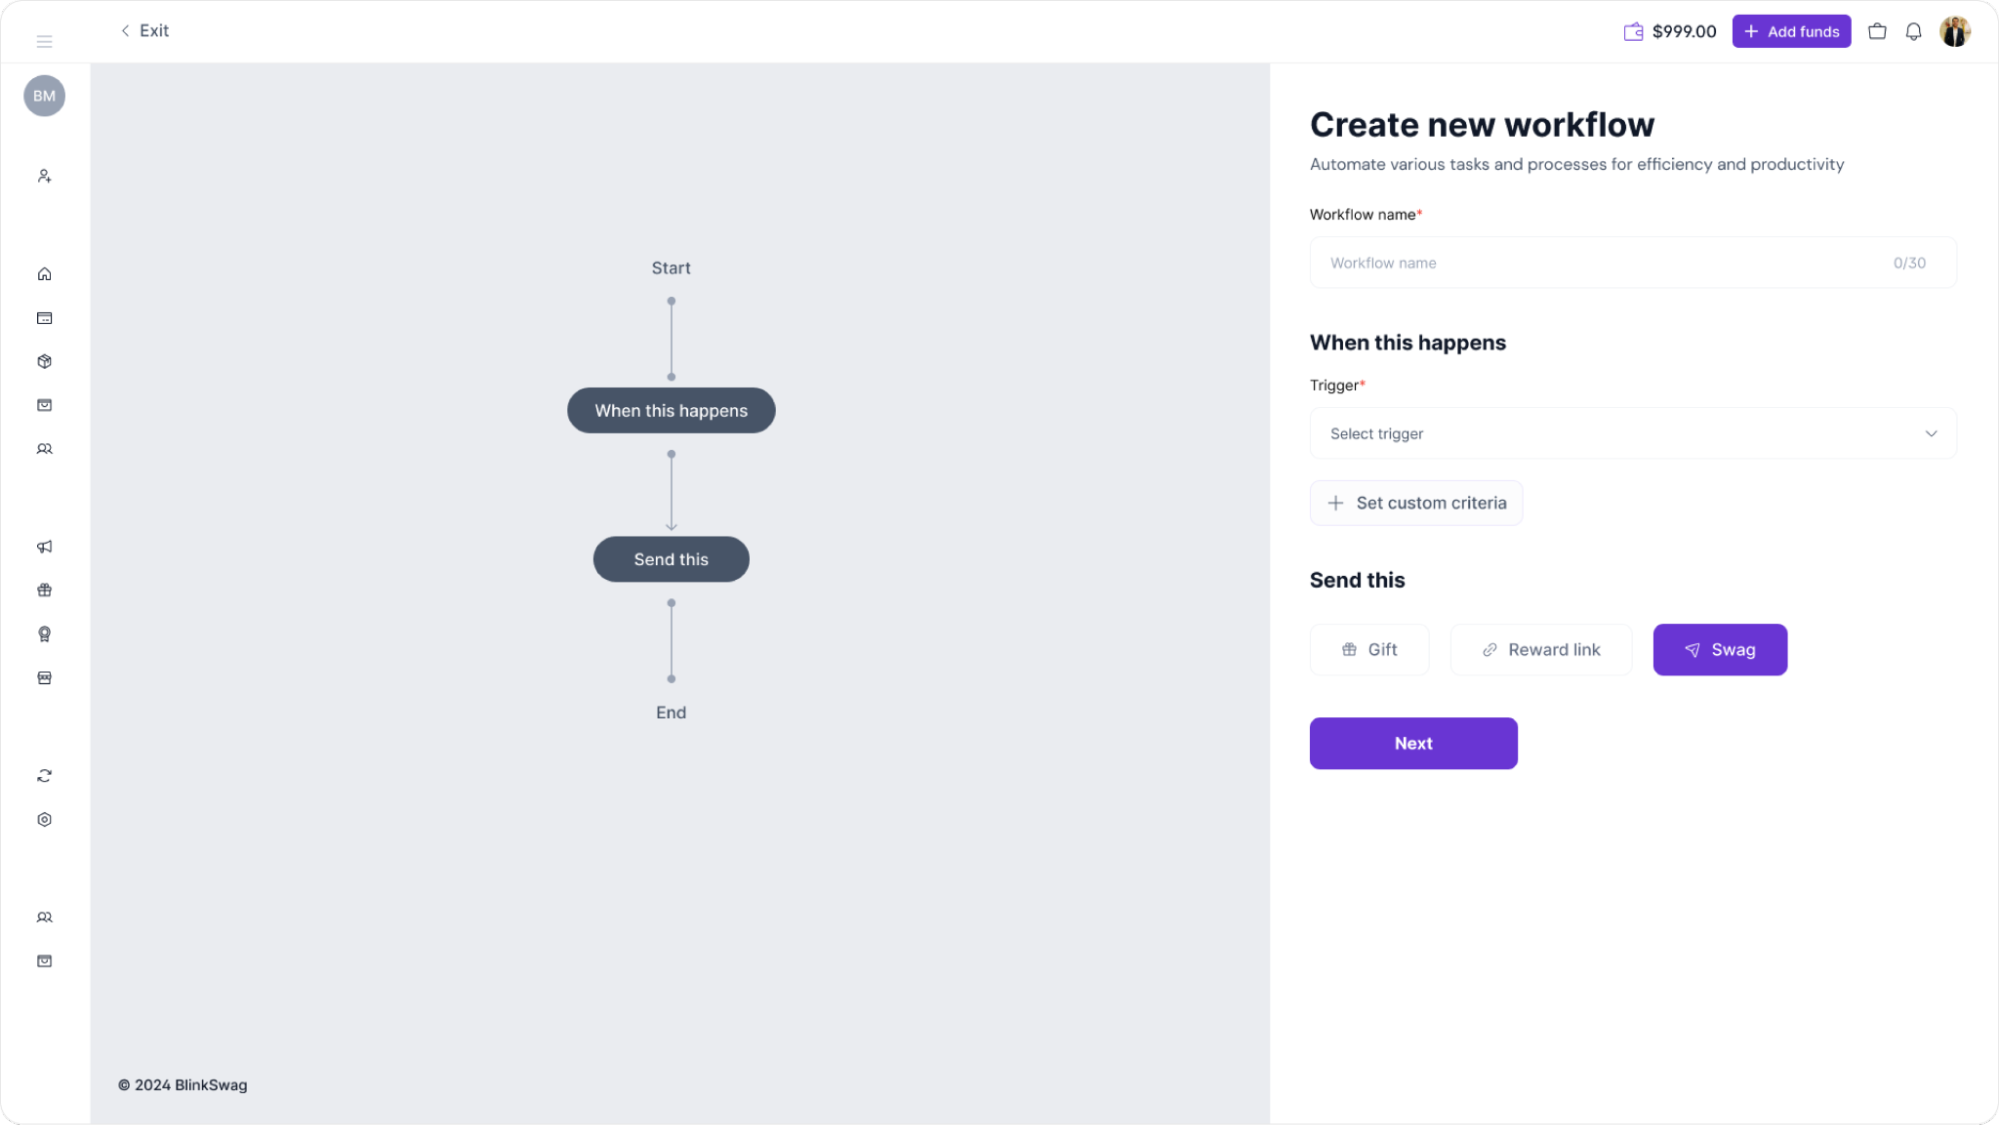
5. Click Next: Once configuring these settings, click the Next button to proceed to the swag product selection.
Step 2: Select Swag Products
Now that you’ve set the workflow trigger and selected to send swag, it’s time to choose the specific swag products.
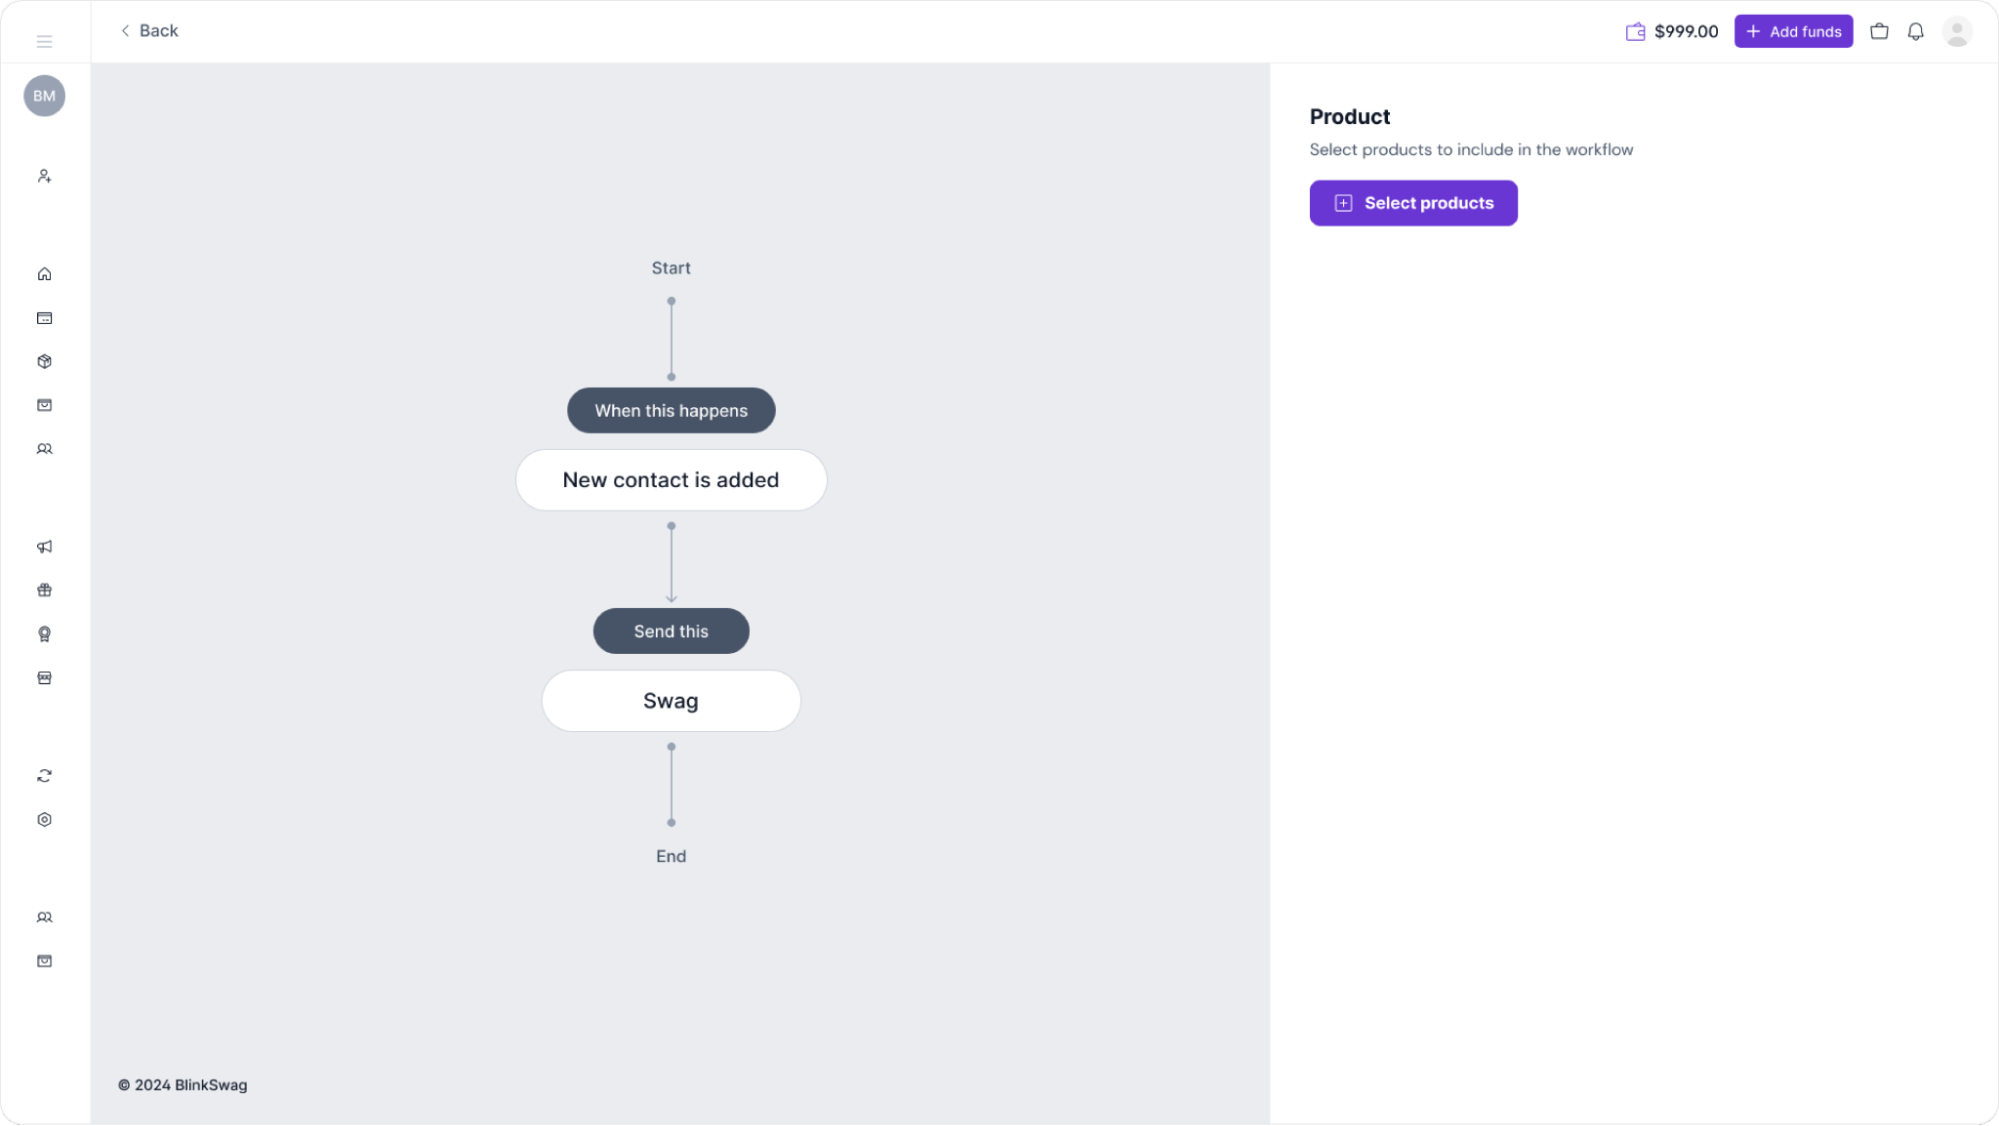
1. Click on “Select Products”: On the right side of the screen, find the Select Products button and click it to browse the available swag items.
2. Browse Swag Items: You can browse through the different swag items, such as jackets, hoodies, hats, and more.
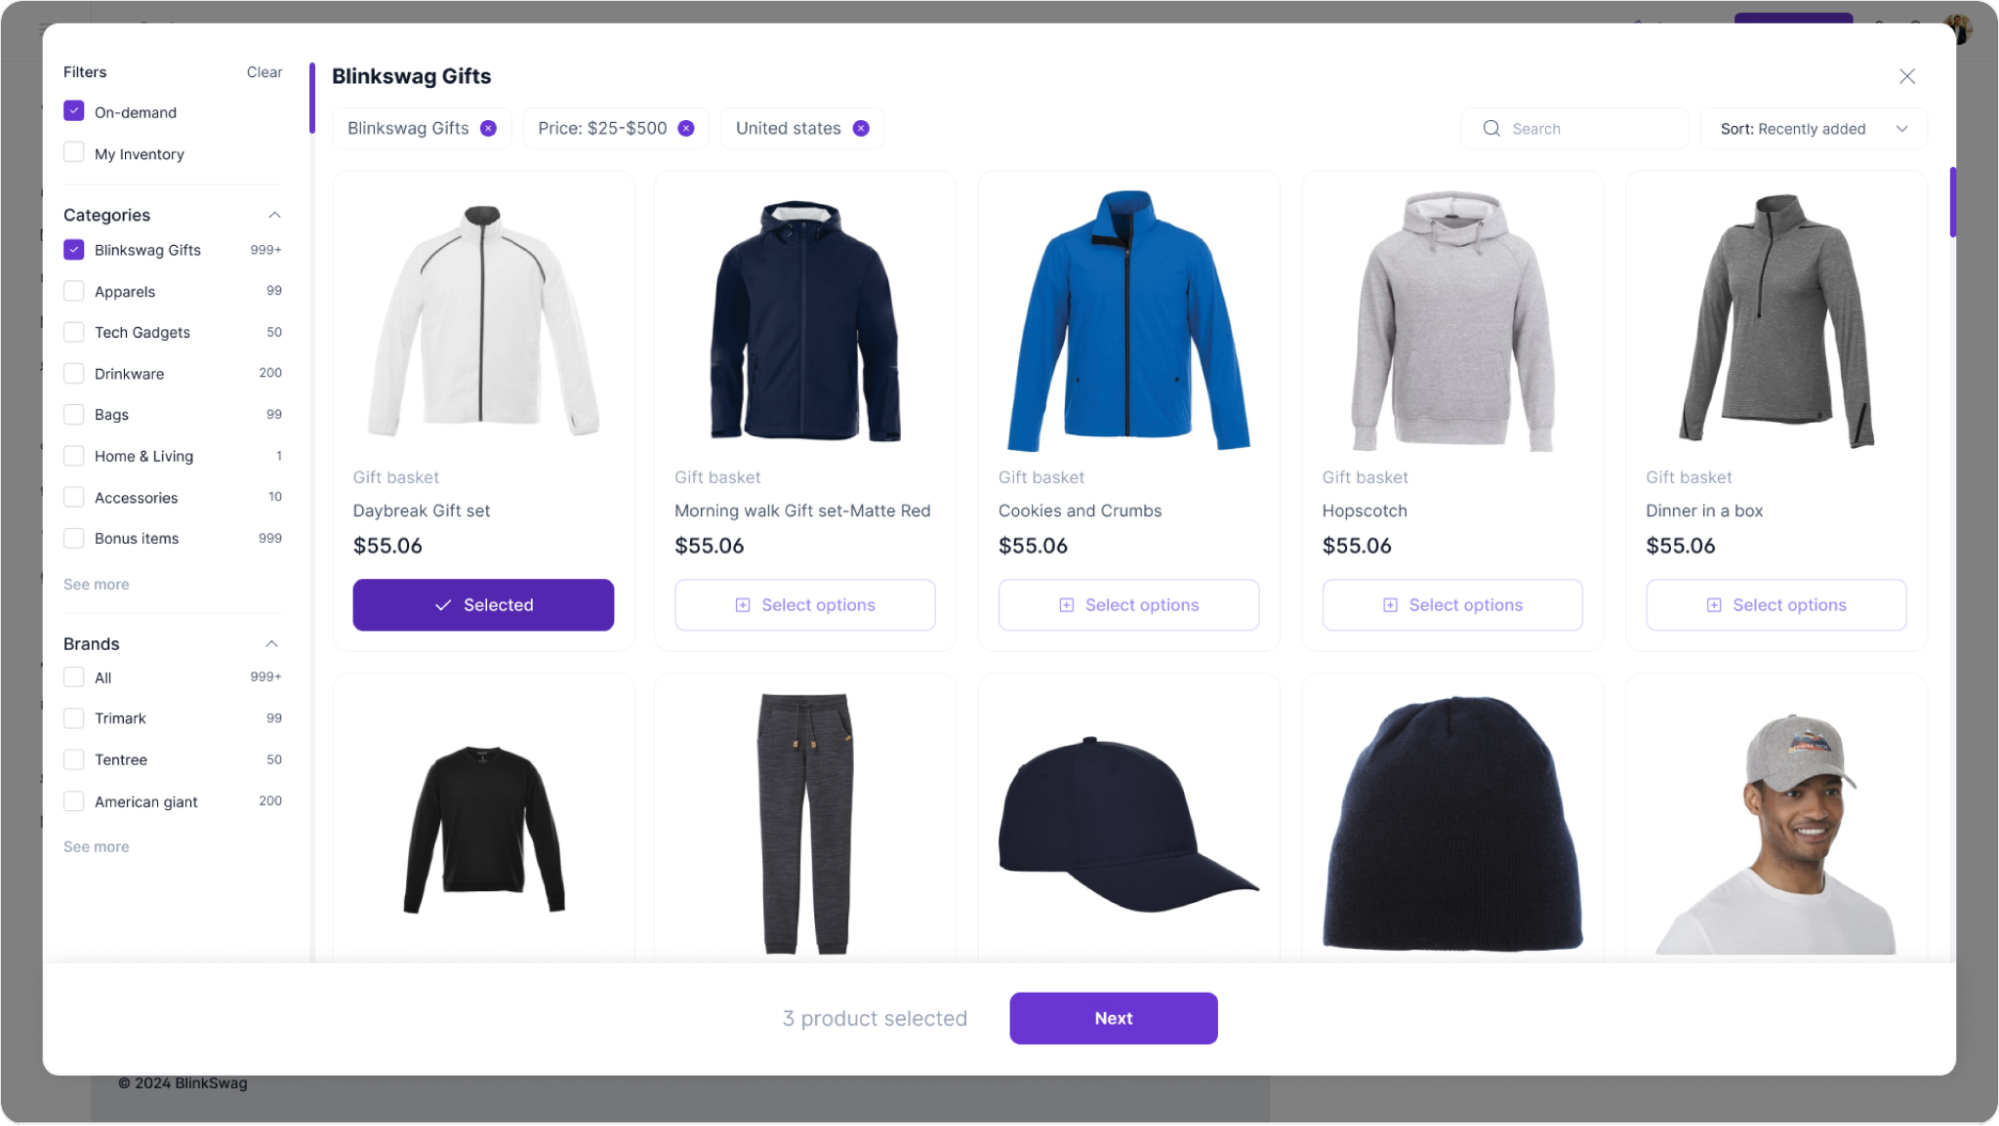
3. Select Desired Products: Click the Select Options button under each swag product that you want to add to your workflow. Once a product is selected, it will be marked with a Selected label in purple. For example, the Daybreak Gift Set is marked as selected.
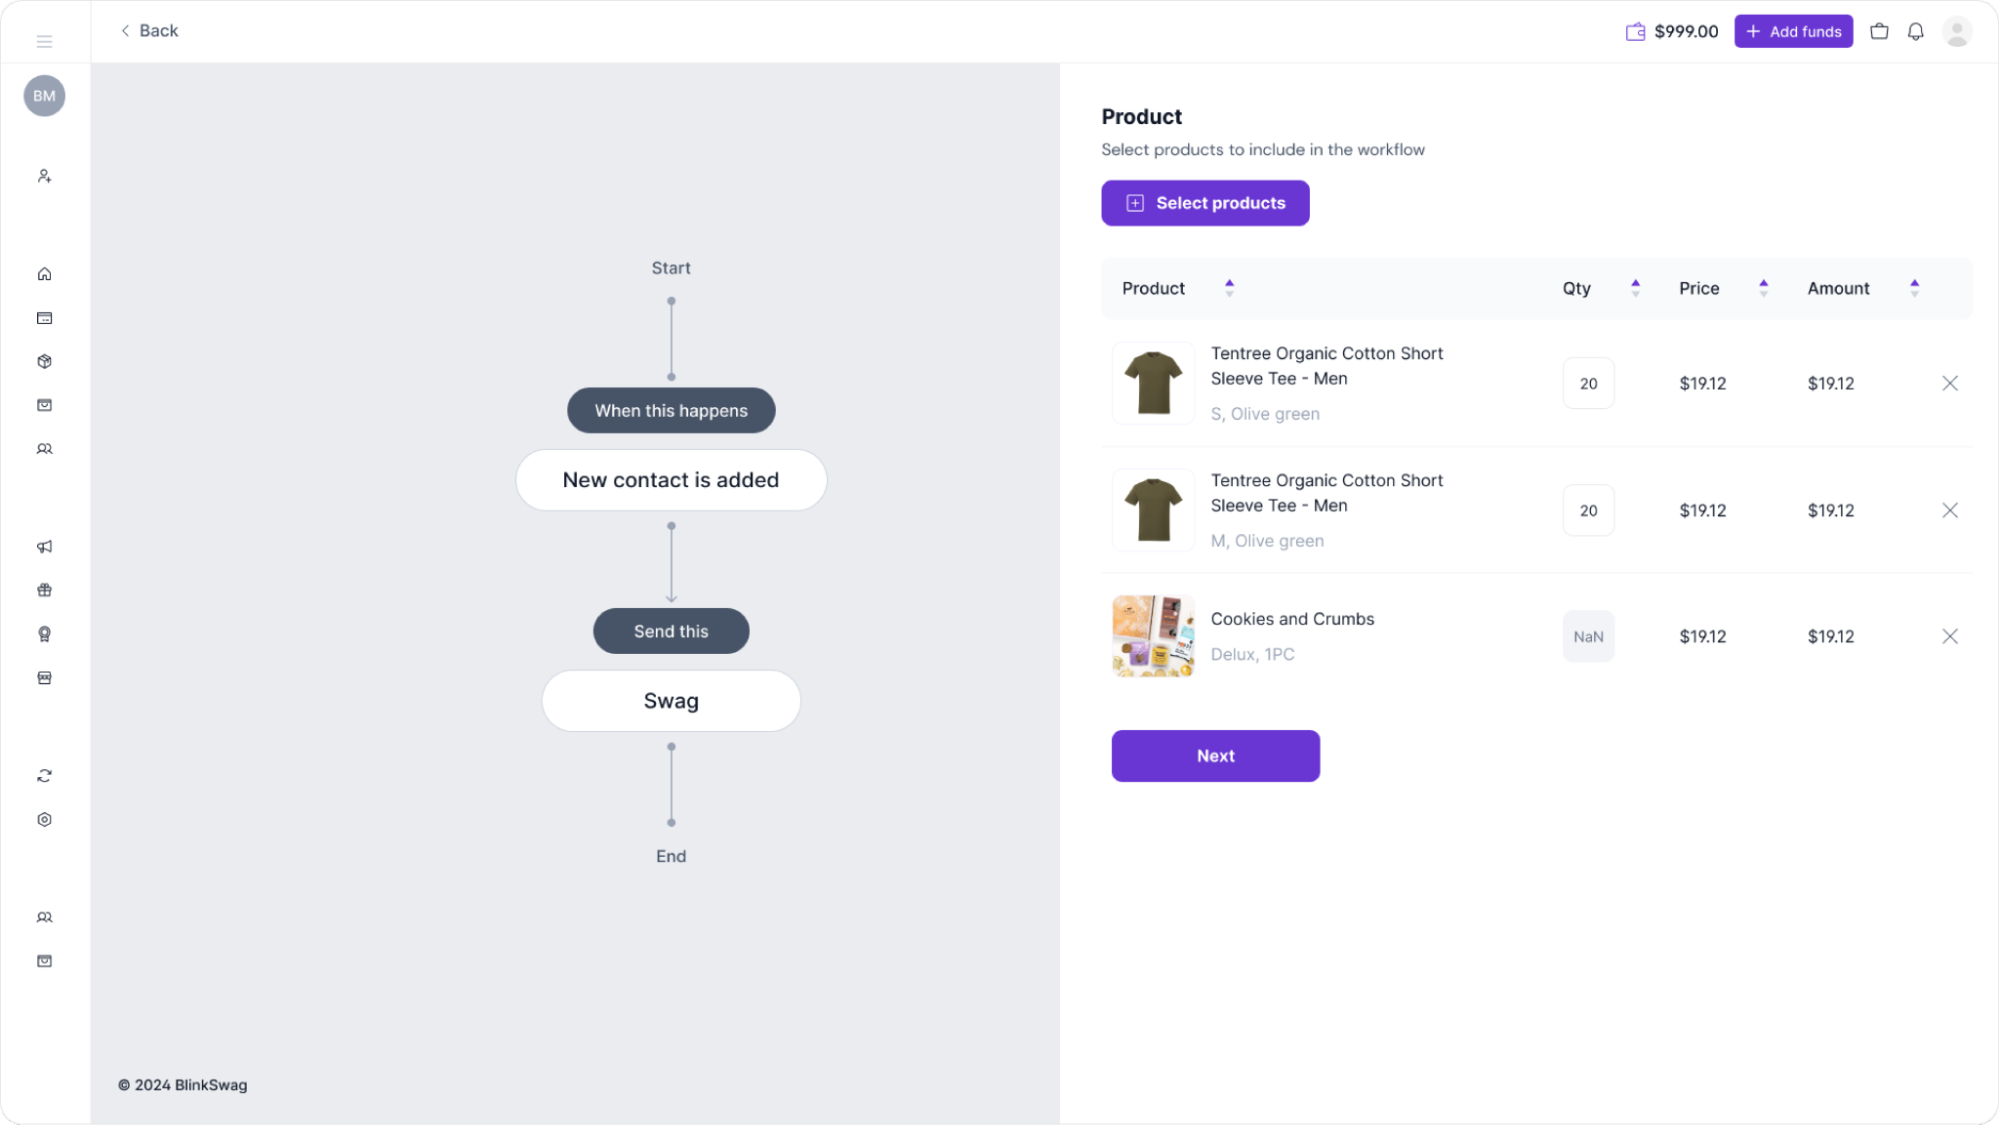
4. Review Selected Products: At the bottom of the screen, you will see how many products you have selected. In this case, 3 products selected are displayed.
5. Proceed by clicking “Next.” Once you have reviewed your selections, click the Next button to proceed to the next step in the swag workflow setup.
Step 4: Review and Confirm Order Summary
Now, it’s time to review the order summary to ensure everything is accurate before saving the workflow.
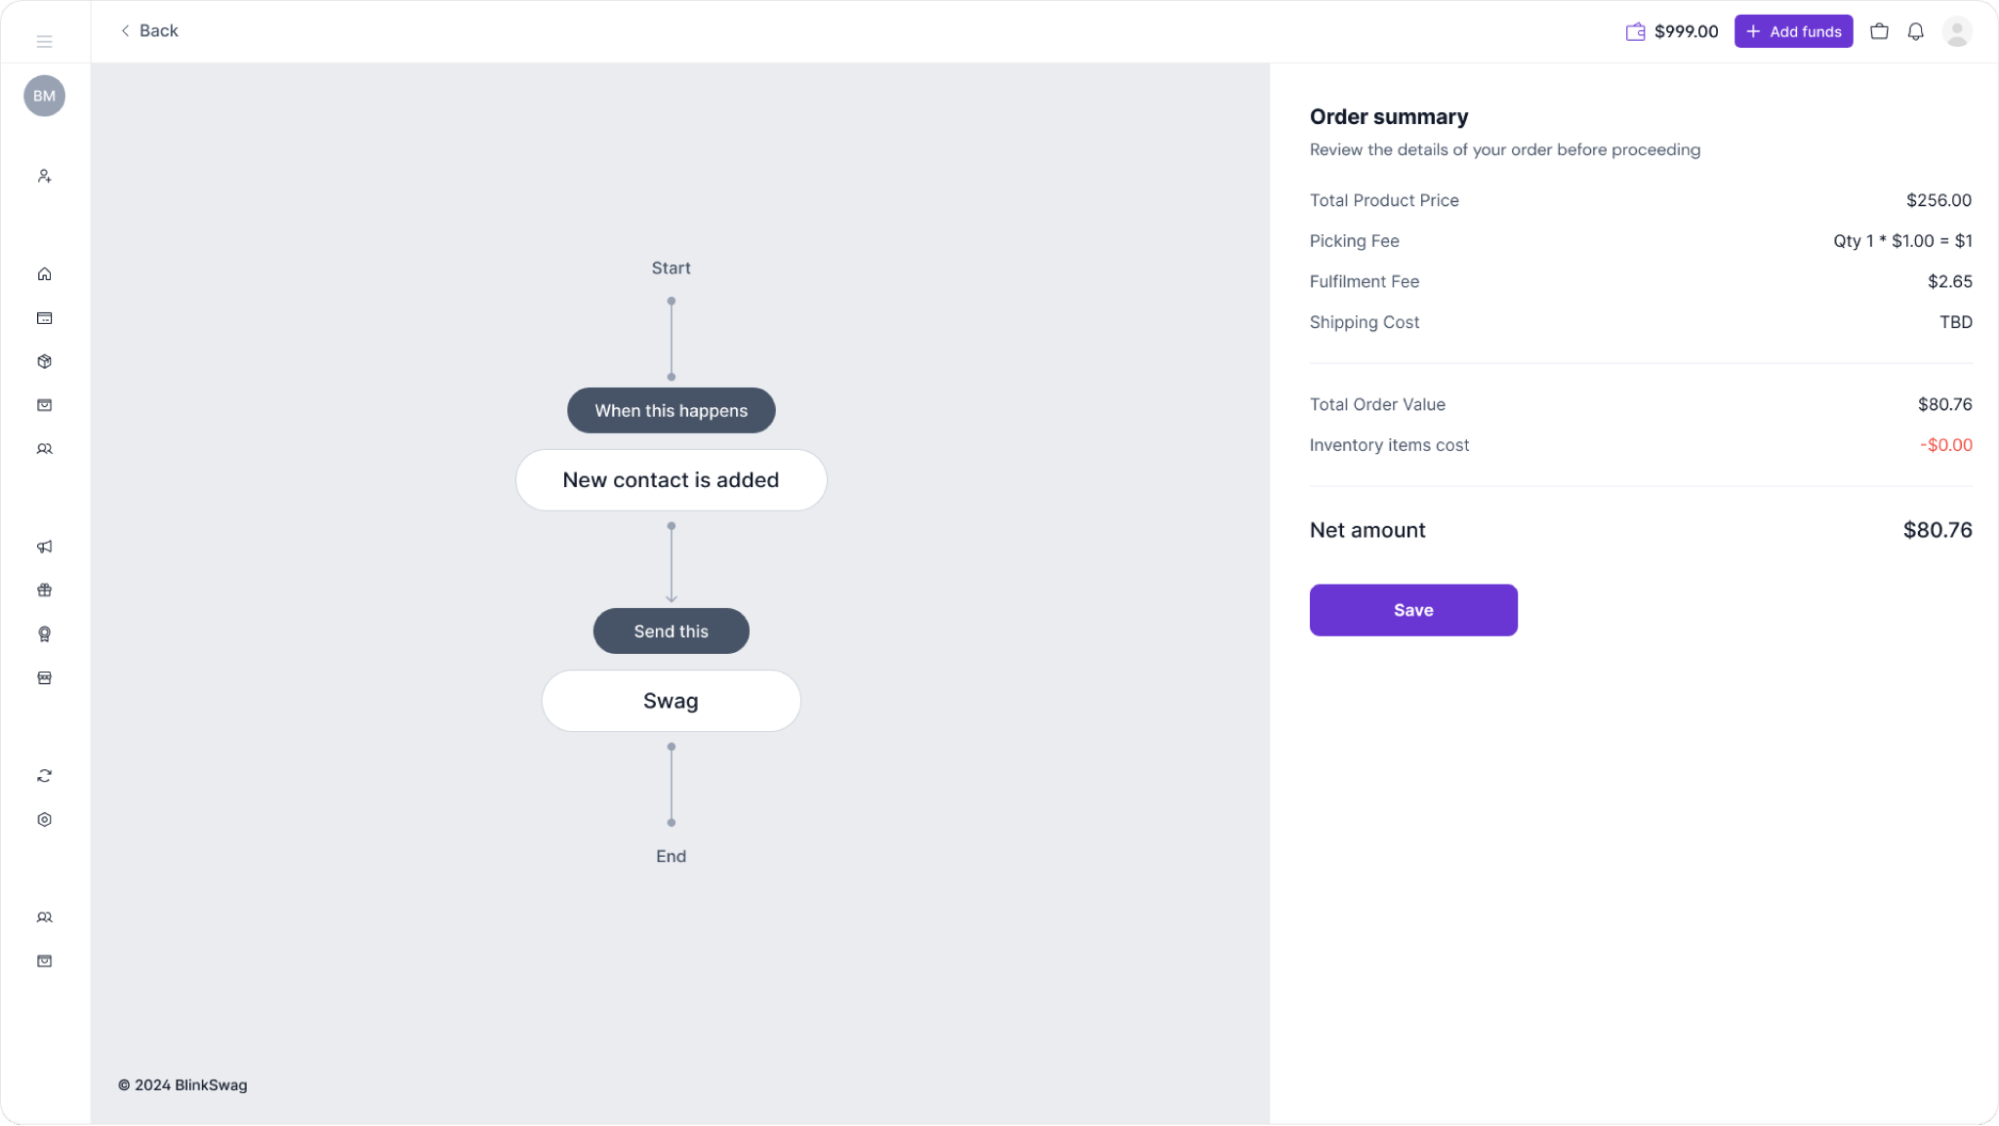
1. Order Summary Details: On the right side of the screen, there is an Order Summary section that includes:
- Total Product Price: Displays the total value of the selected swag items ($256.00).
- Picking Fee: The cost of picking the items, for example, $1.00.
- Fulfillment Fee: The fee for fulfillment services is listed as $2.65.
- Shipping Cost: Depending on your shipping selection, this may show as TBD (To Be Determined).
2. Total Order Value: Review the Total Order Value, which in this example is $80.76.
3. Inventory Items Cost: Review any inventory items’ costs that may apply, which in this example is $0.00.
4. Net Amount: The Net amount at the bottom represents the final cost to be confirmed, in this case, $80.76.
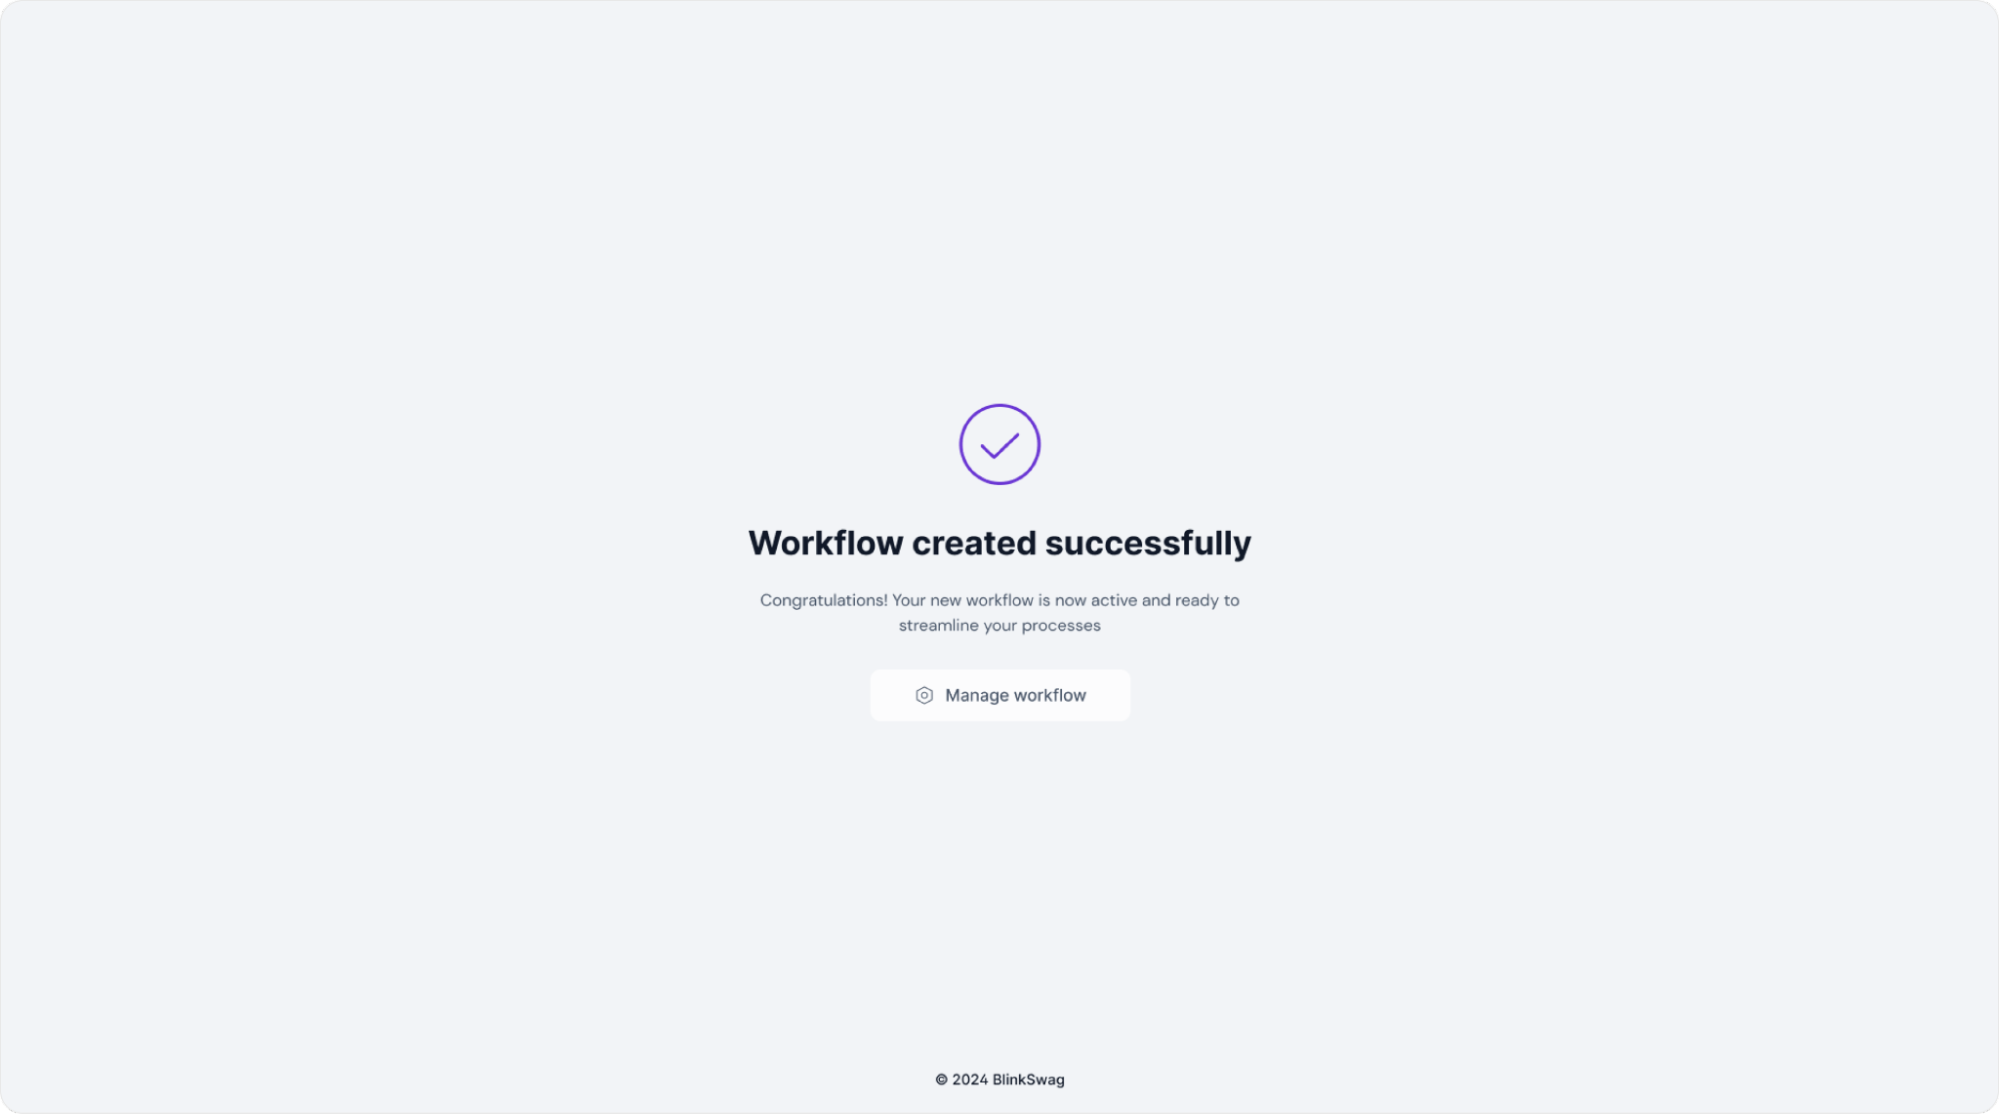
5. Save the Workflow: If everything looks correct, click the Save button to finalize the workflow configuration and complete the process.
This concludes the workflow setup for sending swag!
