Ready to roll with new contacts? ? You can also watch this quick video to learn how to add a new contact in BlinkSwag — it’s easier than you think! ??
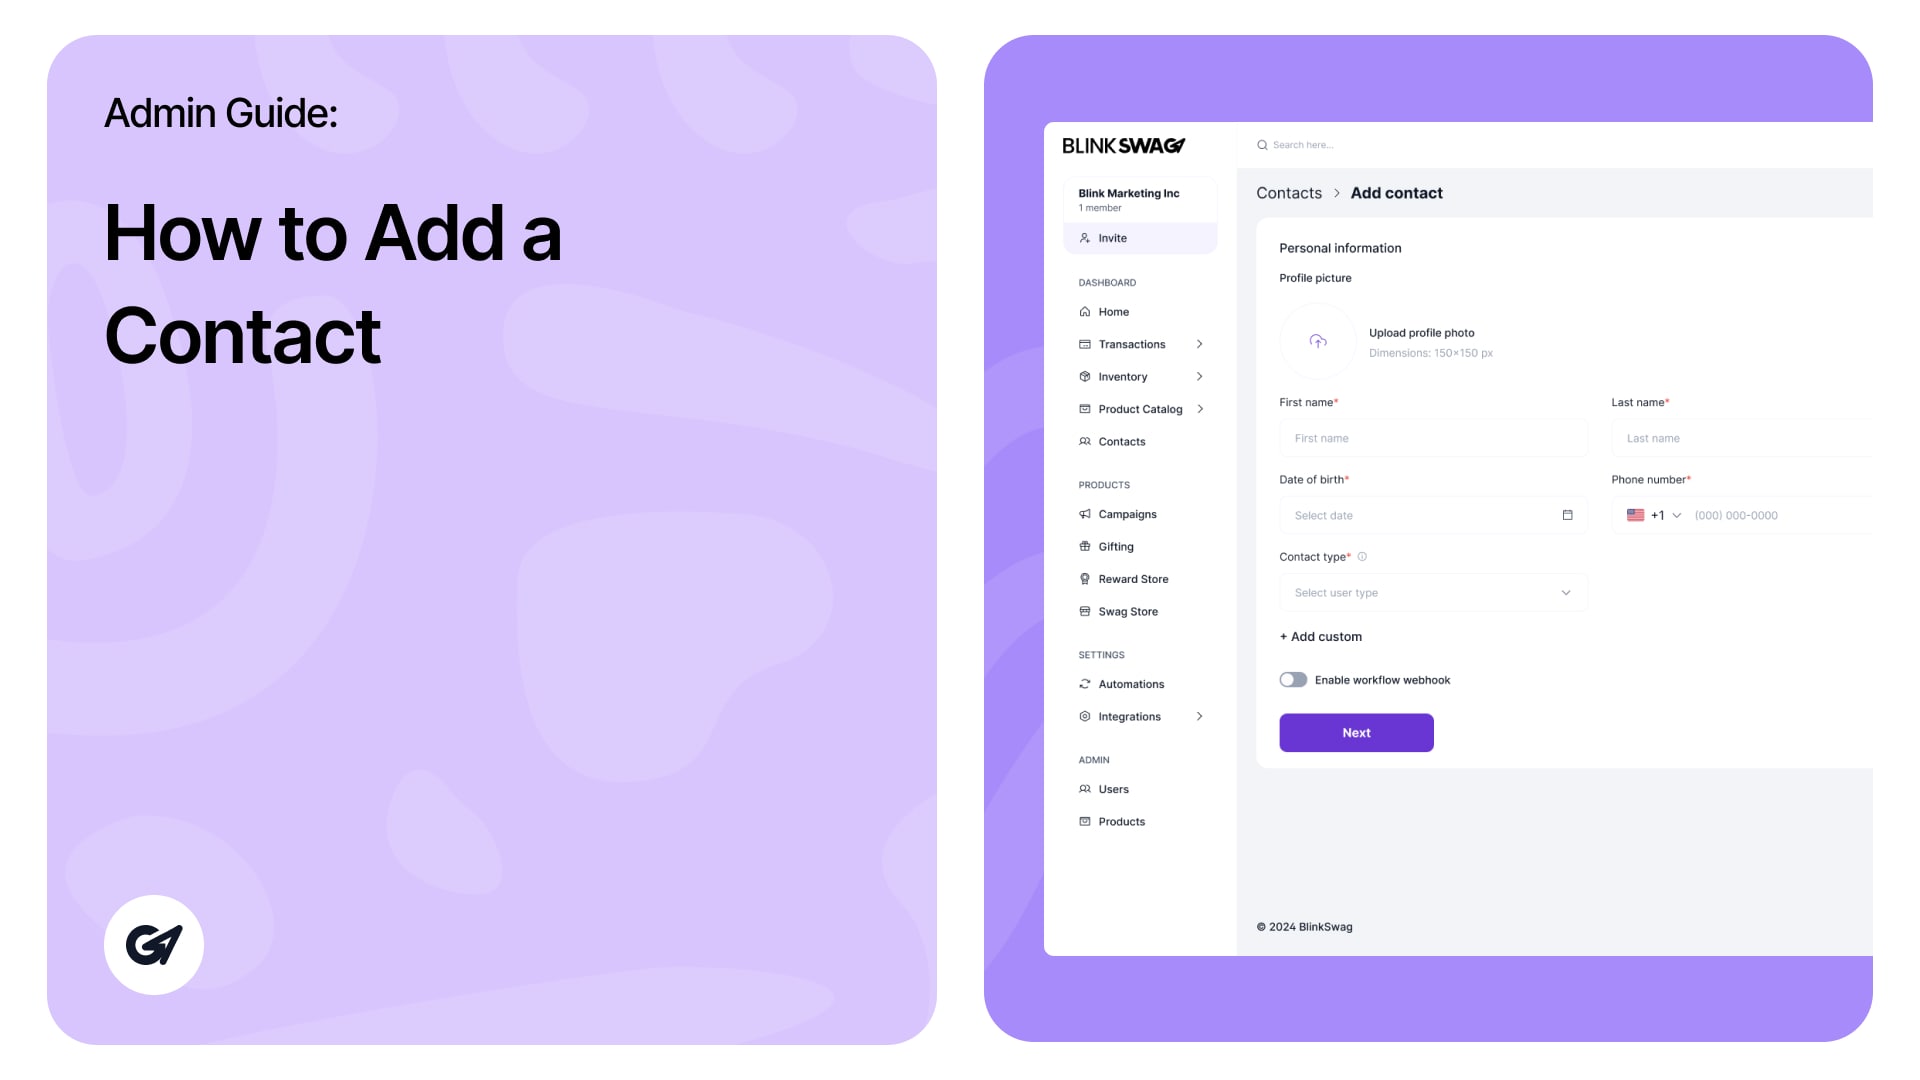
Add a New Contact
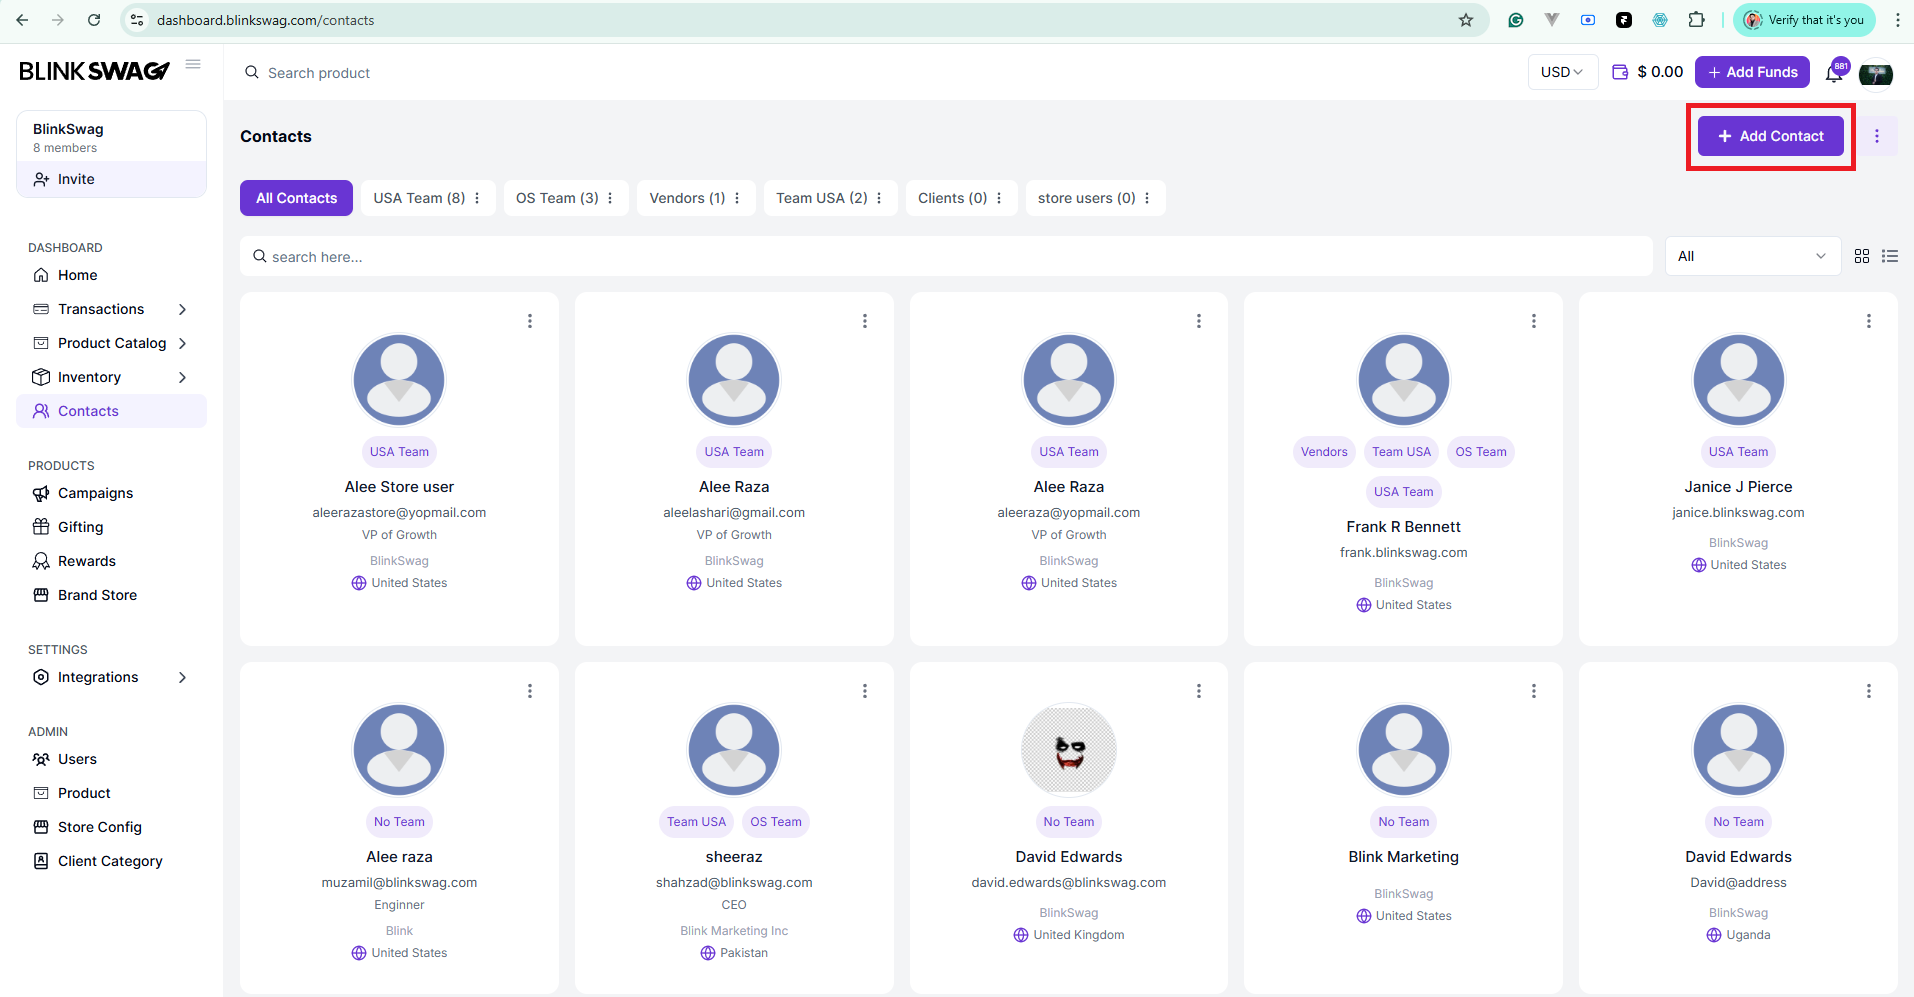
- To add a contact click on the “Add Contact“ button located under the Contacts Module in the BlinkSwag Dashboard. This will open the contact entry form.
Enter Contact Details
1. Upload Profile Picture (Optional):
- Click the upload icon to add a profile photo for the contact.
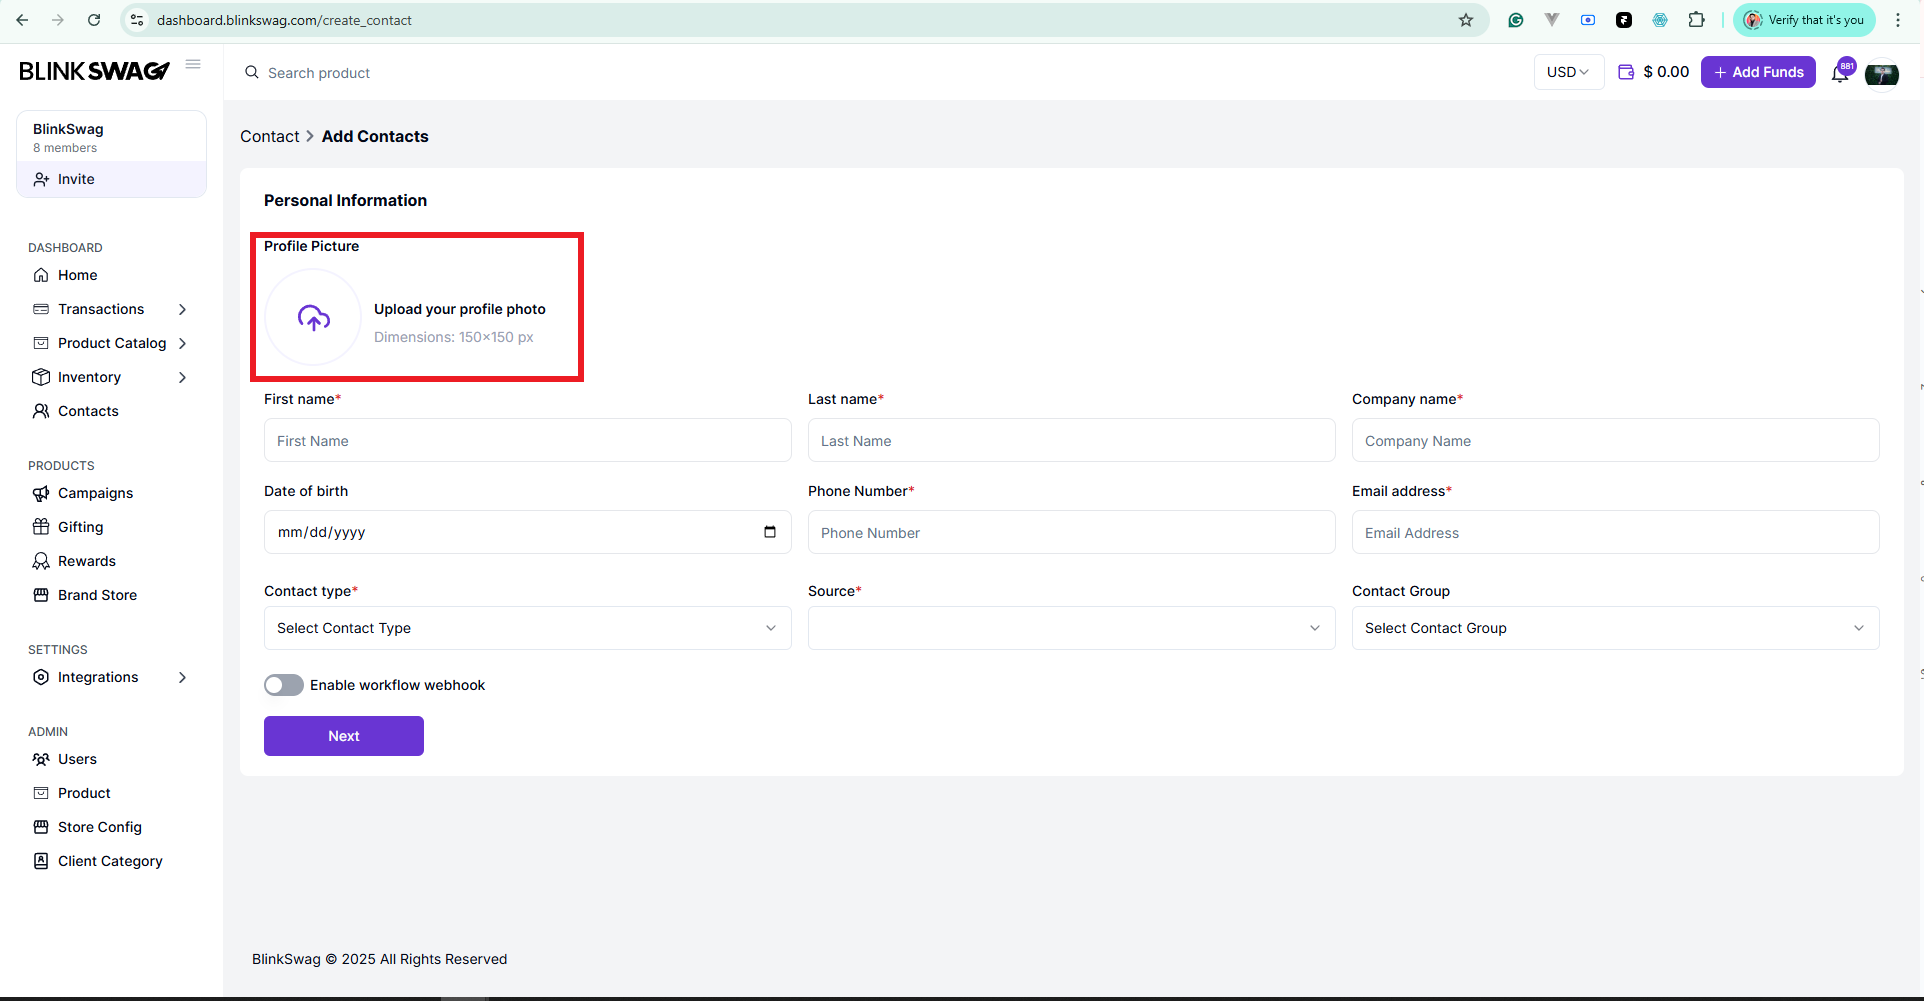
- Ensure the image meets the dimensions of 150×150 px for best results.
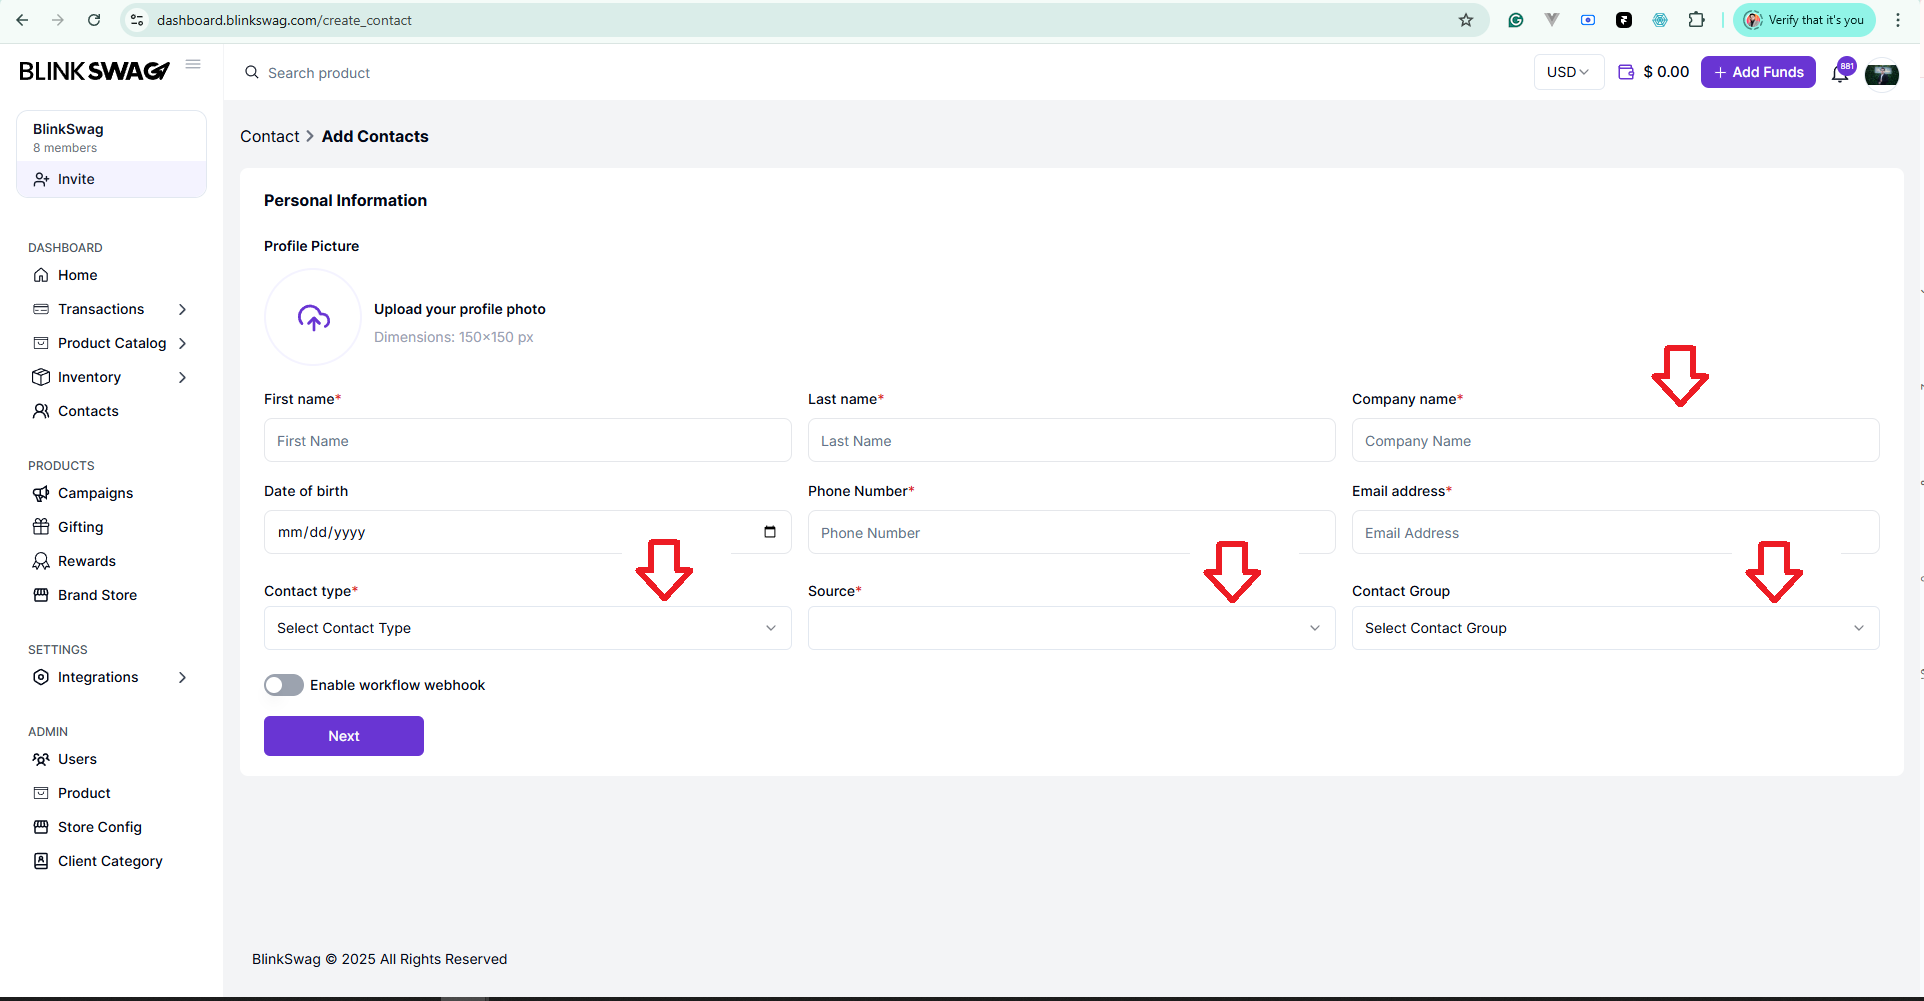
2. Personal Information:
- First Name: Enter the first name of the contact (required).
- Last Name: Enter the last name of the contact (required).
- Date of Birth: Optionally, add the contact’s date of birth in the format MM/DD/YYYY.
- Phone Number: Provide a valid phone number for the contact (required).
- Email Address: Enter a valid email address (required).
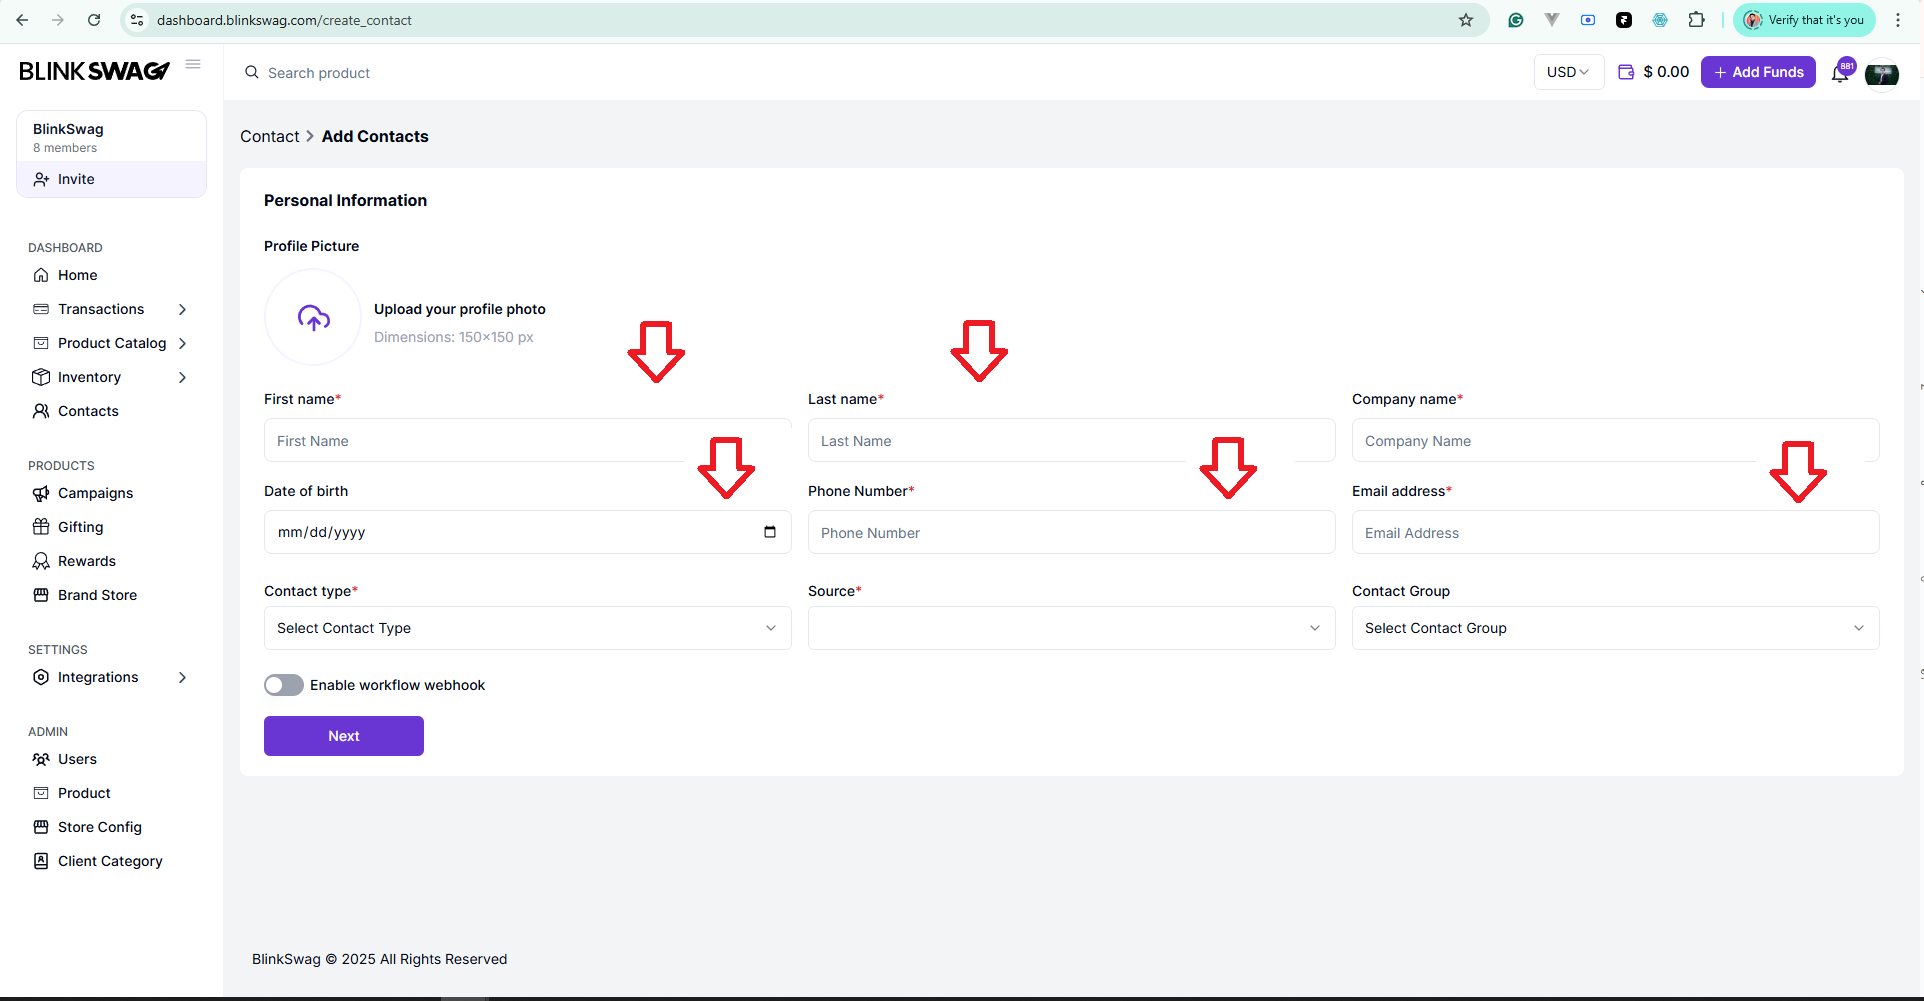
3. Professional Information:
- Company Name: Specify the name of the company associated with the contact (required).
- Source: Indicate where or how the contact was acquired (e.g., referral, event, website).
- Contact Type: Select a contact type from the dropdown (e.g., Client, Vendor, Team Member). This field is required.
- Contact Group: Choose an existing group (e.g., USA Team, OS Team, Vendors) from the dropdown to categorize the contact.
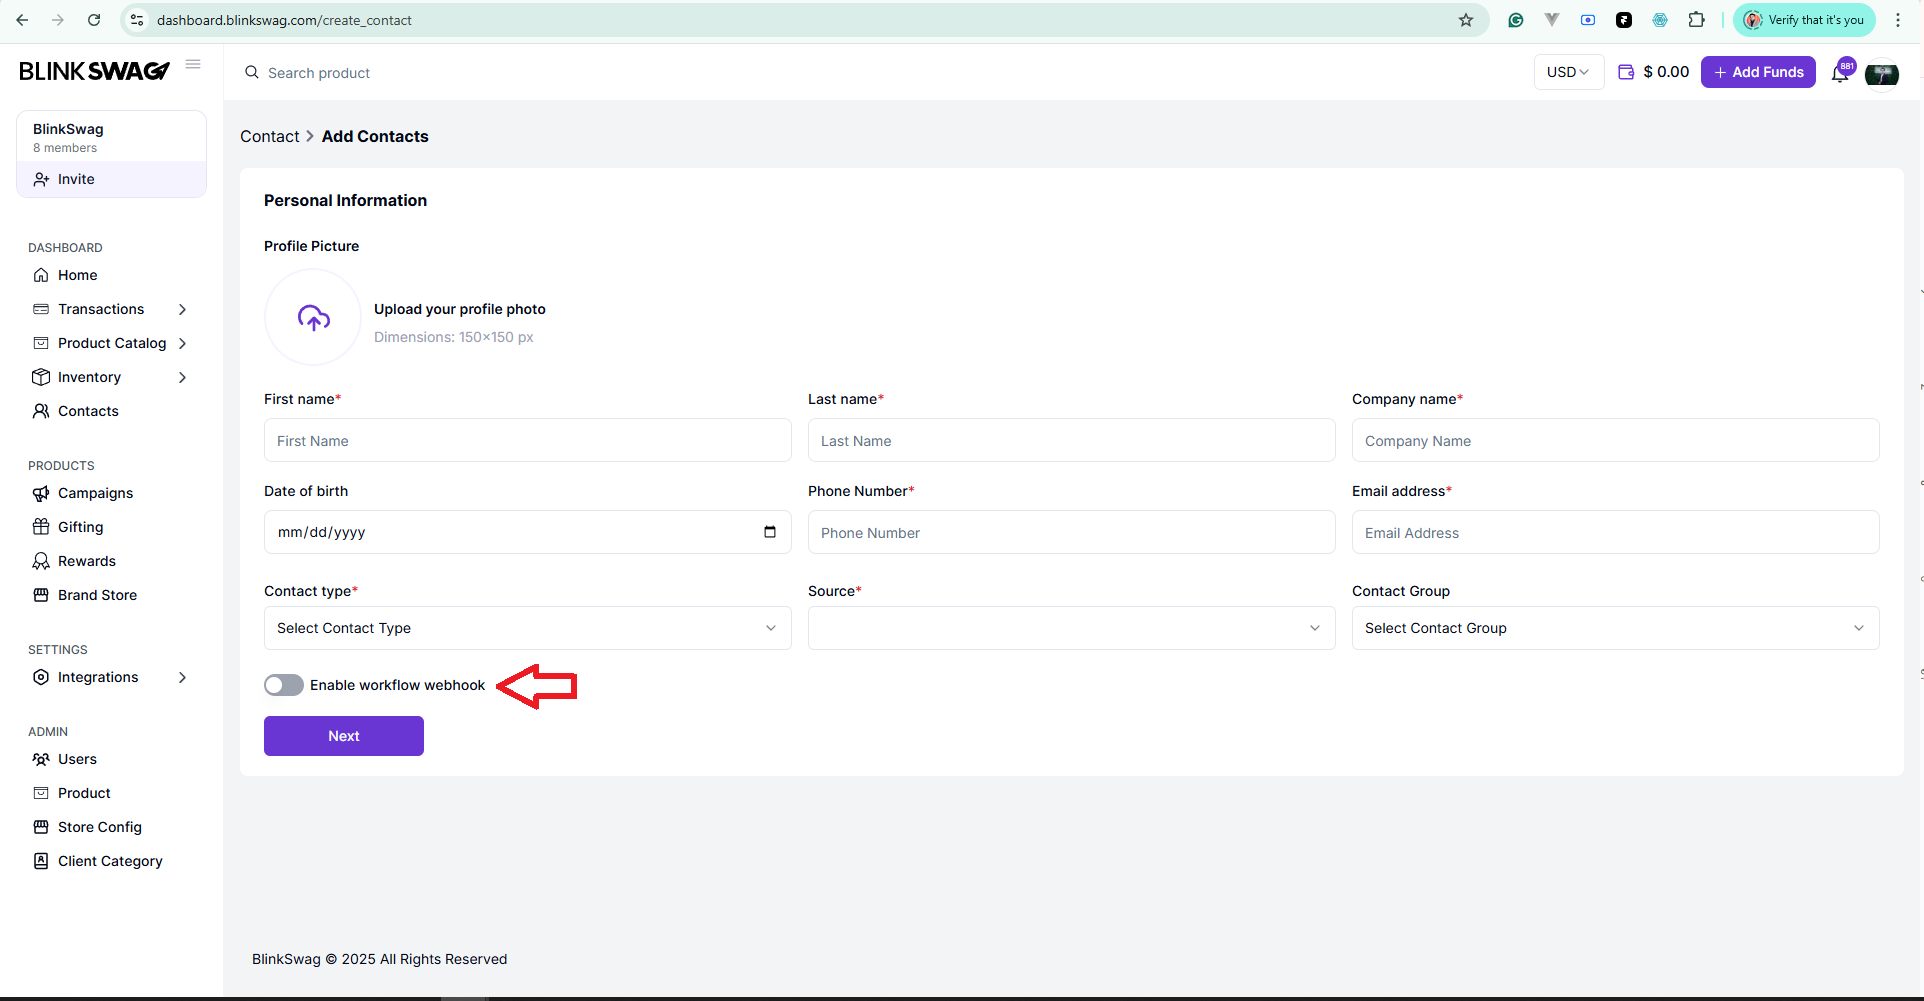
4. Enable Workflow Webhook (Optional):
- Toggle this option if you want to enable automated workflows for this contact. This can trigger integrations or specific actions upon saving the contact.
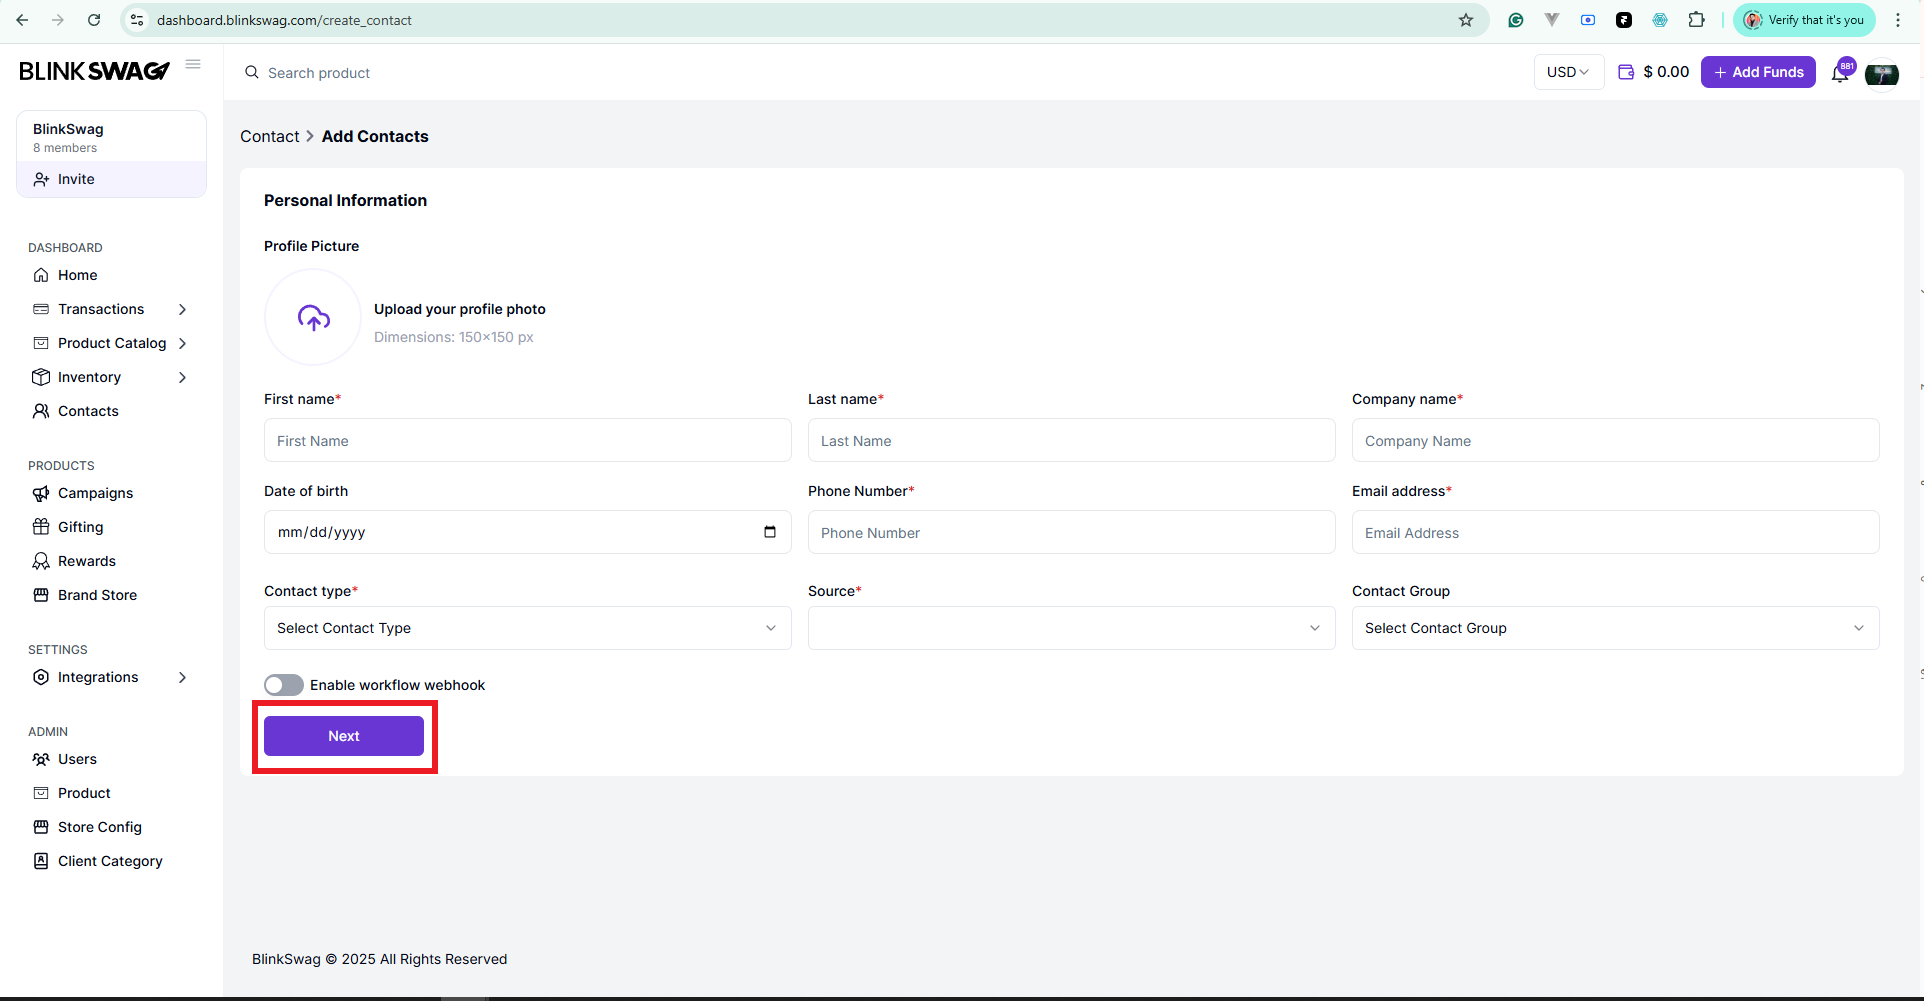
Next Step: Once all required fields are completed, click the Next button to proceed to the next section.
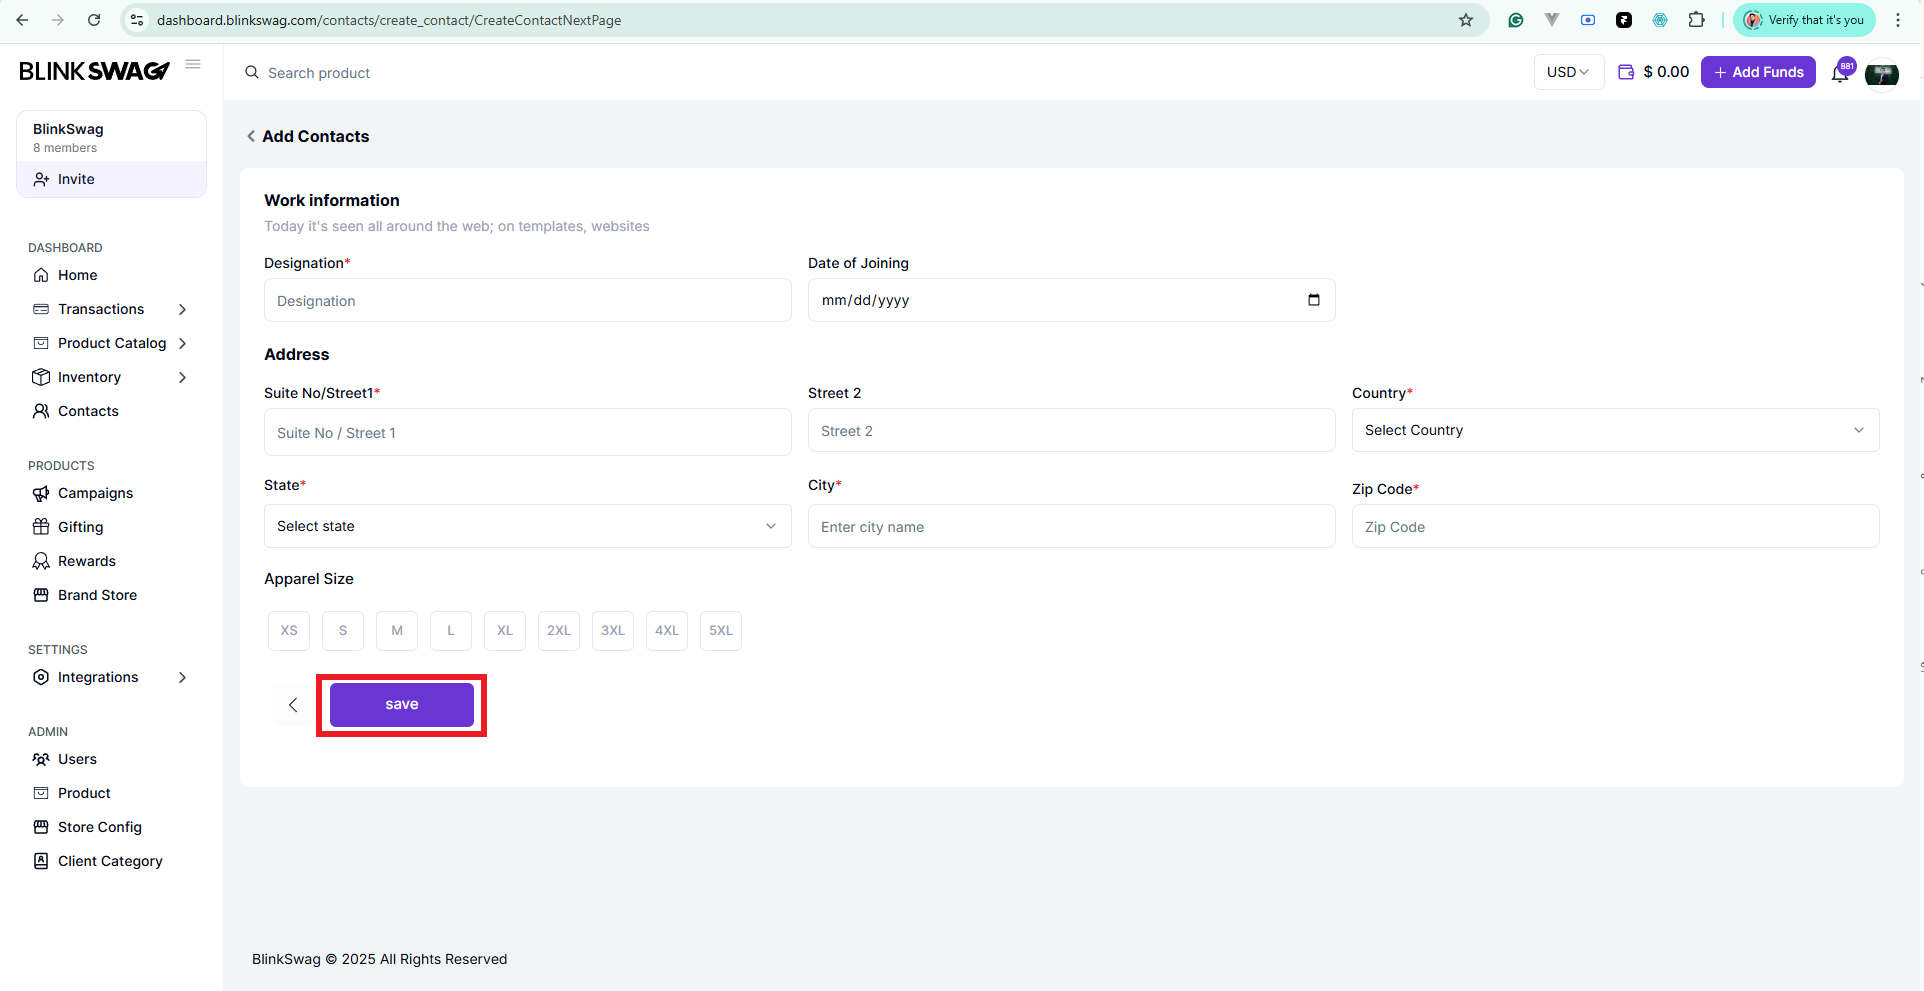
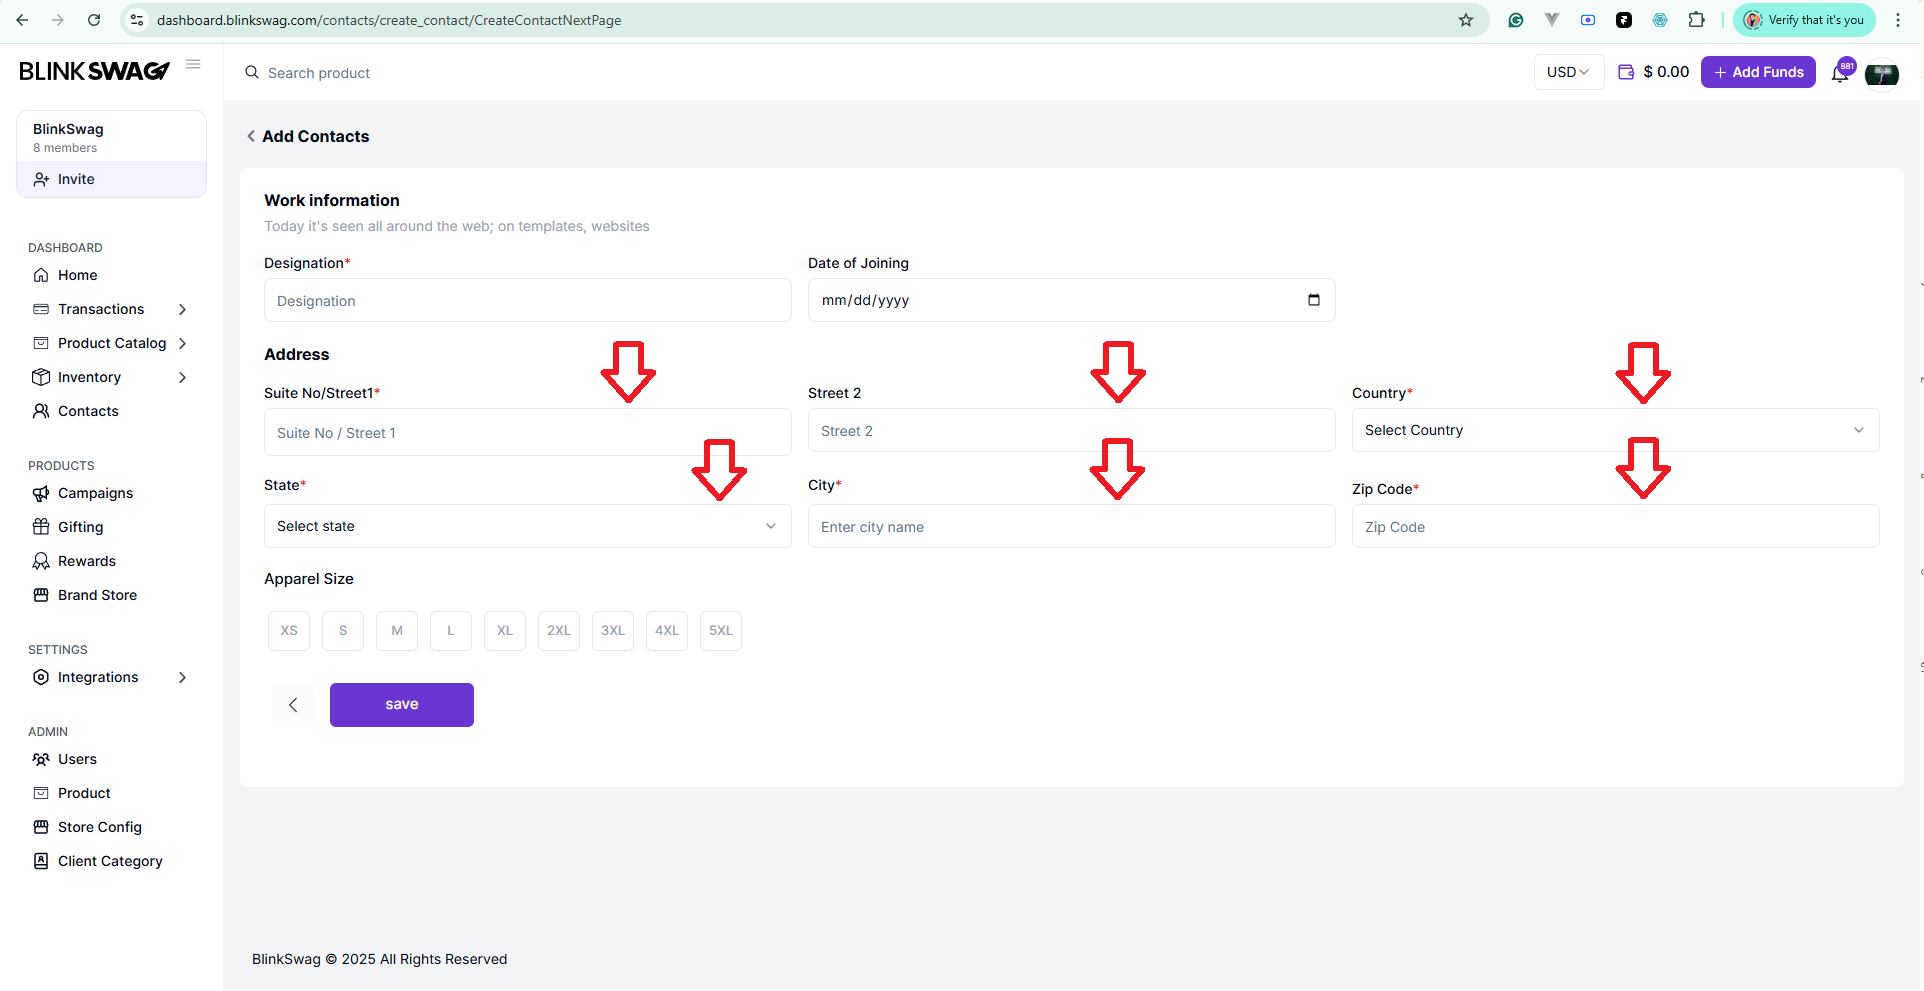
Steps to Fill Work Information and Address
1. Work Information:
- Designation (Required): Enter the role or title of the contact (e.g., Manager, CEO).
- Date of Joining (Optional): Provide the date the contact joined your organization or started their current role (format: MM/DD/YYYY).
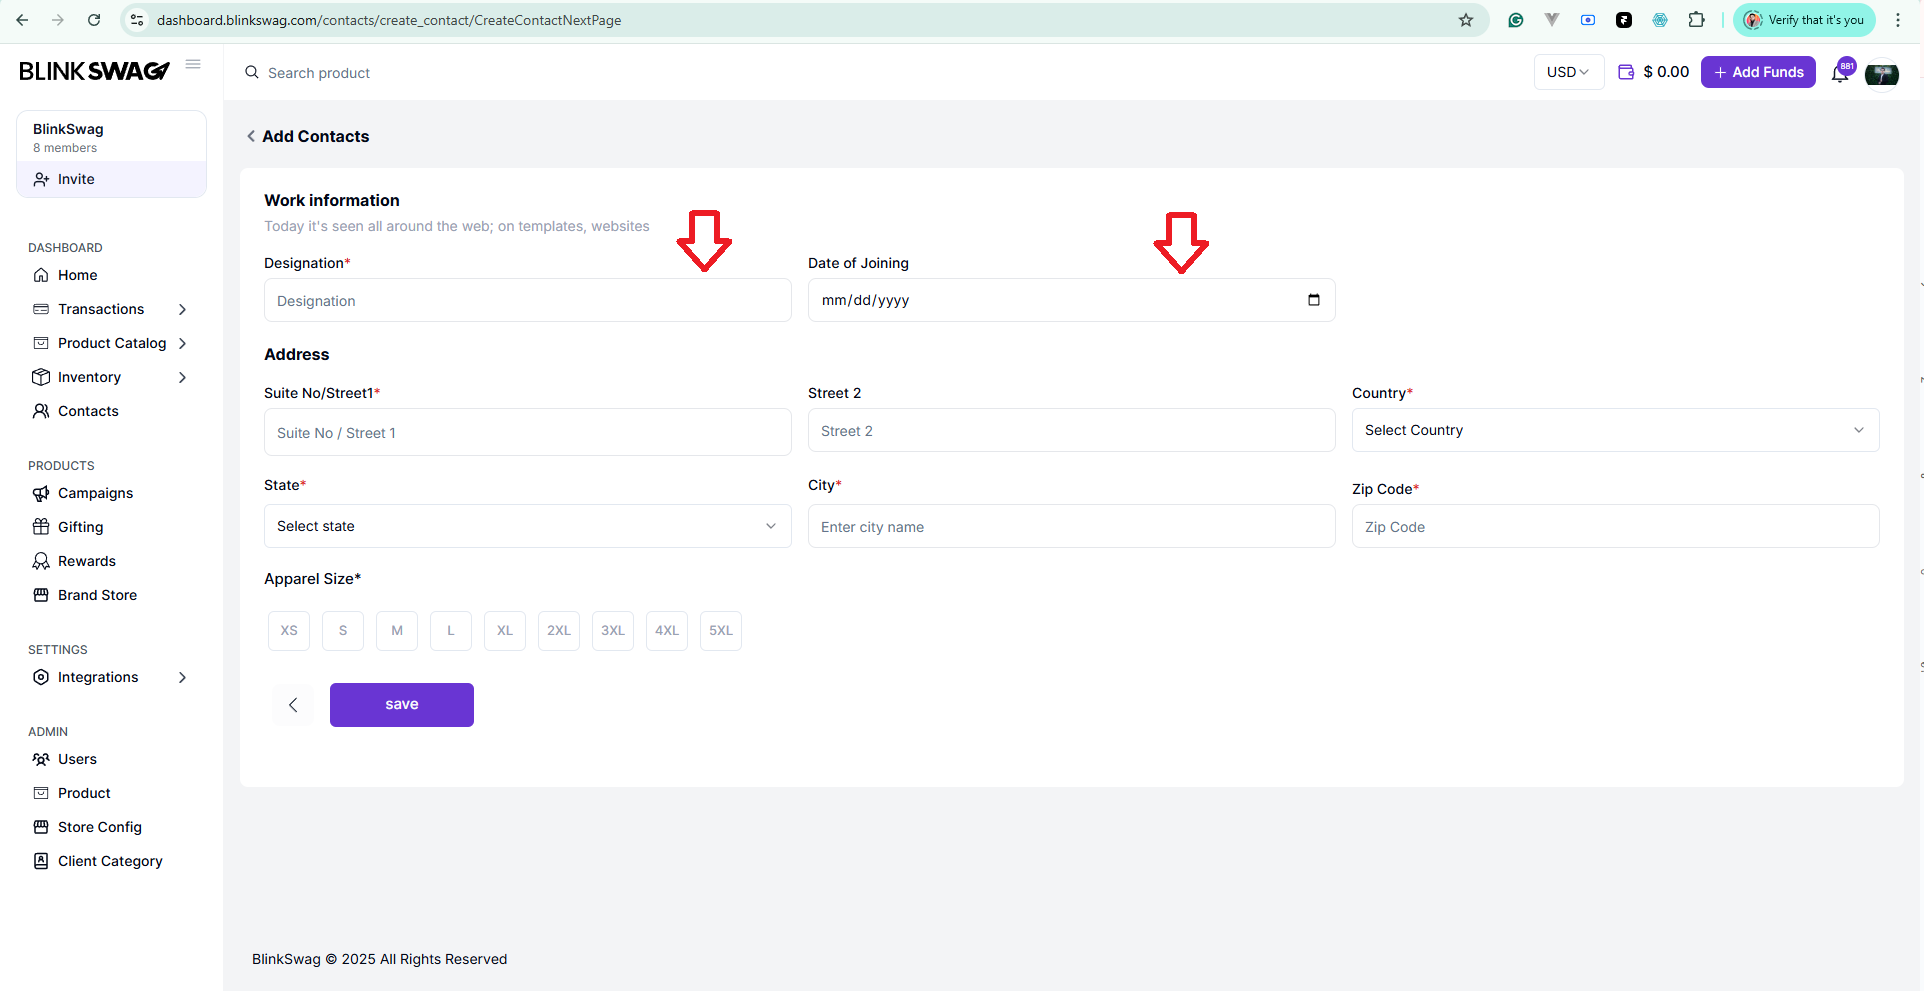
2. Address Details:
- Suite No/Street1 (Required): Enter the primary address line, such as suite number or street name.
- Street 2 (Optional): Include additional address information, if applicable (e.g., apartment number, floor).
- Country (Required): Select the country from the dropdown menu.
- State (Required): Choose the state or region from the dropdown.
- City (Required): Enter the city where the contact is located.
- Zip Code (Required): Provide the postal code for the contact’s address.
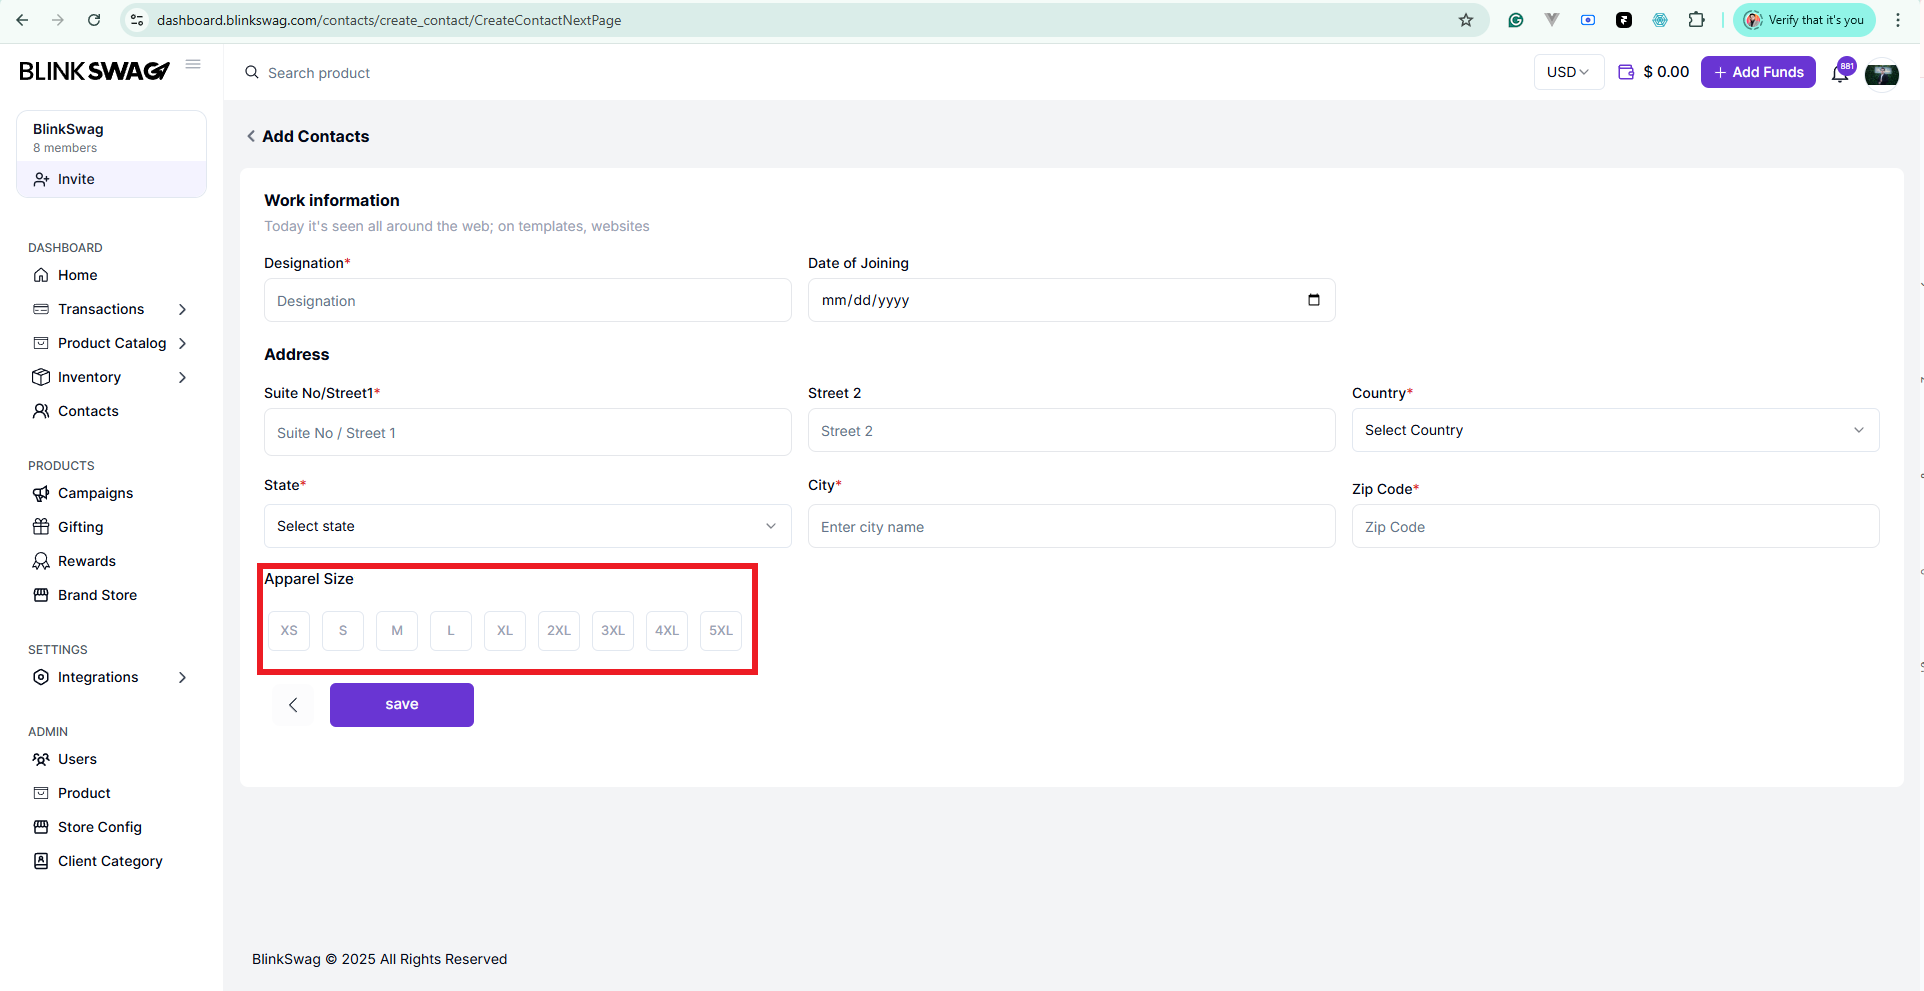
3. Apparel Size (Required):
Select the apparel size for the contact from the available options:
- XS, S, M, L, XL, 2XL, 3XL, 4XL, 5XL.
- This field is particularly useful for gifting or apparel-related tasks.
Completing the Process:
- After filling all the required contact details, click Save to finalize the contact.
- If you need to revisit or modify earlier fields, click the Back button.