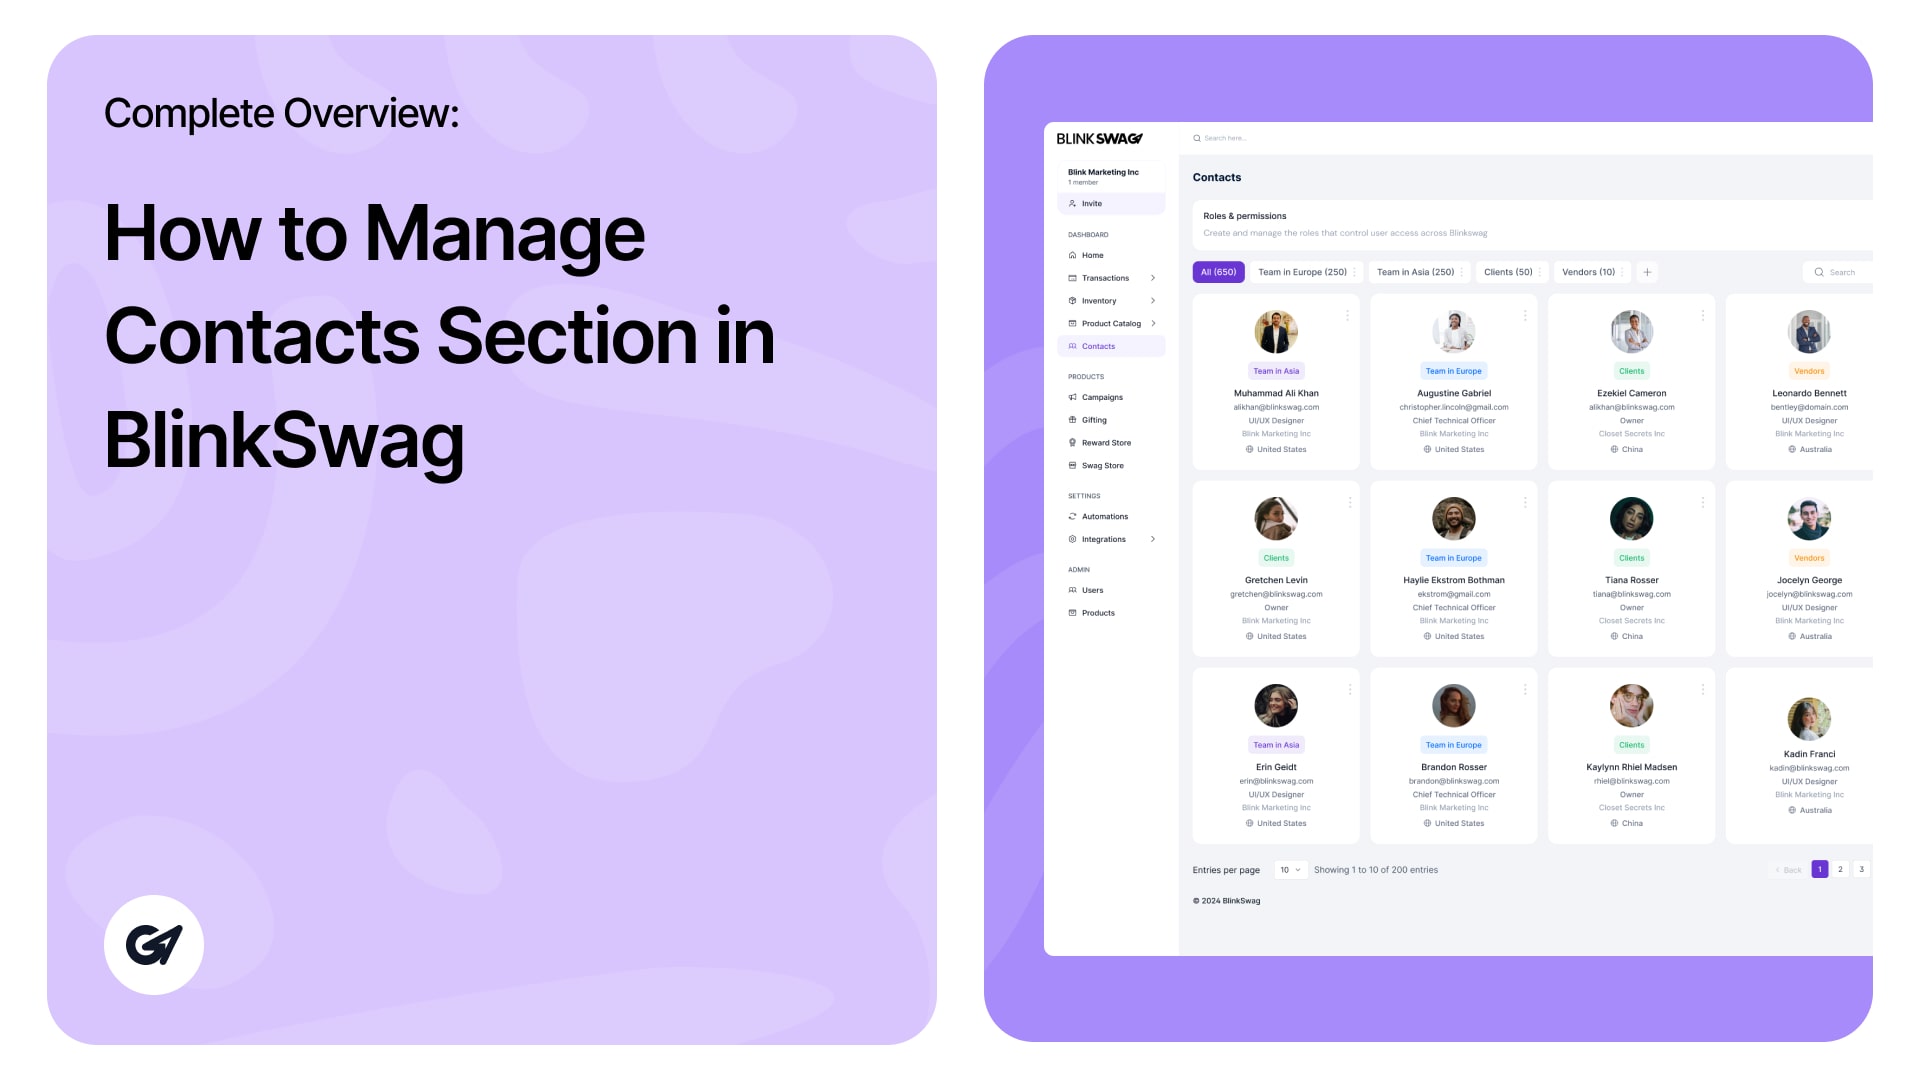
The Contacts Section in BlinkSwag provides a centralized interface to effectively manage and organize your contacts. This guide outlines all features, including new additions to the module’s functionality.
1. Accessing the Contacts Section
Navigate to the Contacts section via the left-hand menu under the Dashboard. This module allows you to:
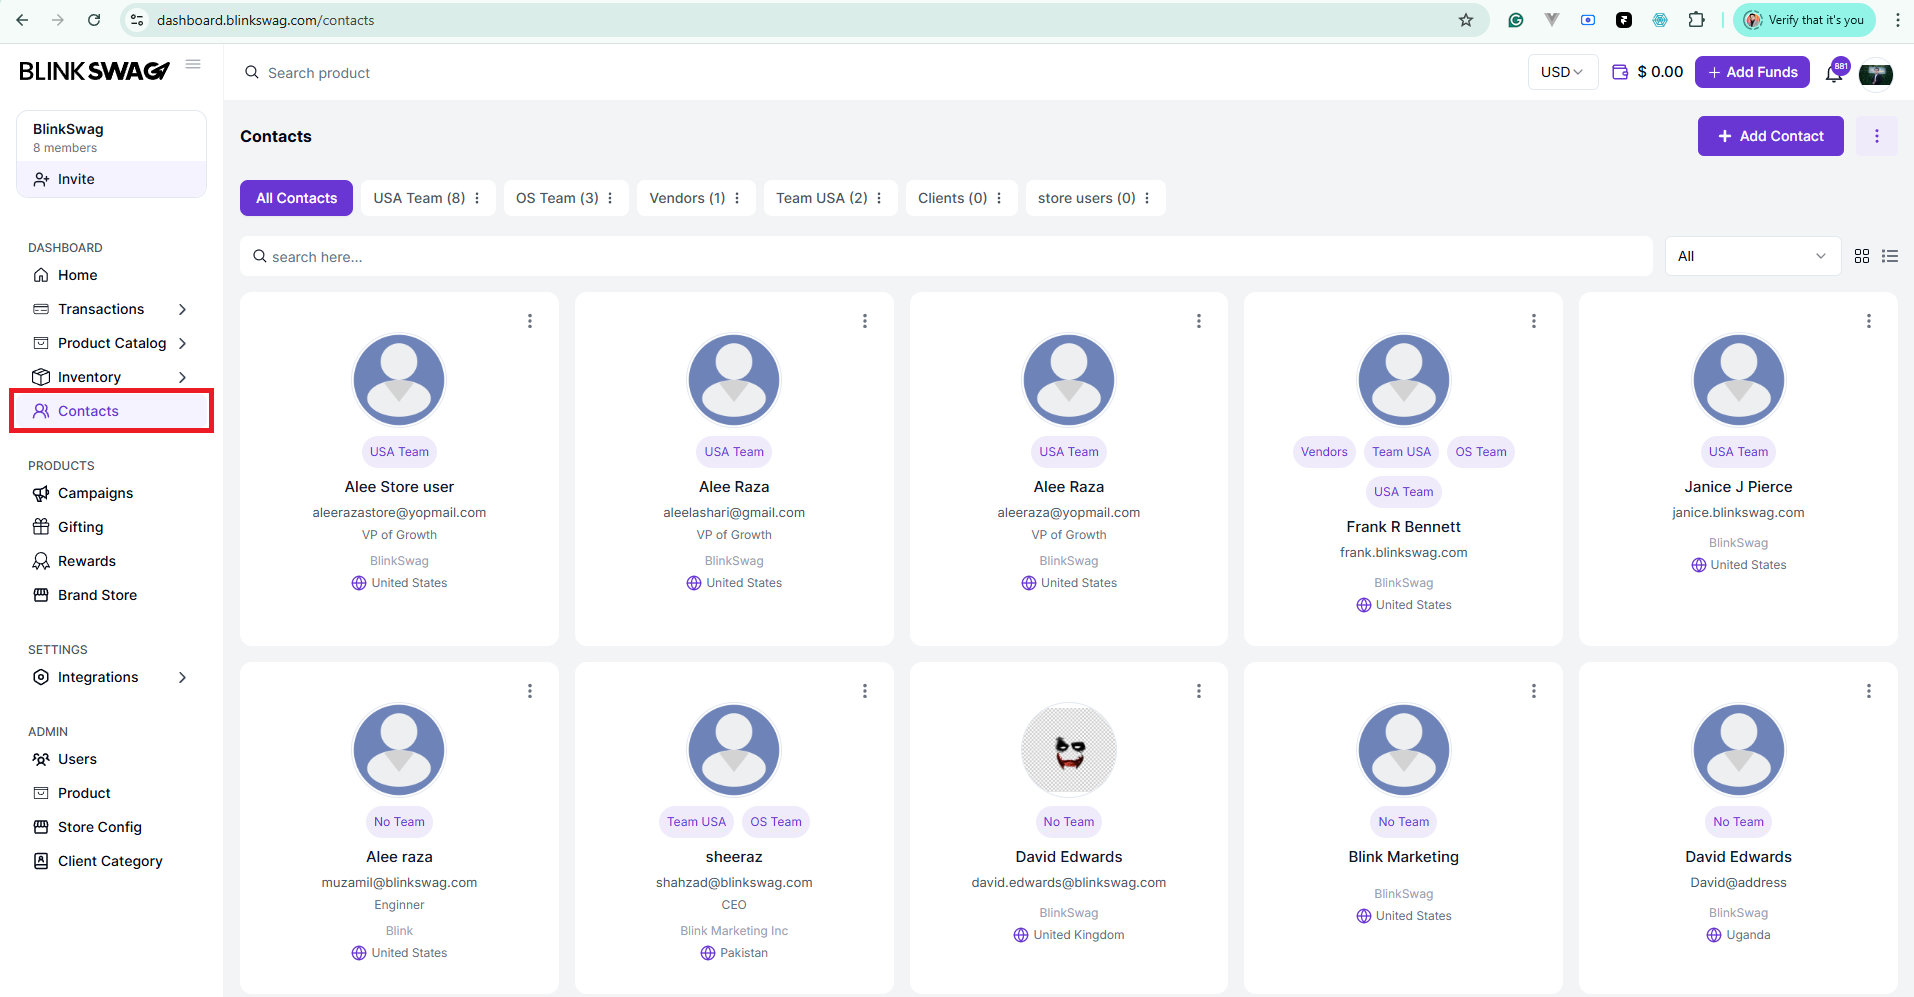
- View and search contacts.
- Filter contacts by teams or groups.
- Manage contact details and statuses.
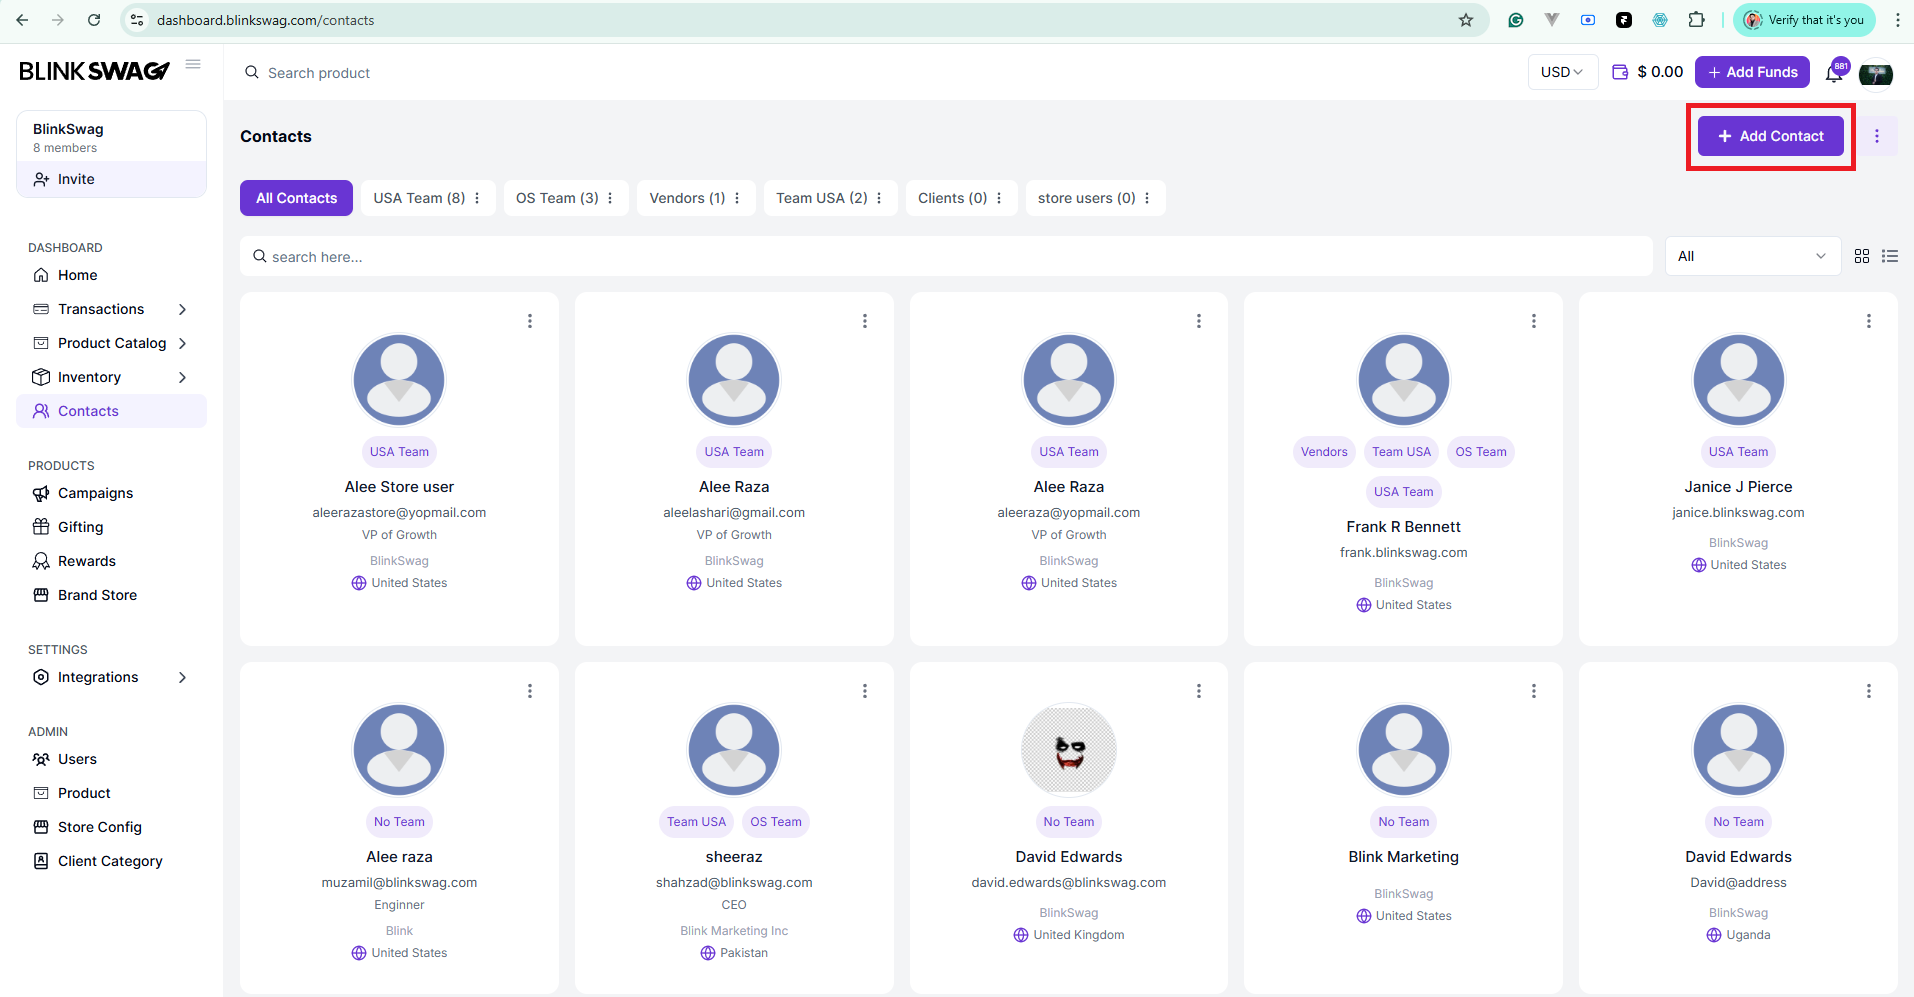
2. Overview of the Contacts Interface
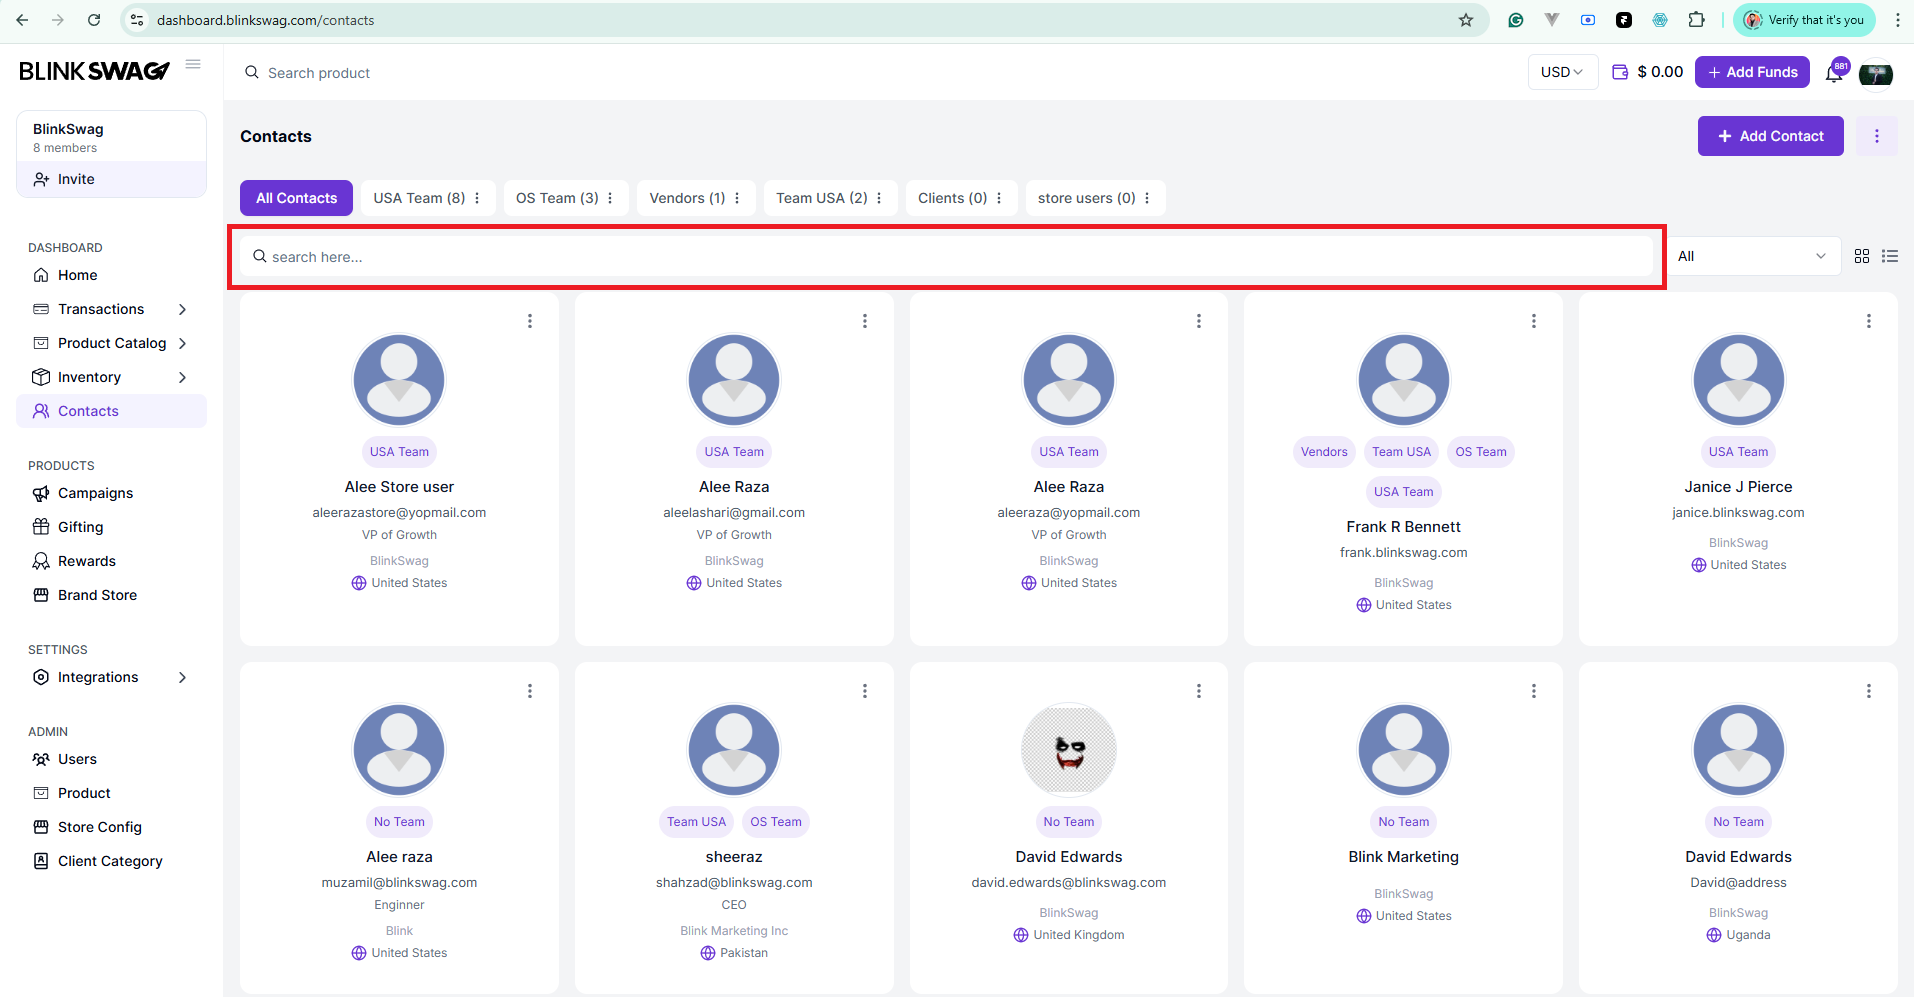
Header Options
1. Search Bar: Quickly find contacts by name, email, or group.
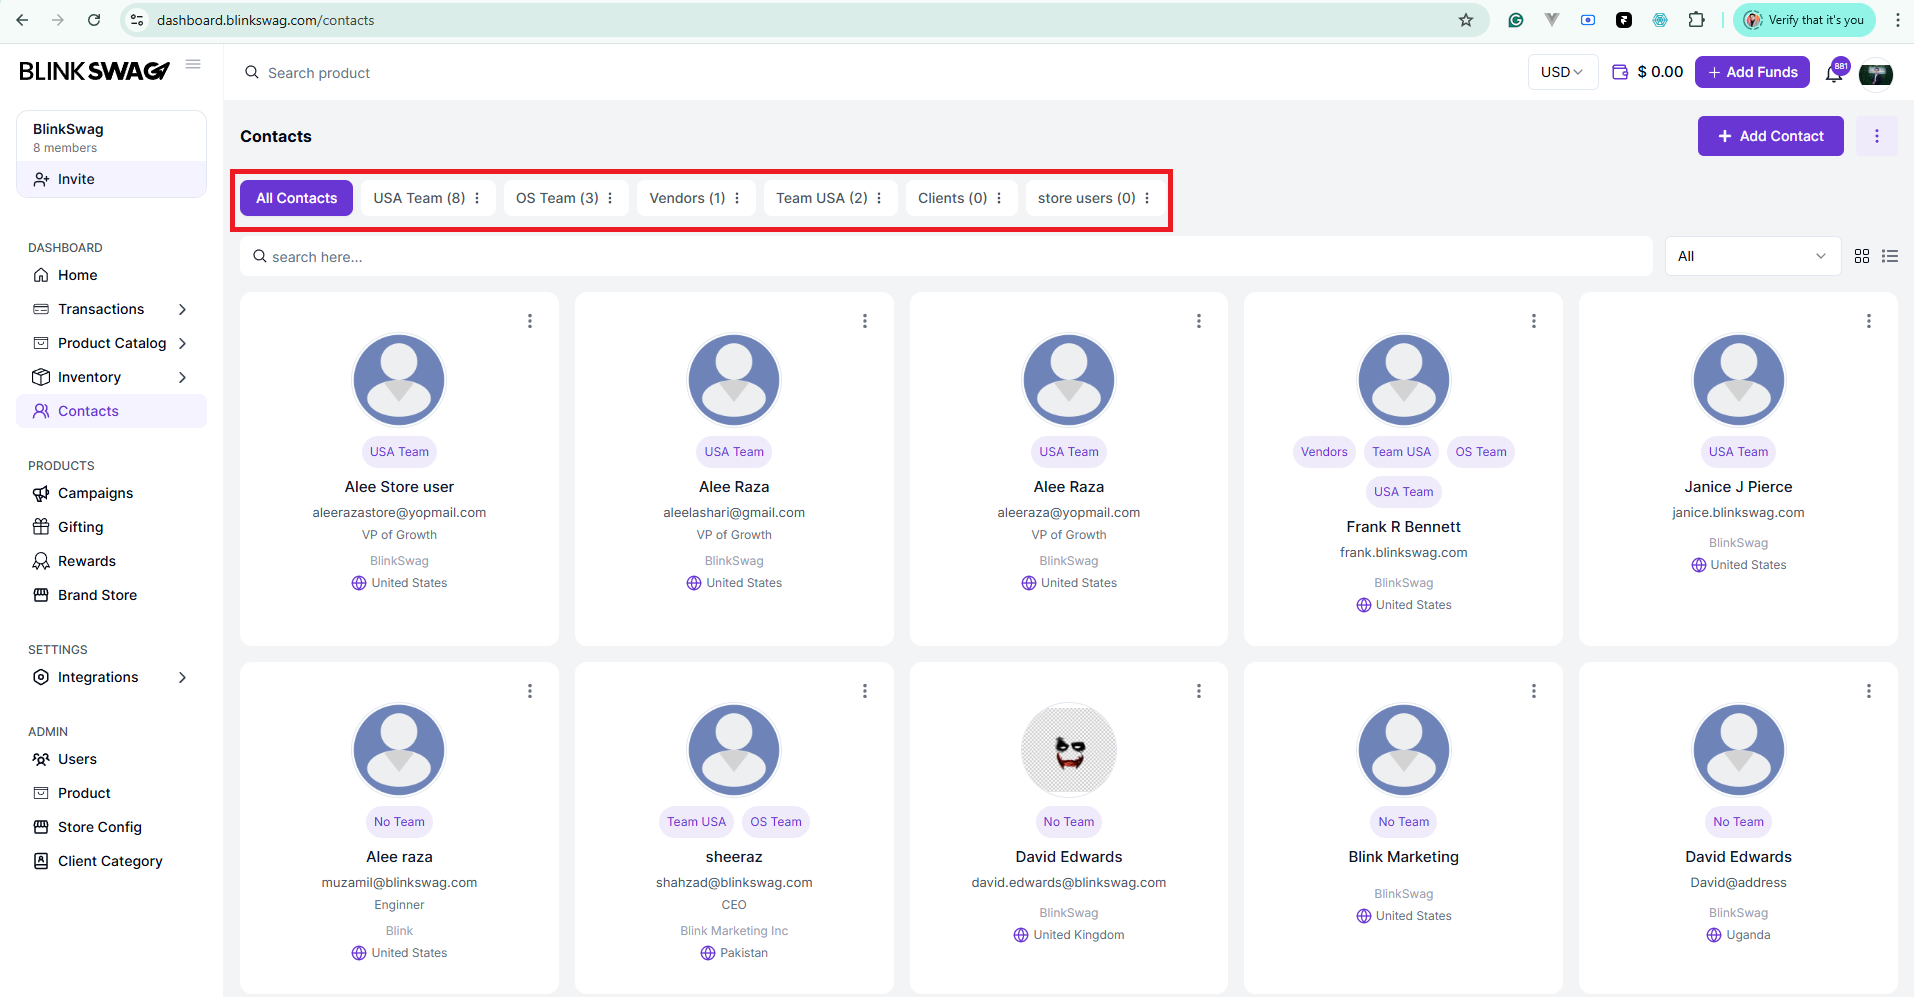
2. Filters:
- All Contacts: Displays every contact in the system.
- Group-specific filters (e.g., USA Team, OS Team, Vendors).
3. Three Dot Menu Right side to Add Contact Button
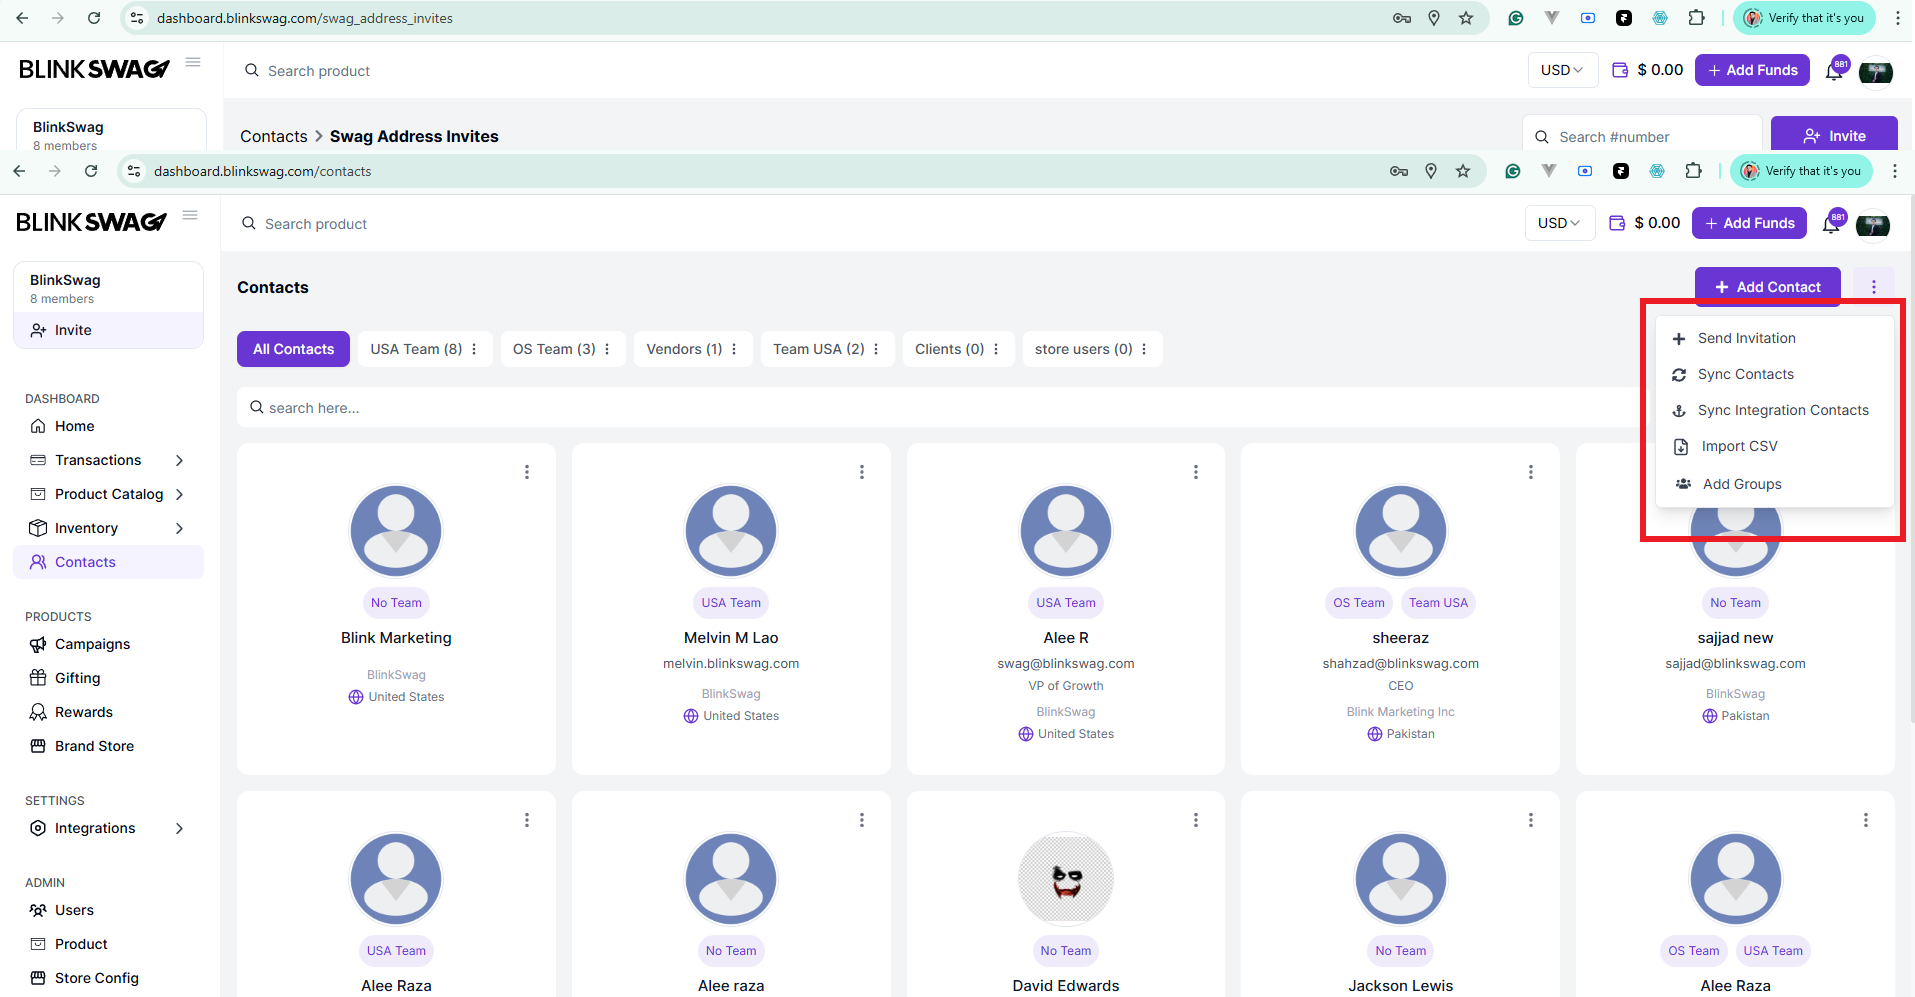
- Send Invitation:
- Use this option to send invitations to individuals via email.
- Useful for onboarding new contacts or team members into the system.
- Sync Contacts:
- Sync existing contacts from external sources (e.g., CRM tools or other systems integrated with BlinkSwag).
- Ensures your contact list stays updated and consolidated across platforms.
- Sync Integration Contacts:
- Specifically for syncing contacts from integrations such as third-party tools or software connected to BlinkSwag.
- Useful for seamless data transfer and real-time updates.
- Import CSV:
- Quickly upload multiple contacts by importing a CSV file.
- Steps:
- Click Import CSV.
- Choose the file from your system.
4. Add Contact: Click on Add Contact Button at top right to create a new contact with the provided form.
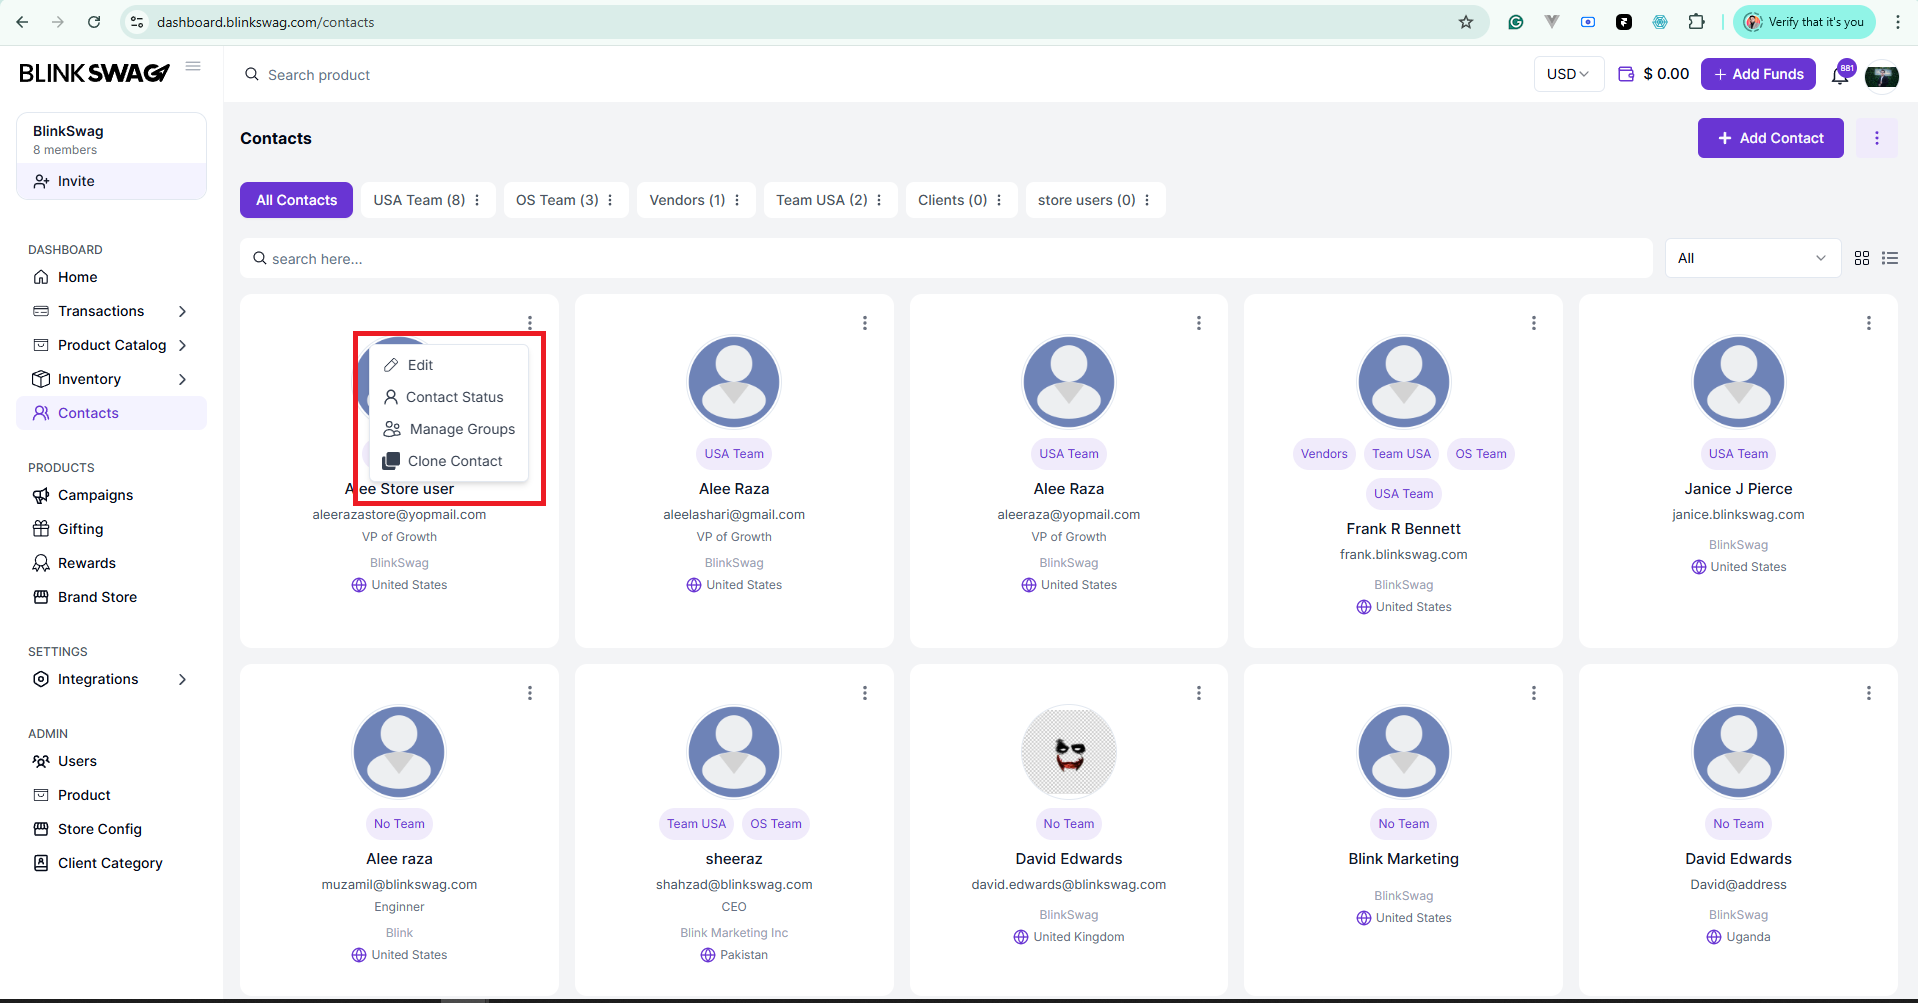
5. Three-Dot Menu: Access advanced settings or bulk actions (e.g., Edit, Clone).