Accessing the Users Tab
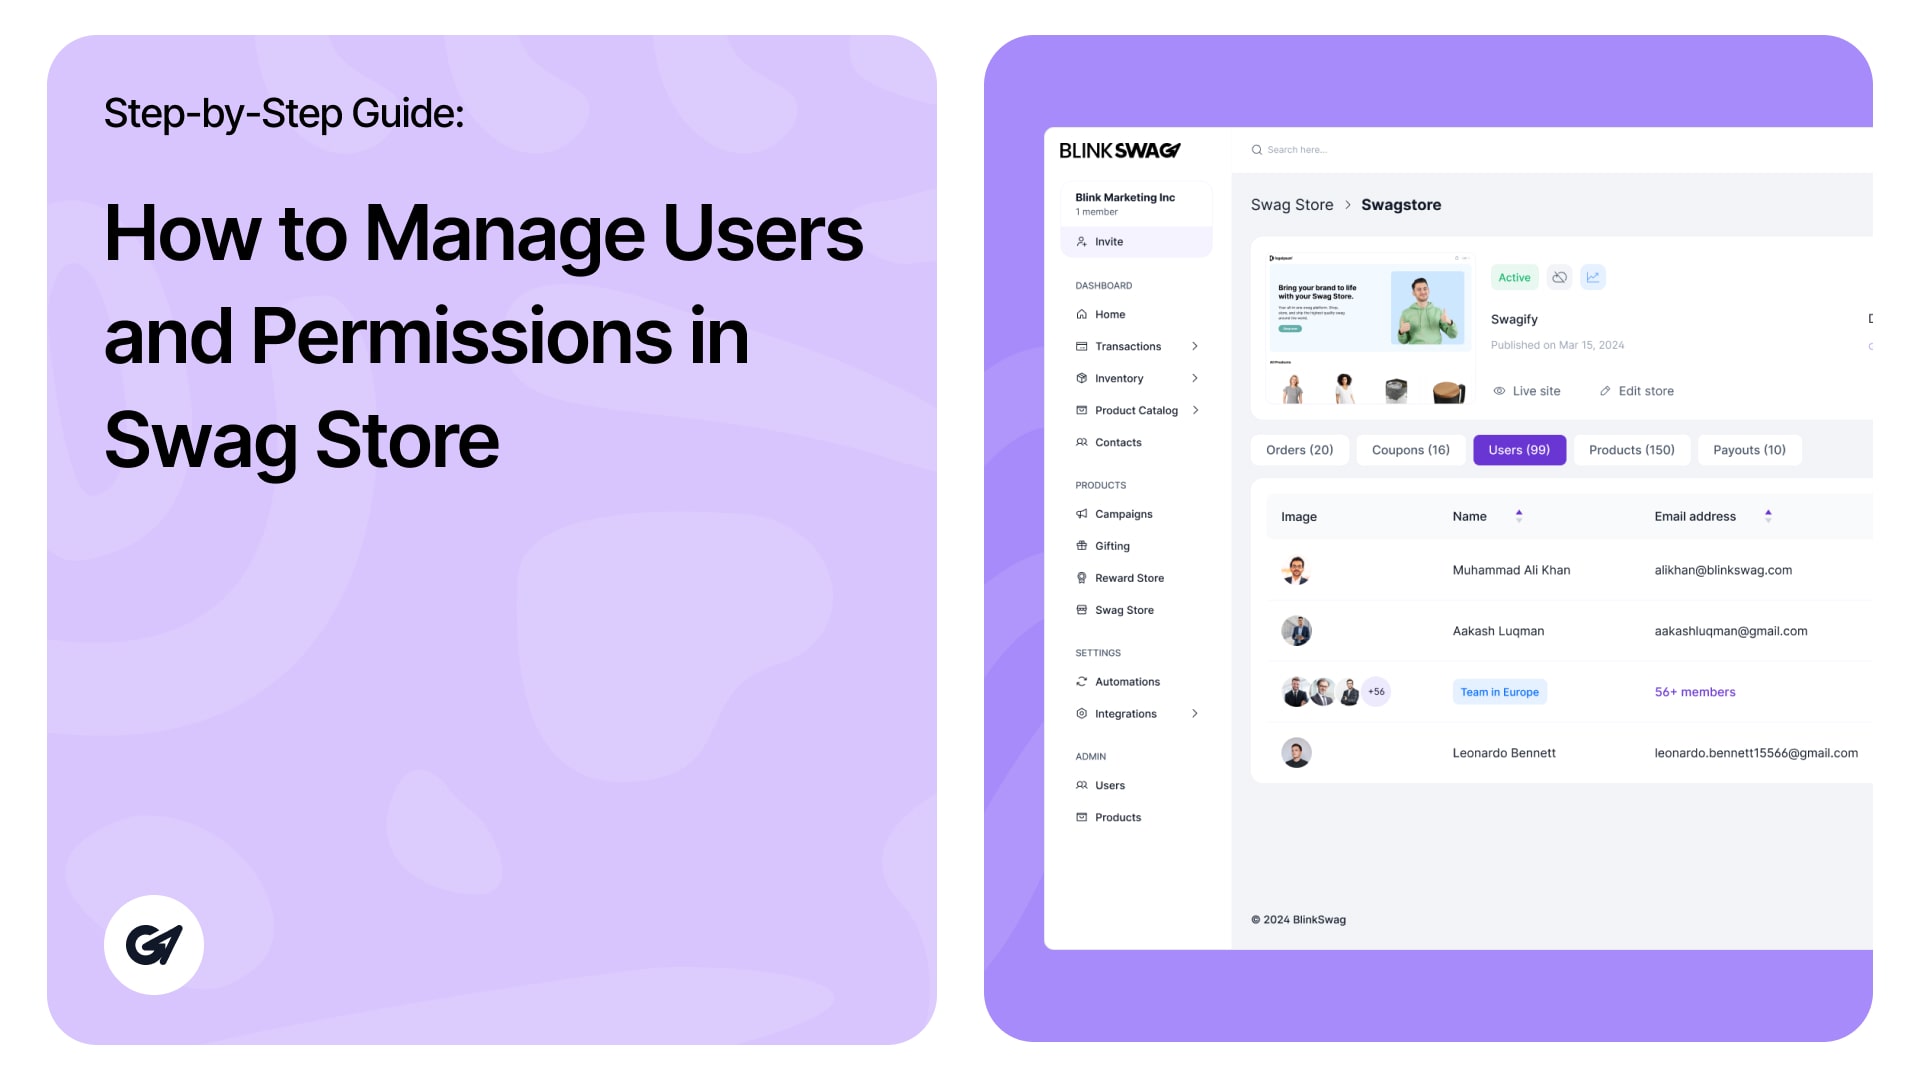
The Users Tab in the Swag Store provides an overview of all users associated with your store. Here, you can manage users by their roles, view user status, and access specific details.
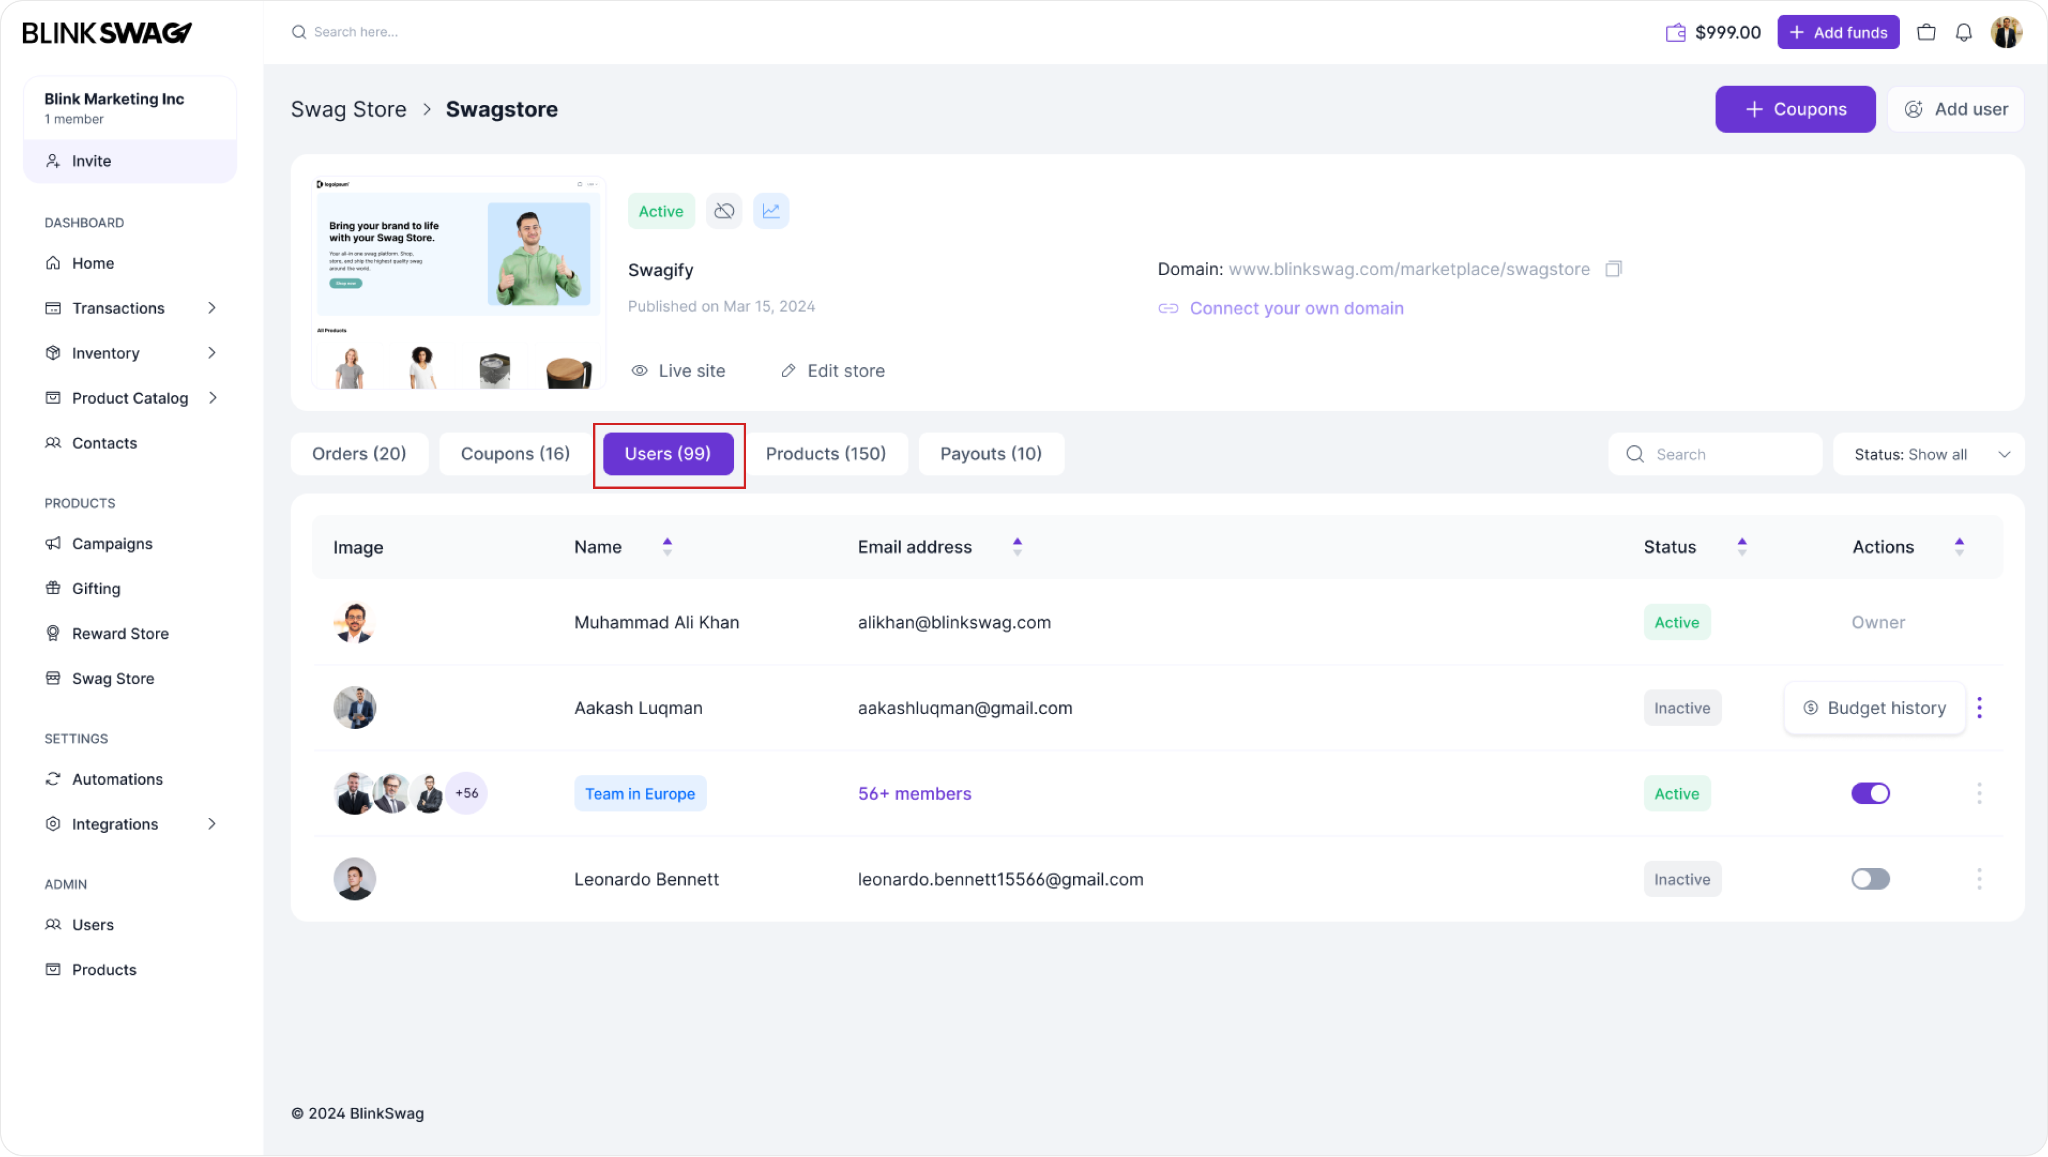
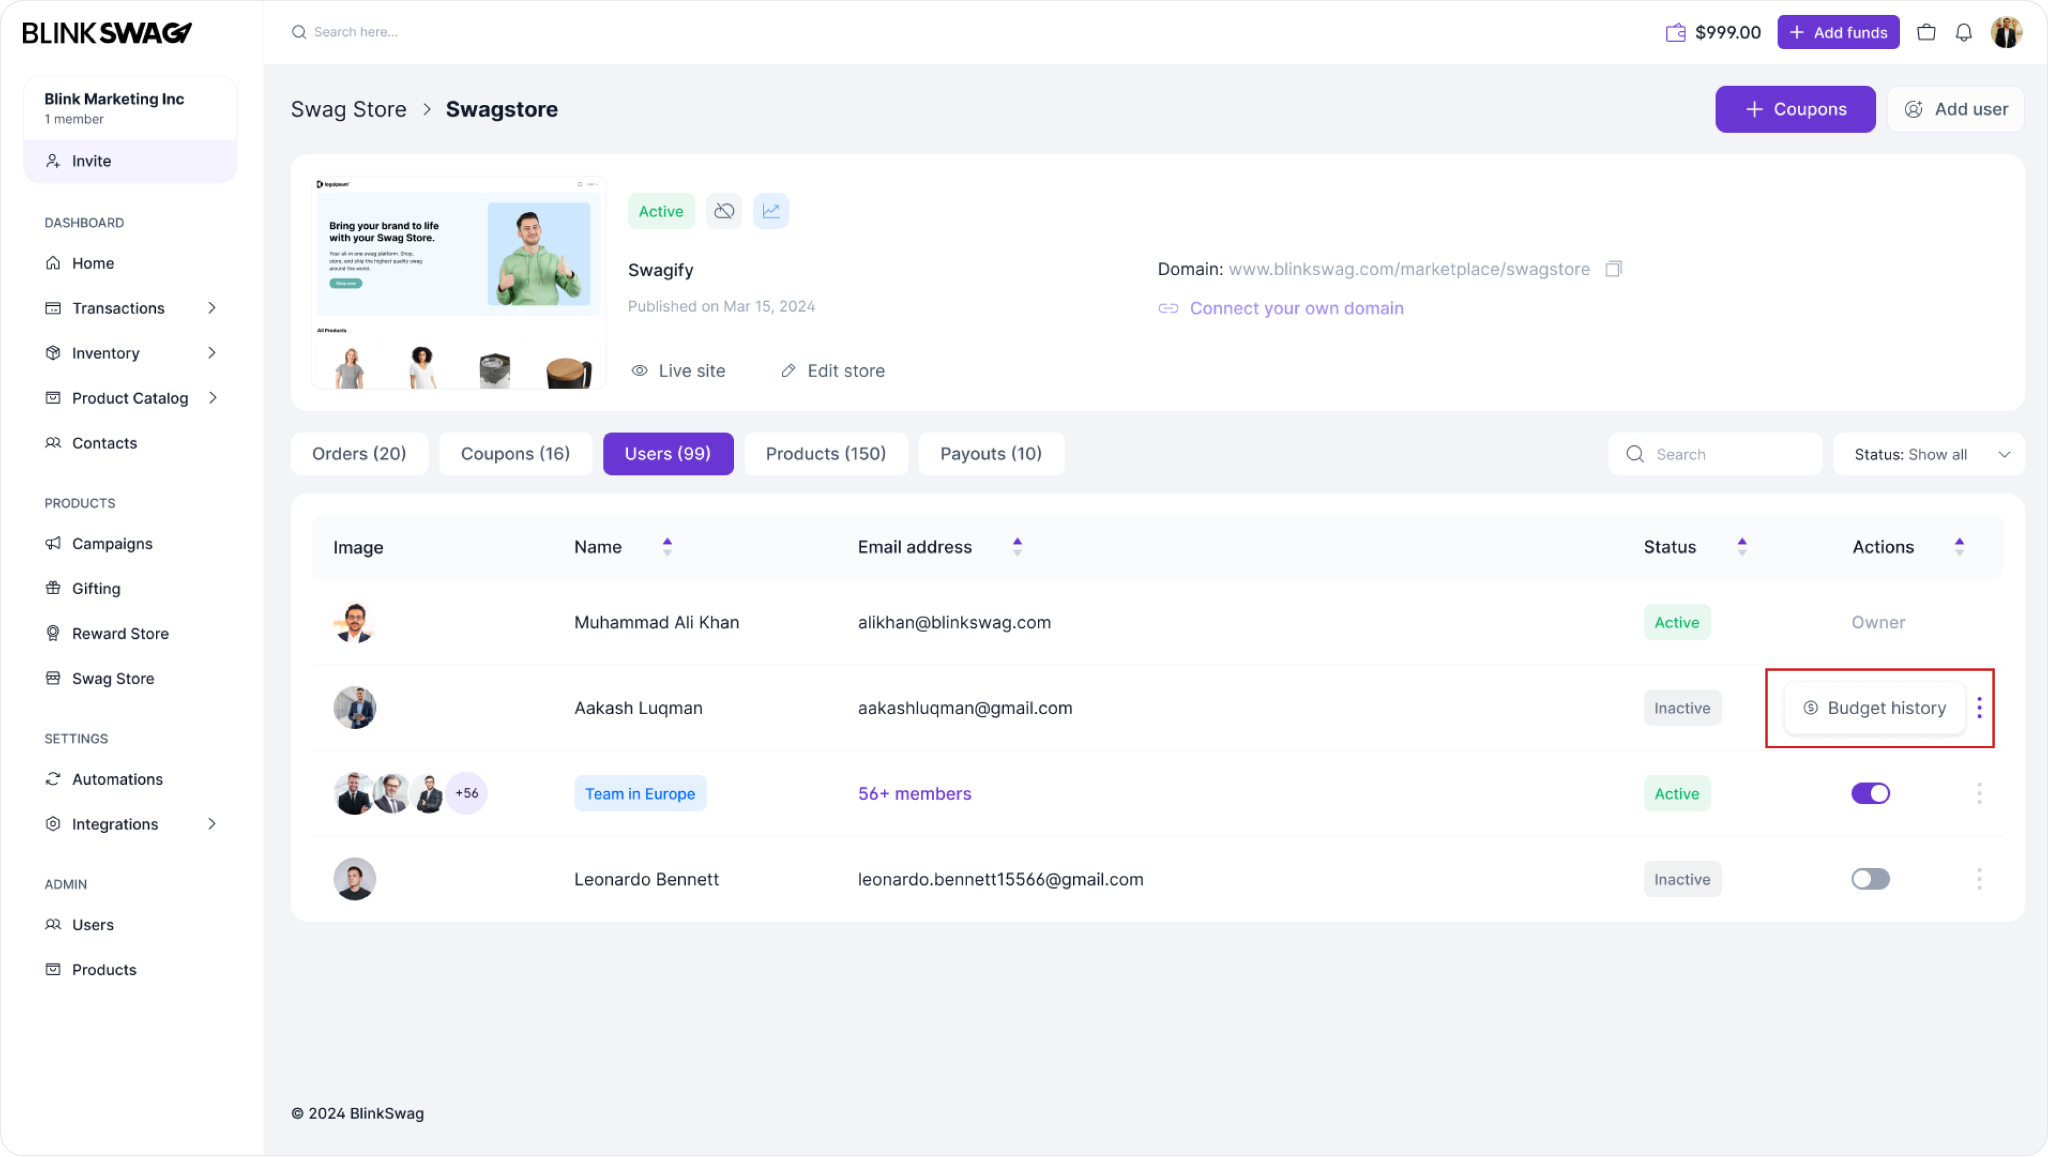
1. Access Users: To see all users, click on the Users (99) tab, highlighted in red. This displays a list of users with their respective details.
2. User Details:
- Name and Email: Each user’s name and email address are listed.
- Status: Indicates whether a user is Active or Inactive.
- Actions: You can manage individual users by accessing options like viewing Budget history or adjusting their permissions.
3. Managing User Groups: Some users might belong to groups (e.g., Team in Europe), allowing bulk management for users in the same region or team.
To View a User’s Budget History in the Swag Store:
1. Locate the User: In the Users Tab, find the user whose budget history you want to check.
2. Select Budget History: Click on the Budget history button in the Actions column next to the user’s details. This option is available for users with assigned budgets.
? Assigning a budget to users is easy—watch the quick video tutorial below!
Adding a New User to the Swag Store
To add a new user to your Swag Store, follow these steps:
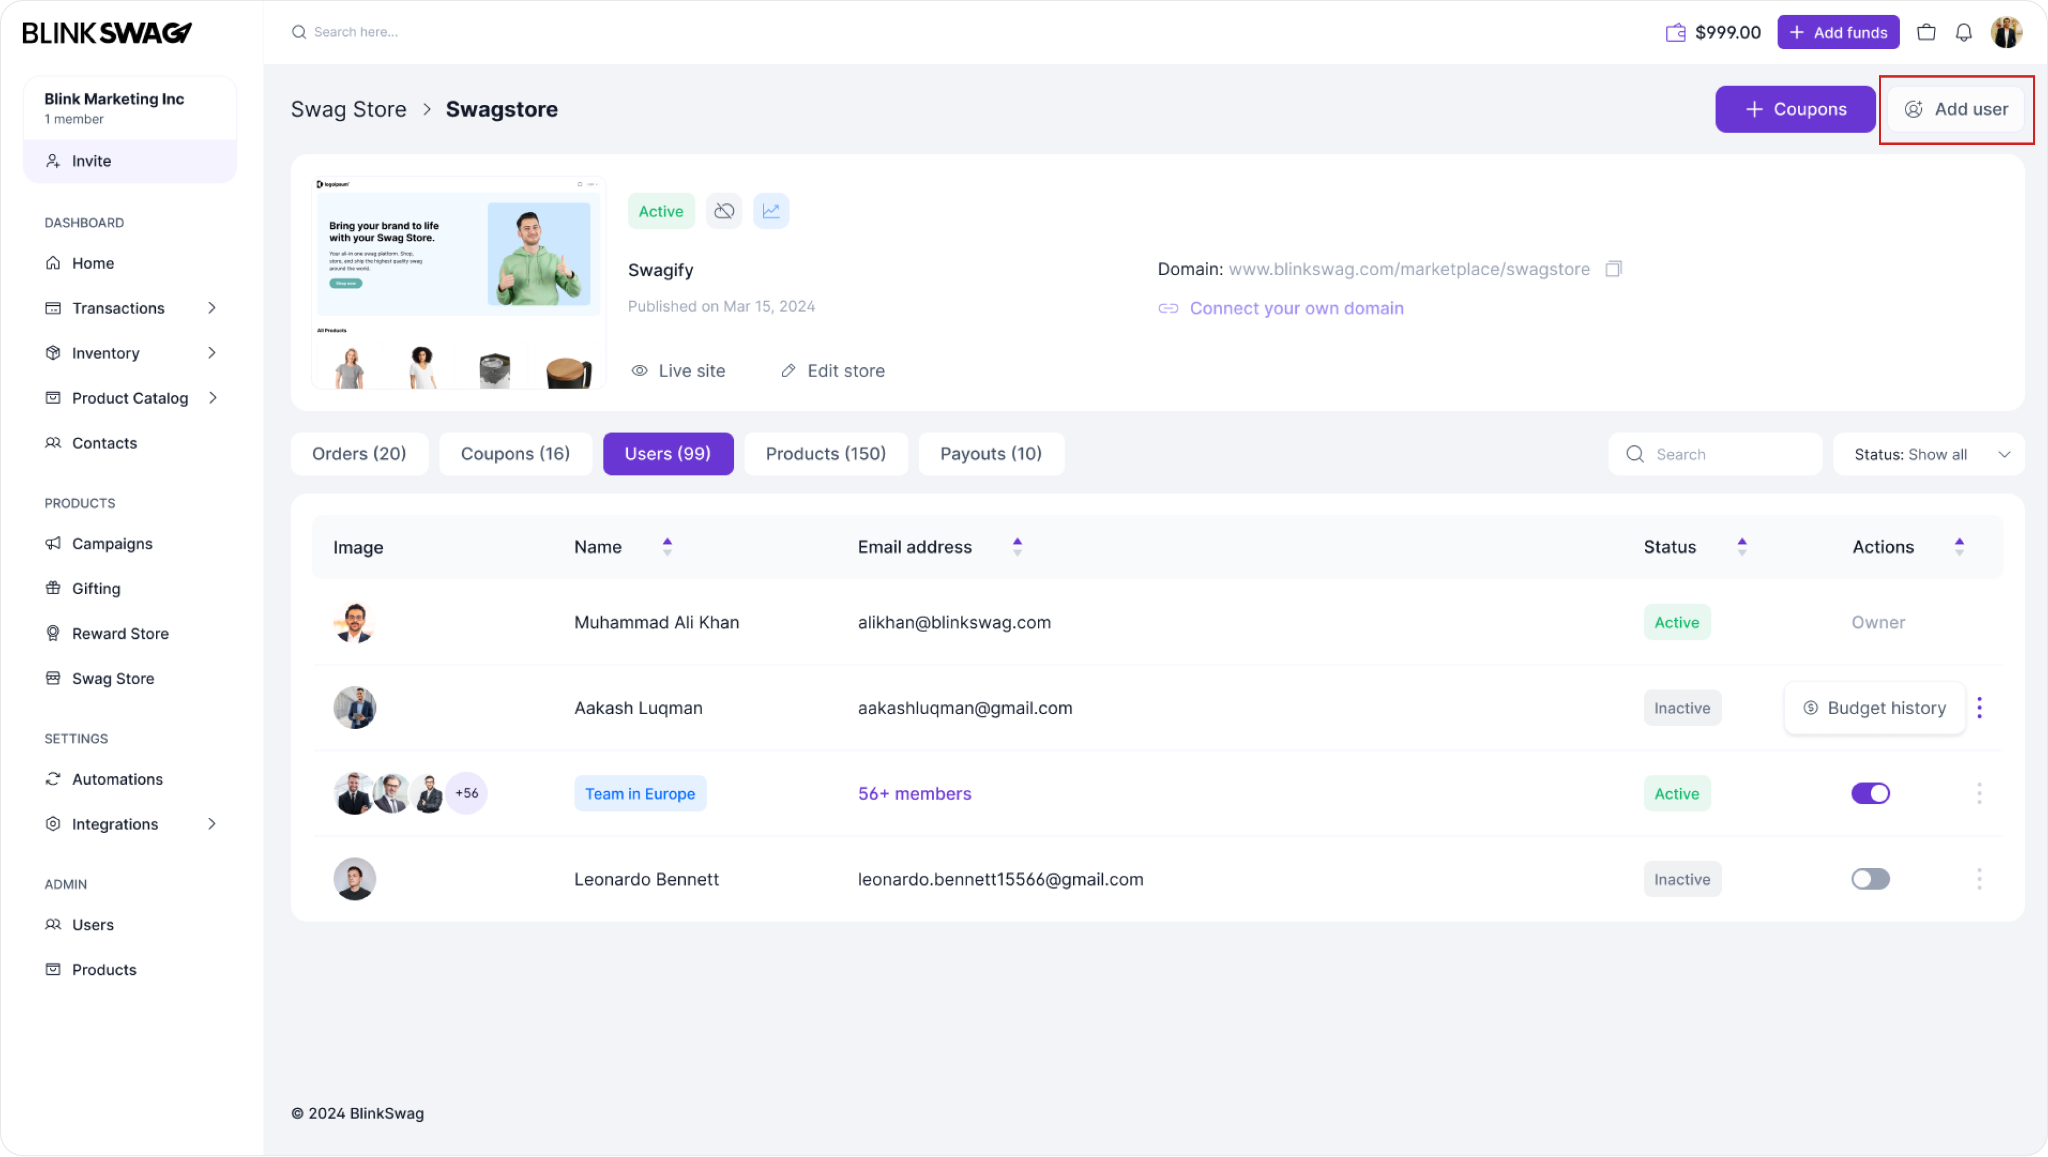
1. Locate the Add User Button: In the Users Tab, you’ll see an “Add User” button on the upper right corner of the screen (highlighted in red). Click on this button to start the process of adding a new user.
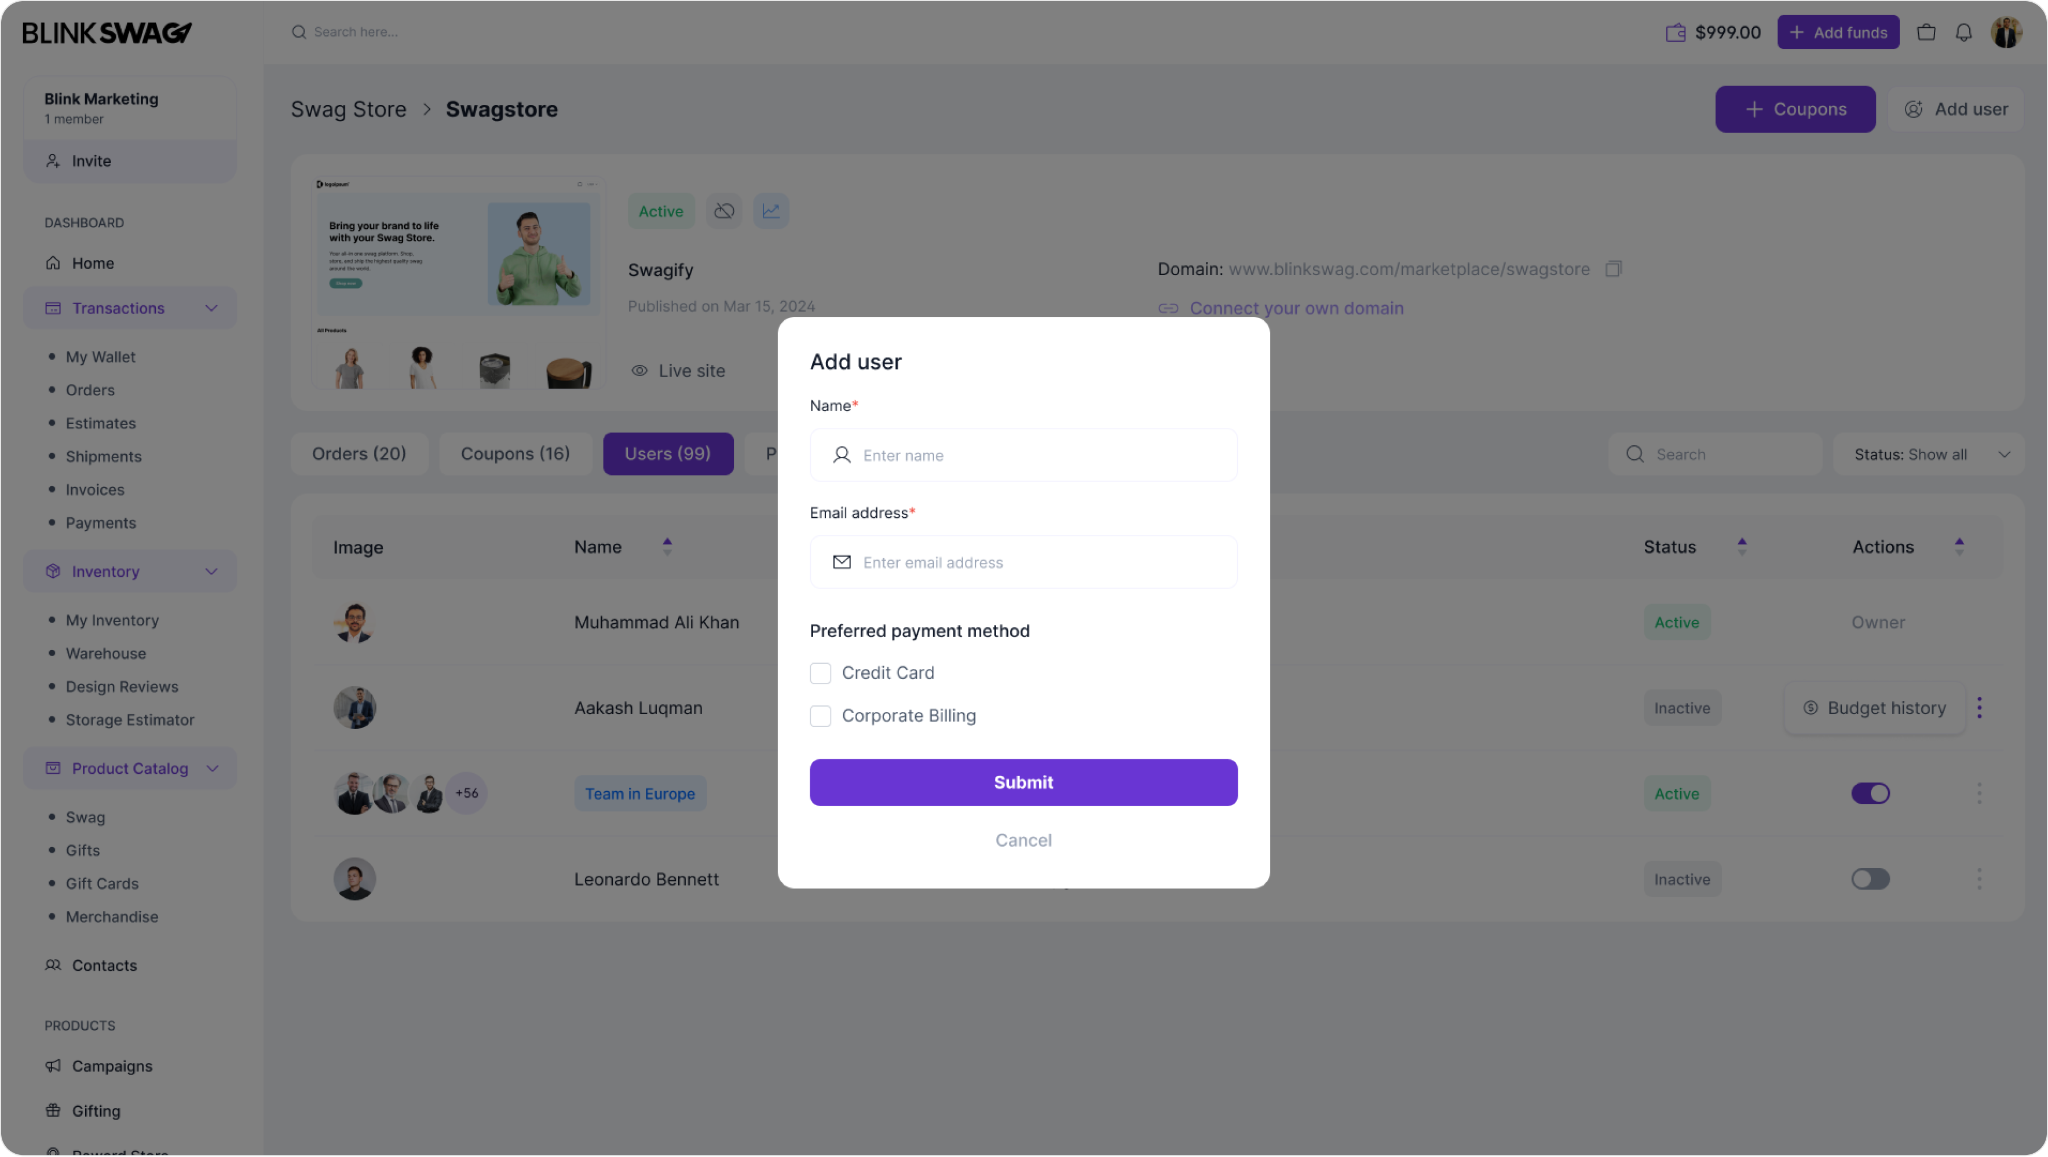
2. In the Add User dialogue box for Swag Store, you’ll be prompted to fill out the following details:
- Name: Enter the full name of the user you wish to add.
- Email Address: Provide the user’s email address. This will be used for login credentials and notifications.
- Preferred Payment Method: Choose the payment method associated with this user:
- Credit Card: Select if the user will pay through a credit card.
- Corporate Billing: Select if the user is to be billed through corporate accounts.
- Submit: Once all details are filled in, click Submit to add the user. The new user will appear in the Users Tab with the assigned payment method and access permissions.
? Easily invite users by following the simple steps in the tutorial below!