How to Set Custom Criteria for a Workflow
Setting custom criteria allows you to define further conditions for triggering the workflow automation.
1. Access Custom Criteria:
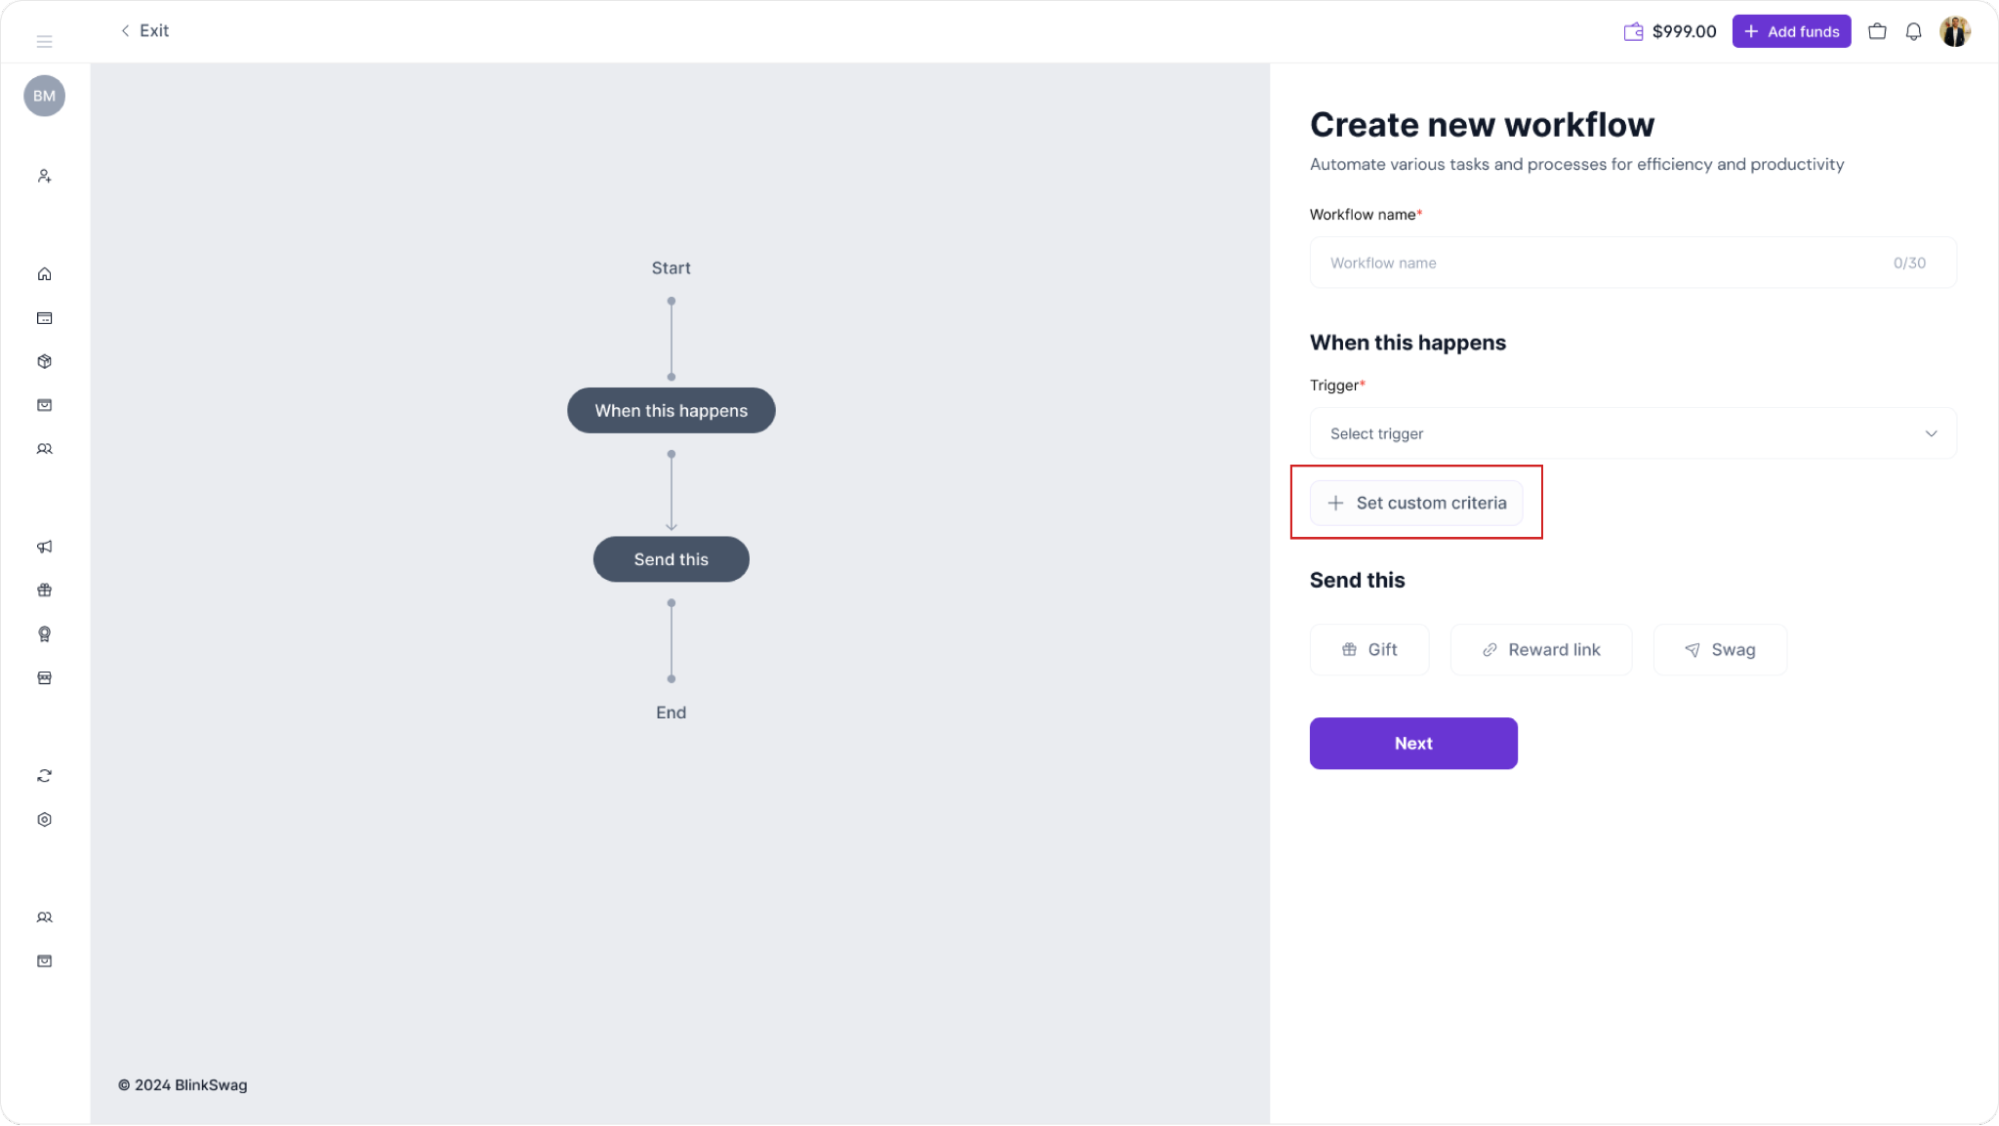
While creating the workflow, in the When this happens section, click on + Set custom criteria (highlighted in a red box). This option lets you add specific conditions that must be met for the workflow to activate.

2. Define Criteria:
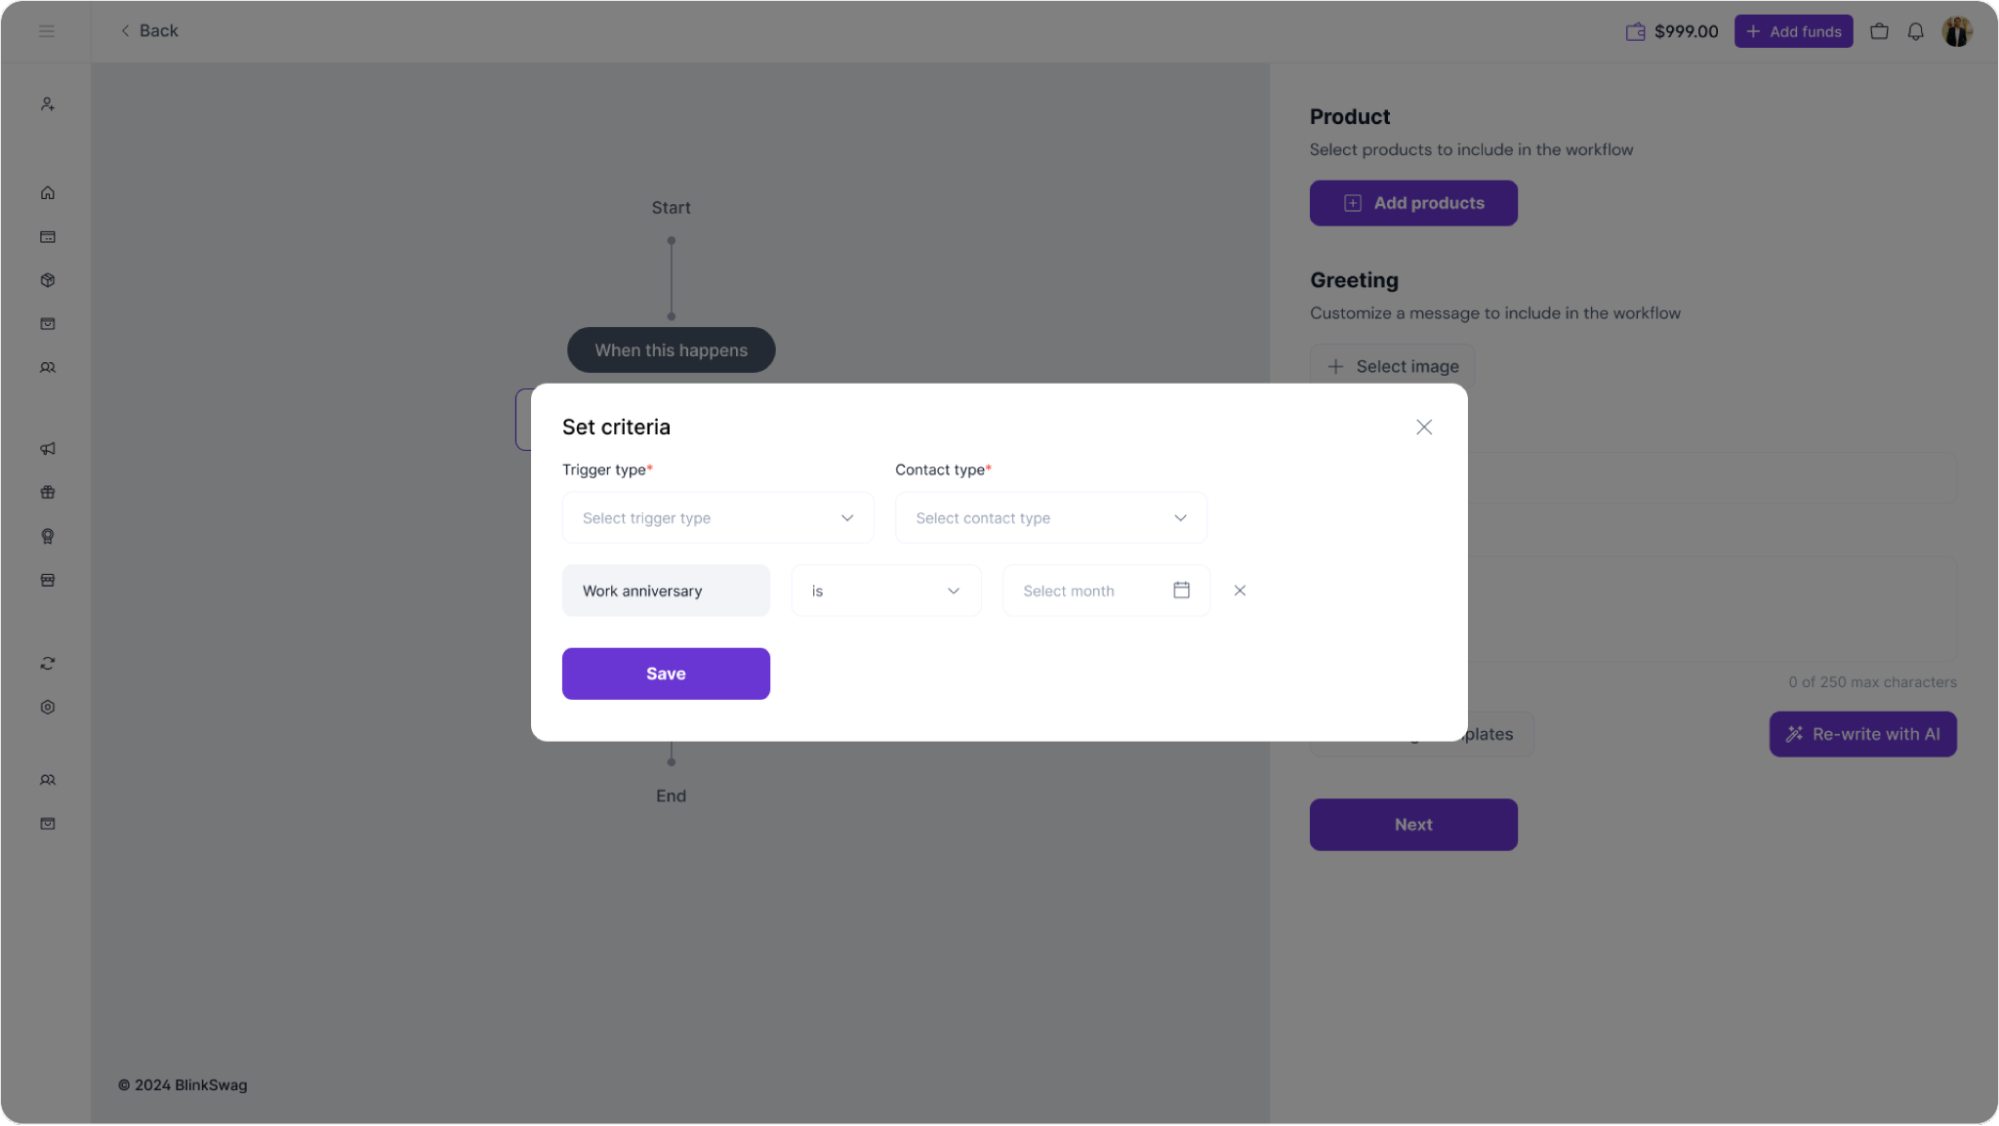
After clicking, a criteria configuration panel will open. Here, you can set conditions based on different attributes, such as contact details, dates, or other data points available within your system.

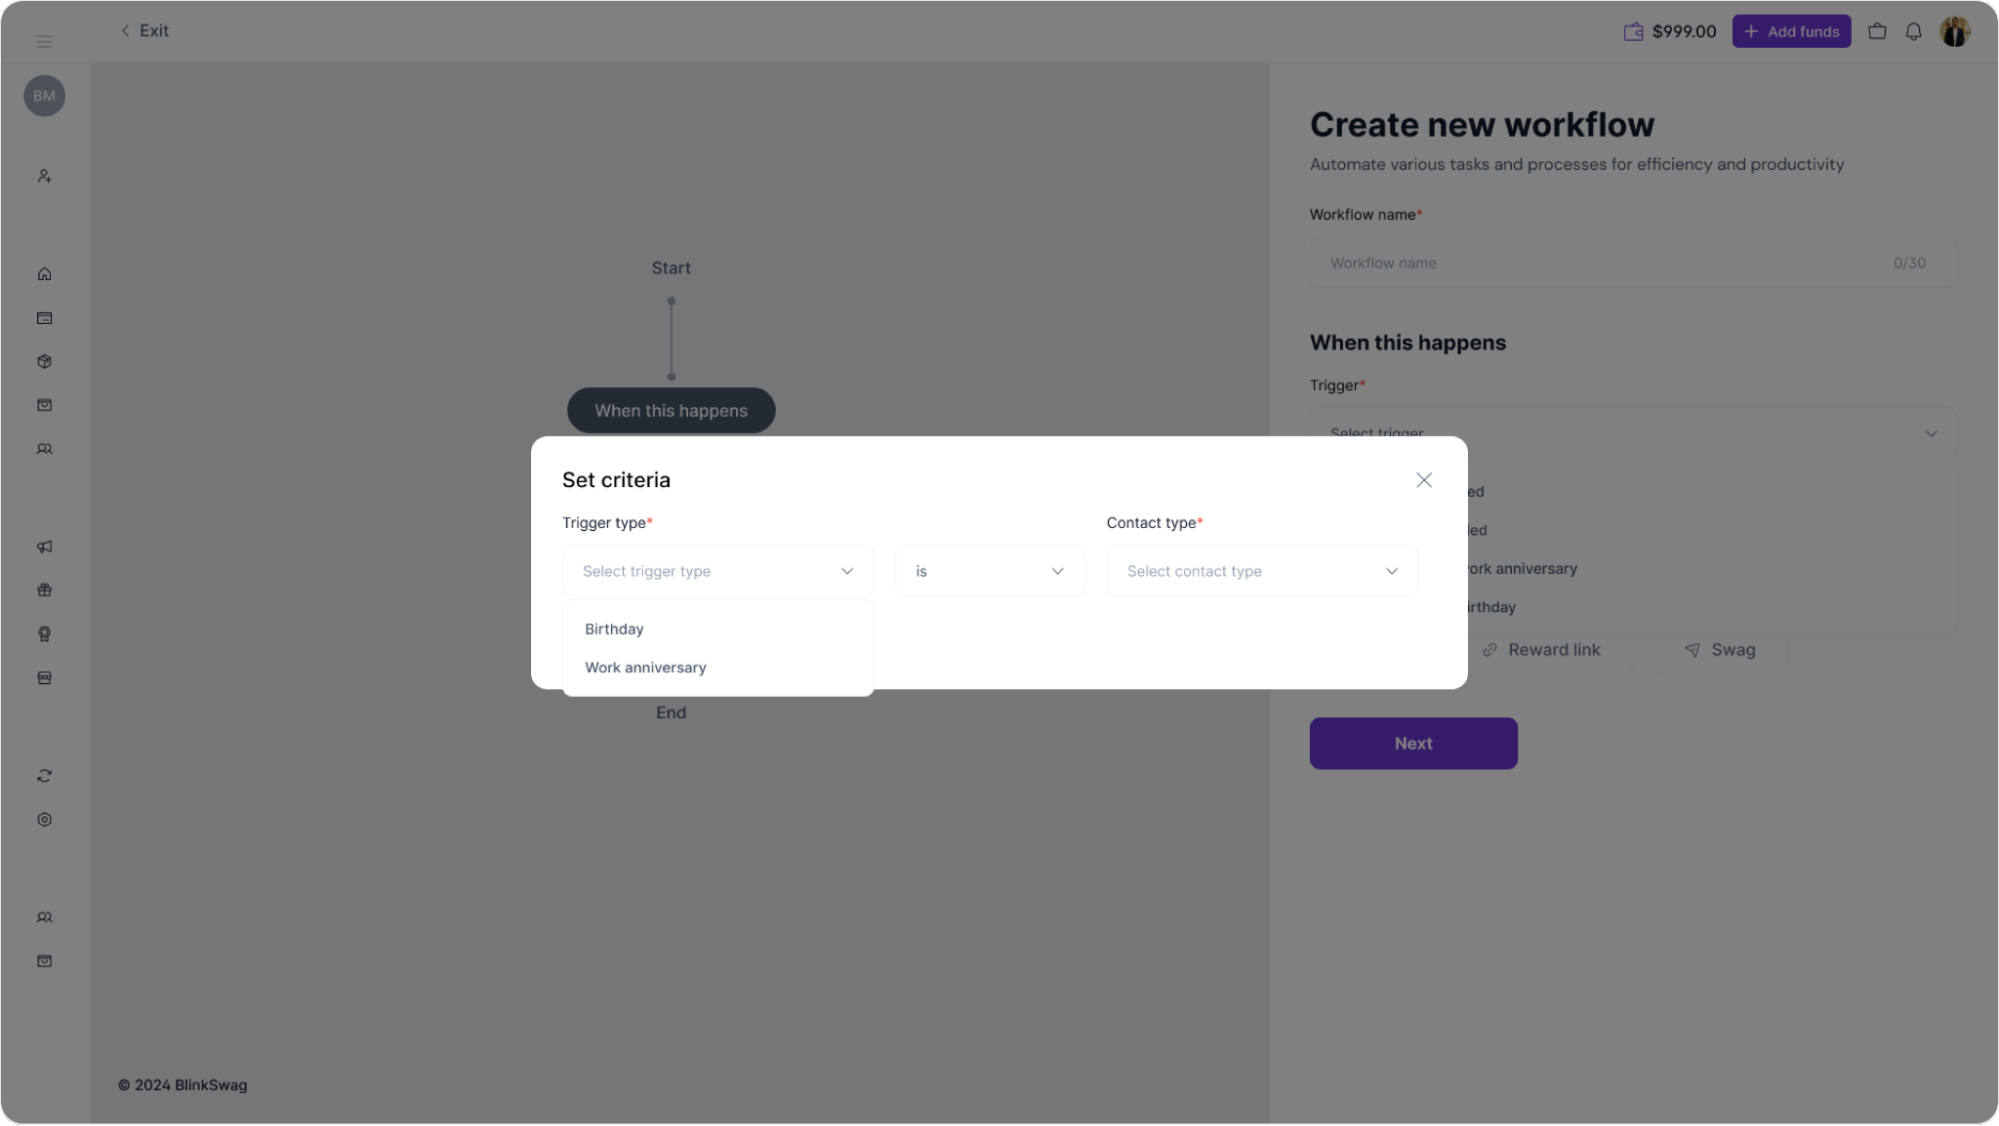
- Trigger Type: Under Trigger type, select the type of event that should activate this custom workflow. Options might include:
- Birthday: Trigger the workflow on the contact’s birthday.
- Work anniversary: Trigger the workflow on the contact’s work anniversary.
- Choose the appropriate trigger based on the purpose of your workflow.
- Specify Conditions: After selecting the trigger type, you can refine it further using logical conditions, such as “is,” to set up precise conditions. For example, if you select Birthday as the trigger type, you could define that the workflow should activate specifically on this event.
- Contact Type: Use the Contact type dropdown to define which contacts this workflow applies to. Depending on your setup, this could be specific groups, like clients or employees.

3. Save Criteria: After defining all necessary criteria, click Save to apply the settings.


