Step 1: Custom Template Option
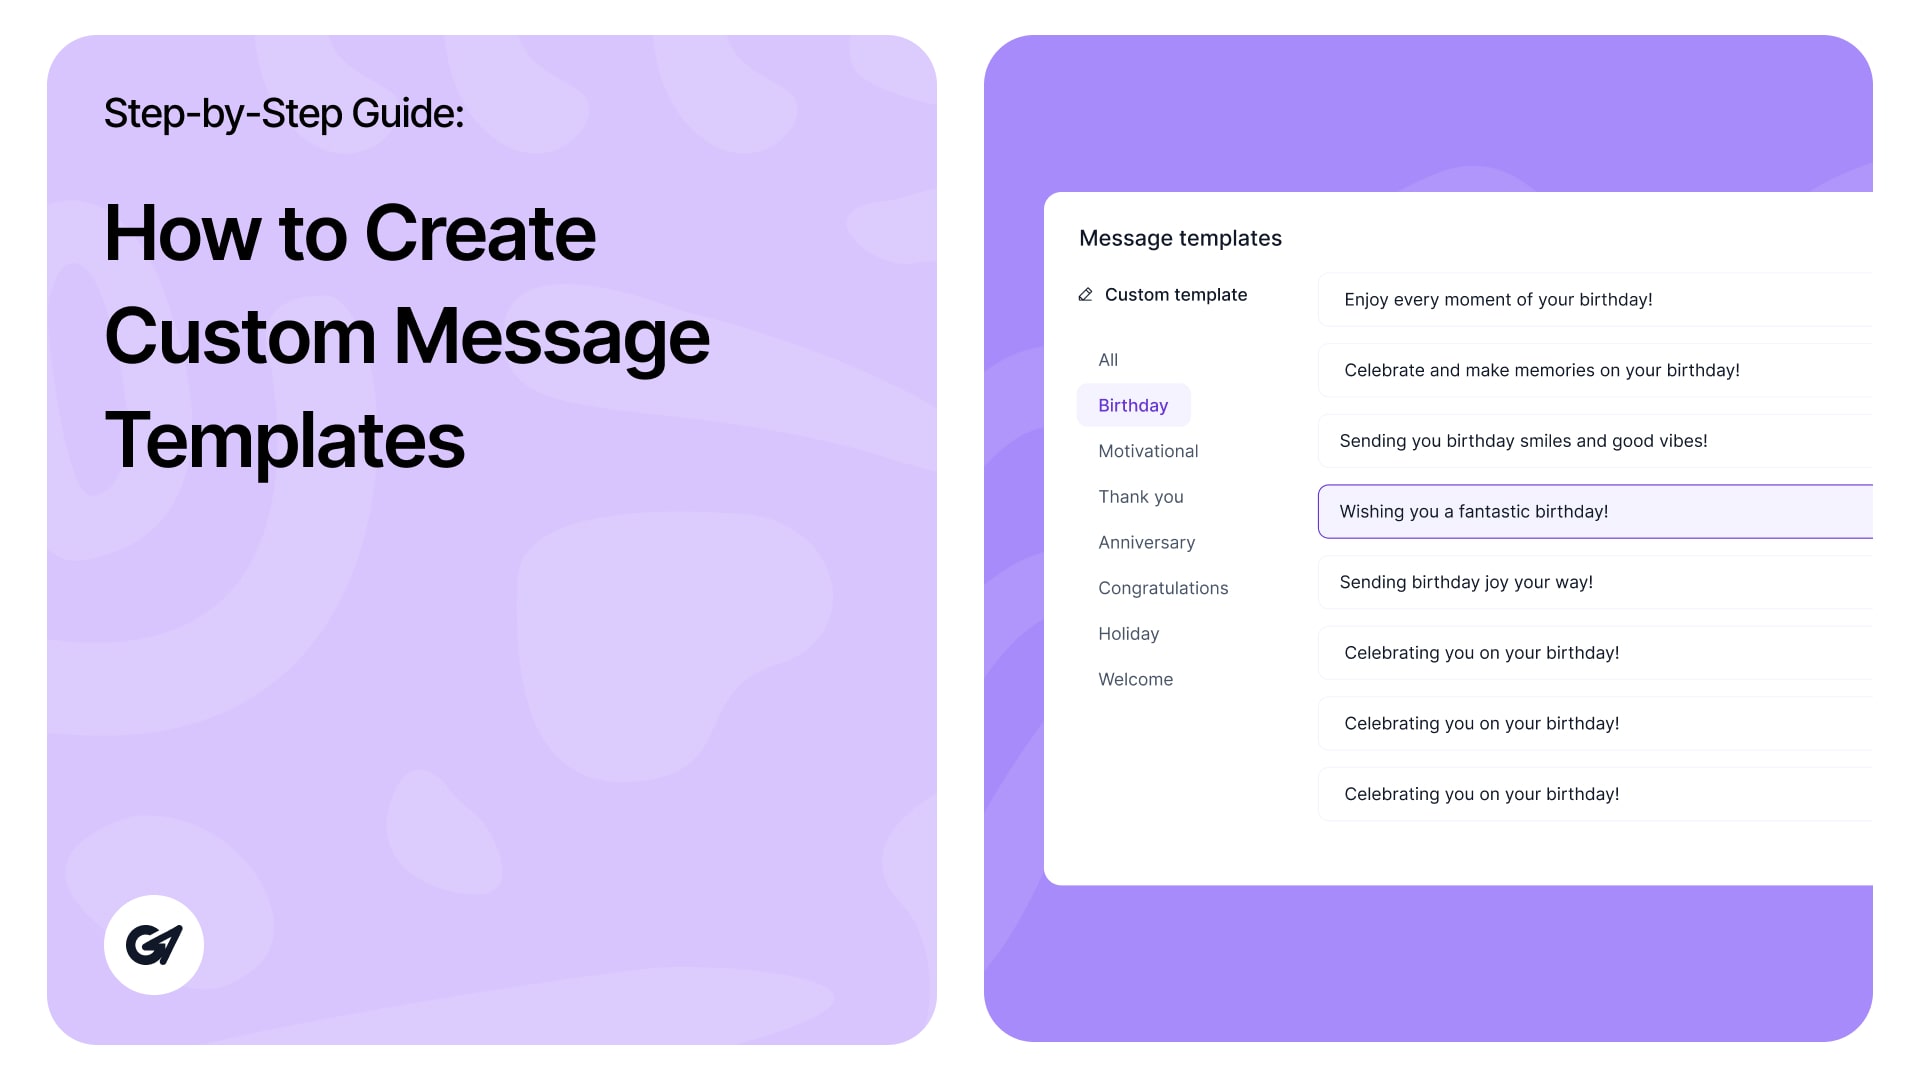
To create a custom reward message template, navigate to the Message Templates section.
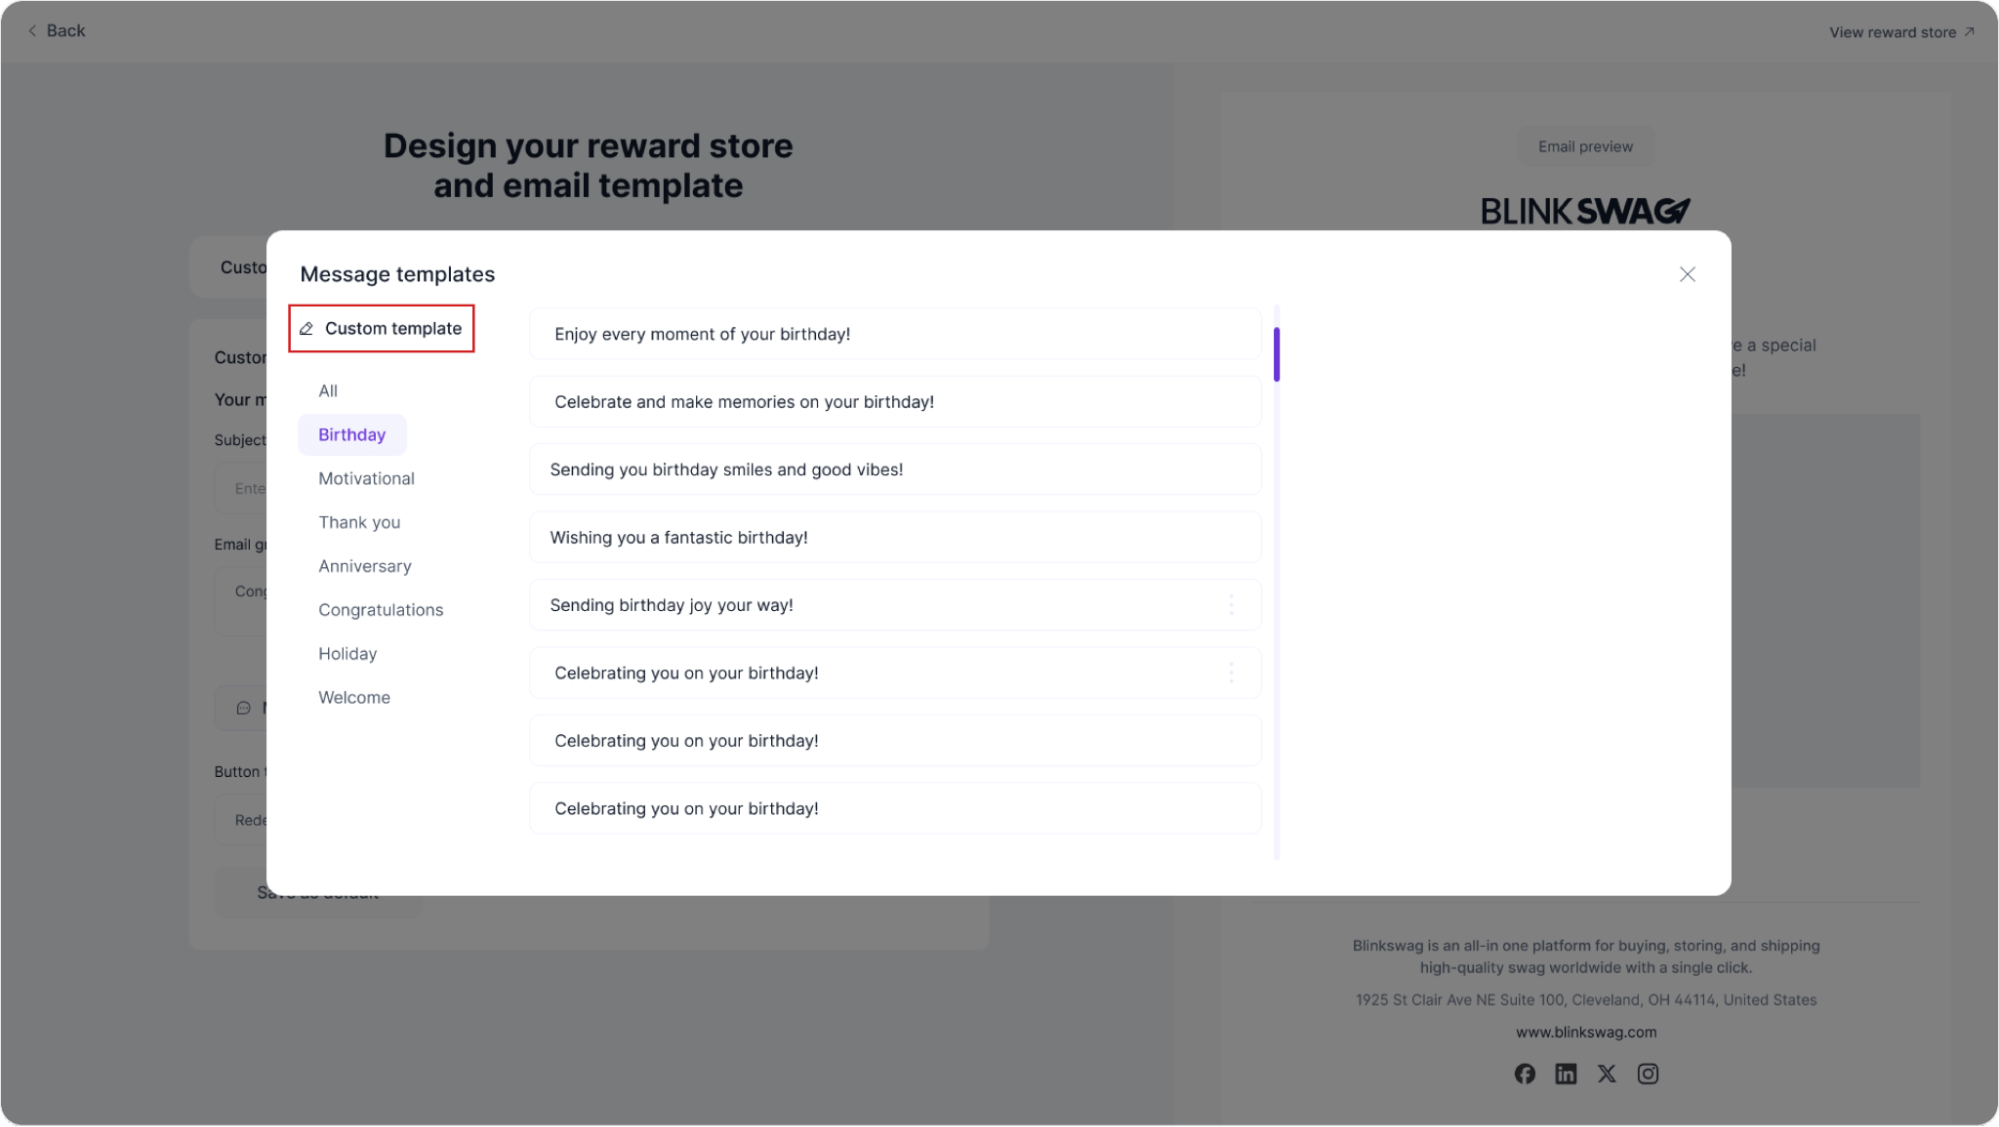
1. Select Custom Template: In the Message Templates window, click on the Custom Template option highlighted in red. This selection allows you to build a unique message that is not part of the standard templates.
2. Choose Template Category (Optional): You may select a category from the left to model your custom message after a particular type (e.g., Birthday, Motivational, Thank You) or leave it as a general template.
This step takes you to a blank template where you can add personalized content and design your message from scratch.
Step 2: Creating a Custom Template
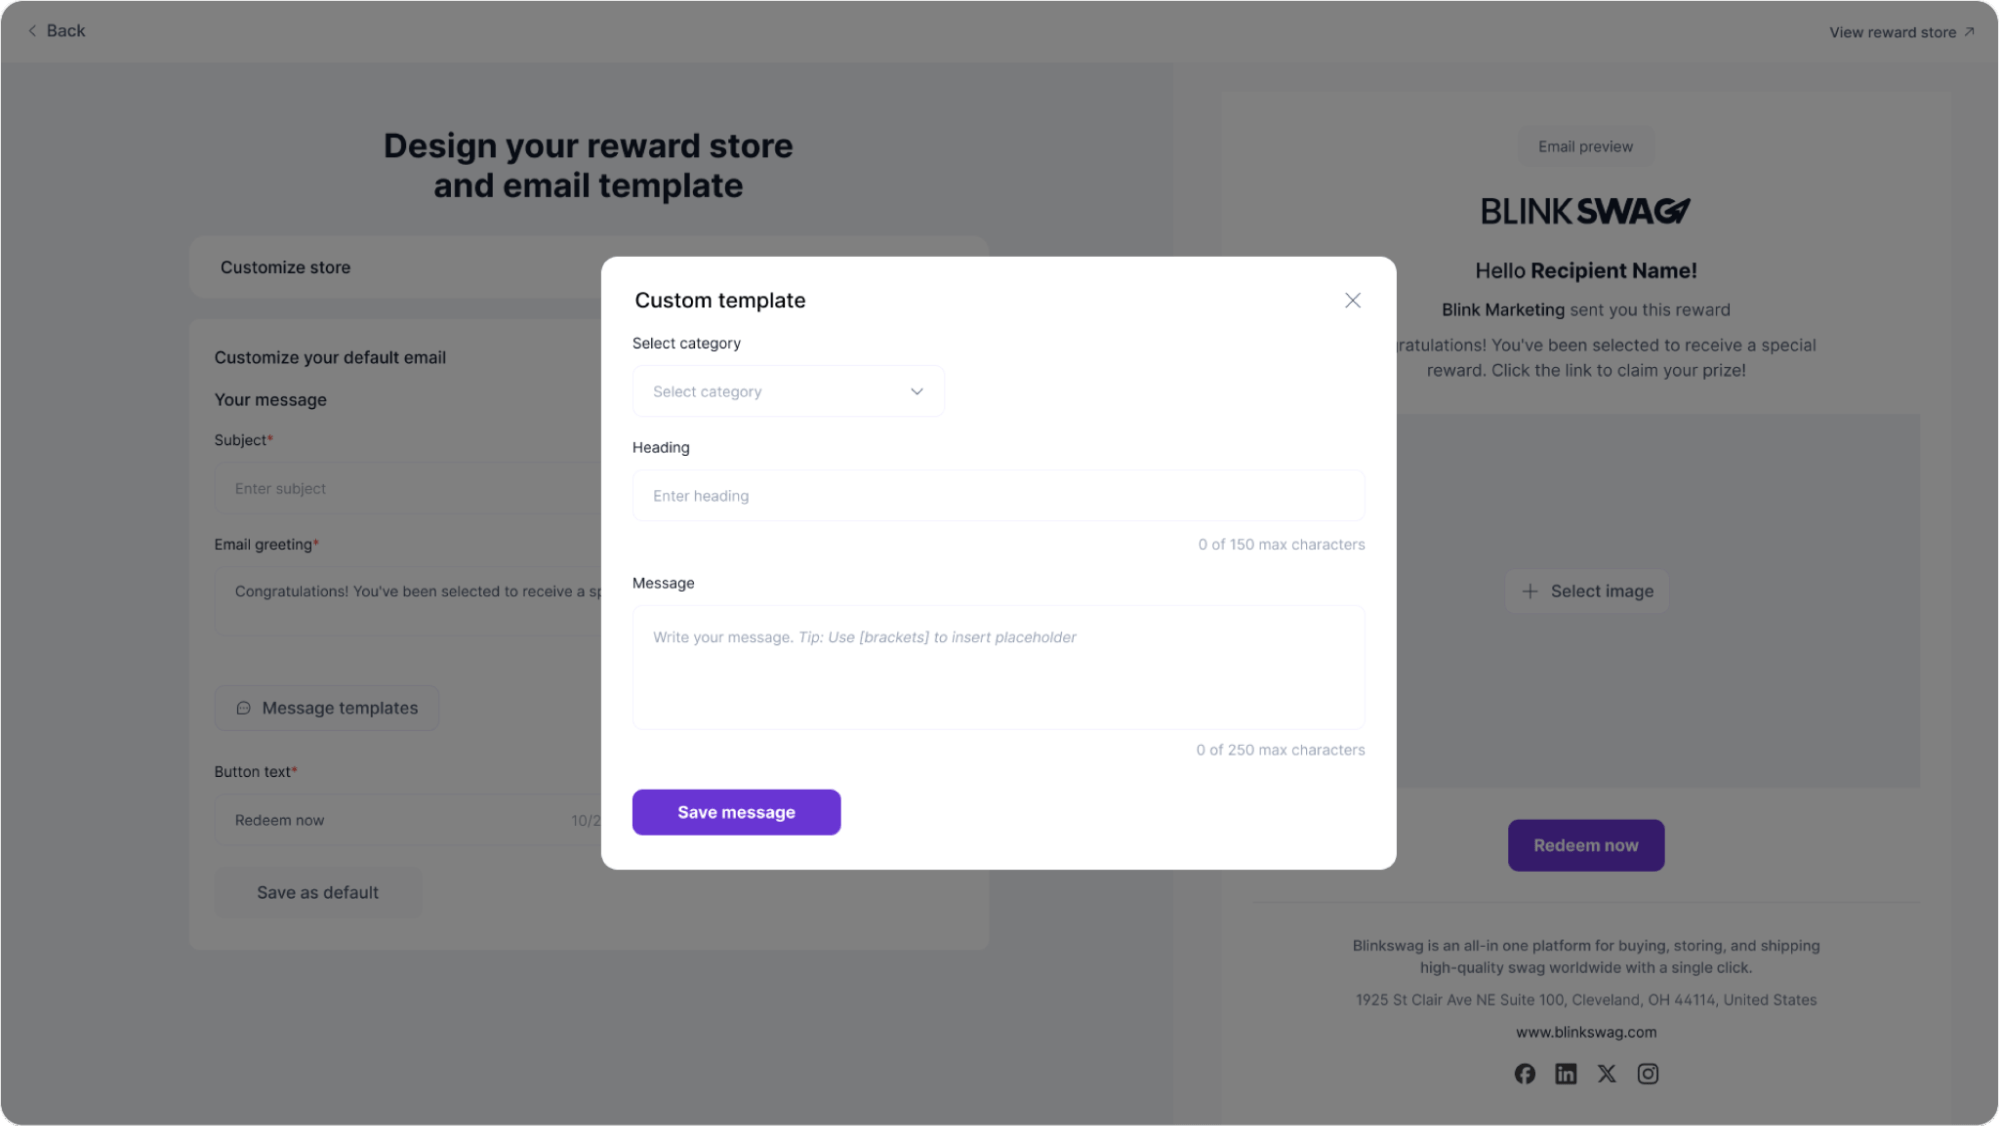
In the Custom Template editor, you can begin crafting your personalized message.
1. Select Category (Optional): Choose a category from the dropdown to classify the template, such as “Birthday” or “Thank You.” This helps organize templates by theme.
2. Enter Heading: Type a short title or greeting for your message in the Heading field. The character limit is 150, so keep it concise and relevant.
3. Compose the Message: Write your main message content in the Message box.
4. Save Message: Once your custom template is complete, click Save Message to add it to your list of templates. It will now be available whenever you want to send this specific message.
This step allows you to create a fully customized message that aligns with your brand’s voice and the intent of your communication.

This is how your message would appear.
Step 3: Edit/Delete Custom Templates
After creating a custom message template, you can edit or delete it from the Message Templates list.
1. Locate Your Template: In the Message Templates window, find your newly created template in the relevant category. Custom templates will display with their heading, making them easy to identify.
2. Edit or Delete Options: Click on the three-dot menu (highlighted in red) next to the template. This opens options to:
- Edit: Modify the existing template‘s heading or message content. Choosing Edit will return you to the custom template editor, where you can adjust.
- Delete: If the template is no longer needed, remove it permanently. A confirmation prompt may appear to confirm the deletion.
3. Select Message: If you wish to use the template without editing, click Select Message to apply it to the email.

This management feature lets you keep your templates updated and relevant, ensuring you always have the appropriate message available for your communications.