Adding Products
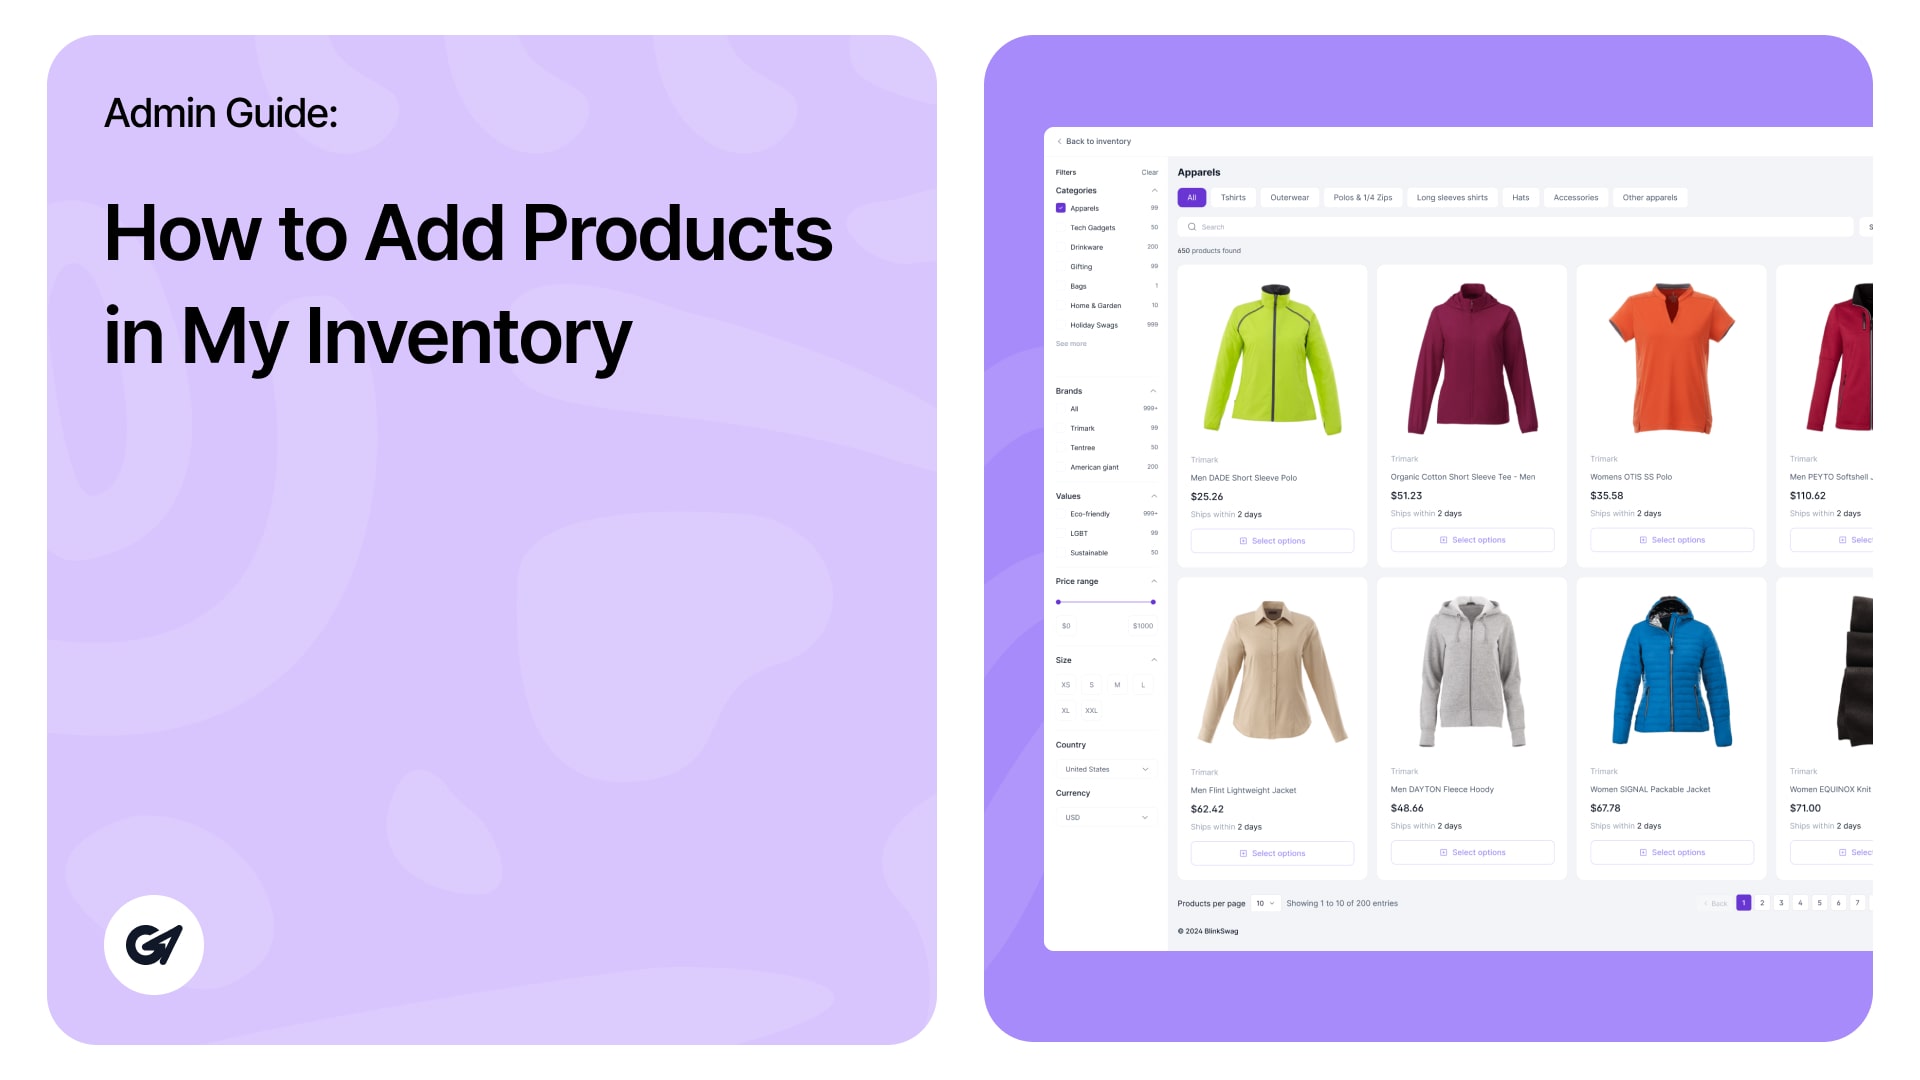
- Click the purple “Add Products” button in the top-right corner.
- This will open a selection interface showing products available under BlinkSwag’s predefined categories.
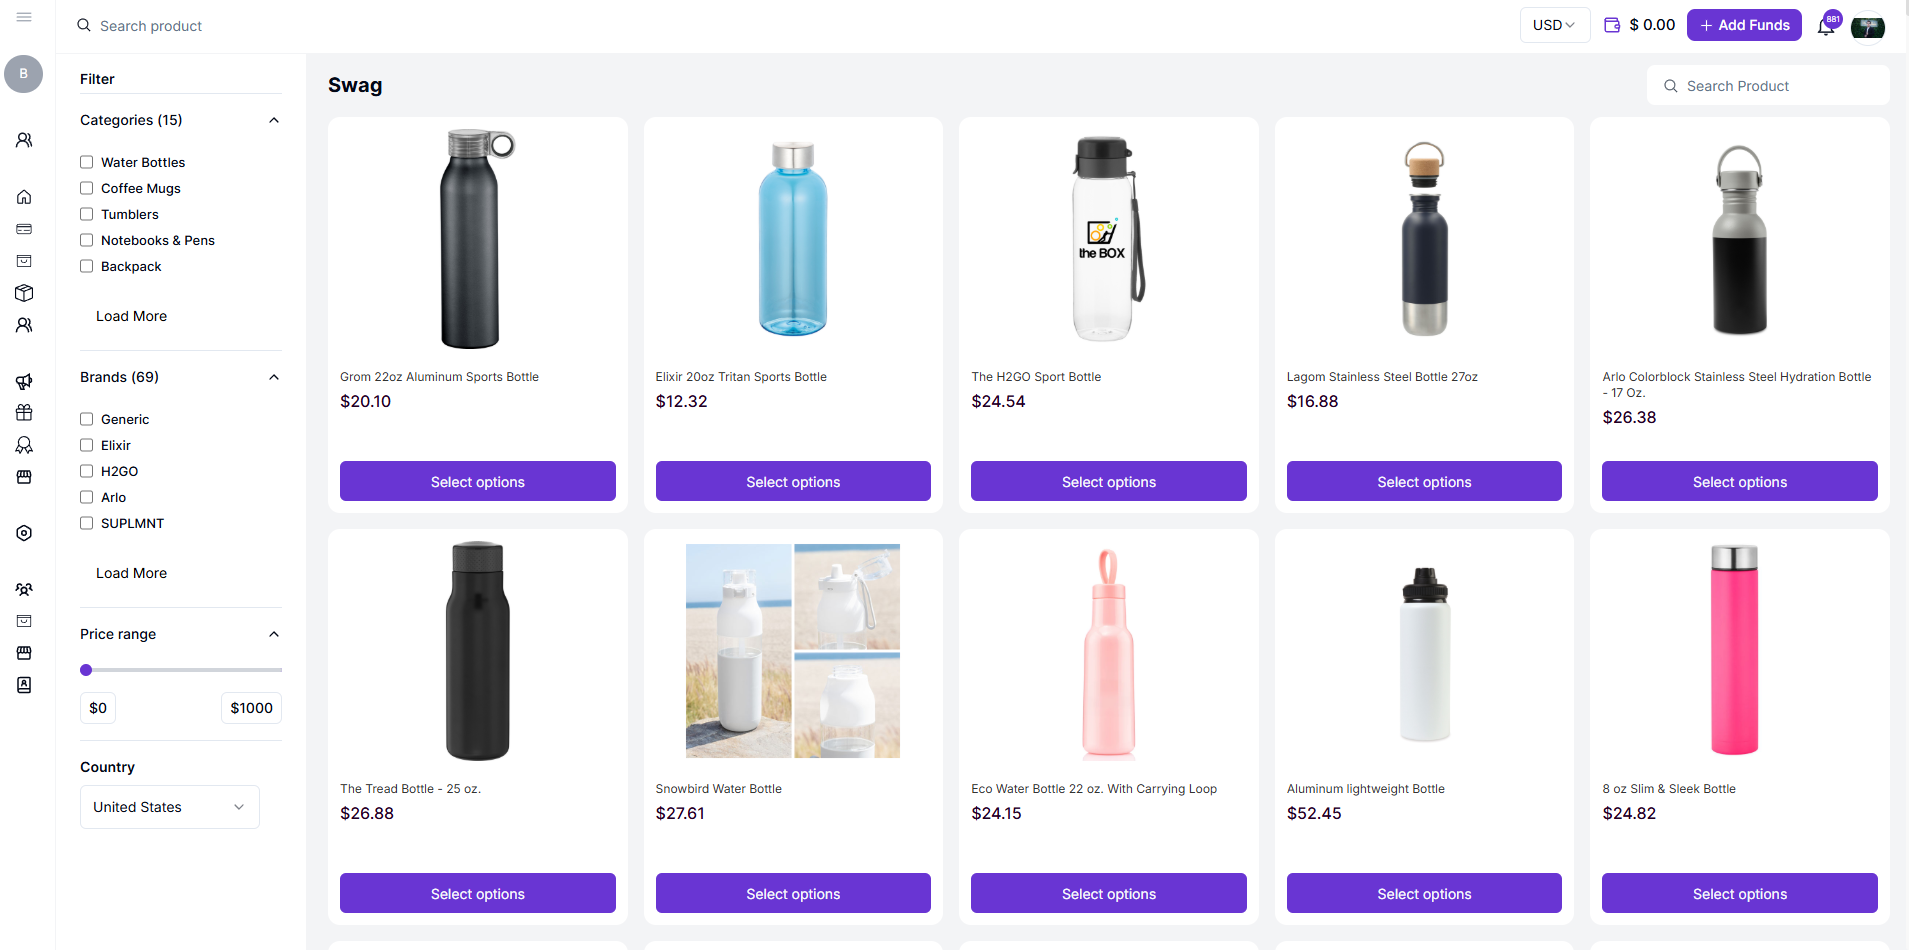
Browse Categories:
- Use the filter on the left-hand side to narrow your search:
- Categories: Choose a category such as Water Bottles, Coffee Mugs, Tumblers, or Backpacks.
- Brands: Filter by specific brands like Generic, Elixir, H2GO, etc.
- Price Range: Adjust the price slider to match your budget.
- Country: Specify the country where the product is available.
Search for Products:
- Use the search bar at the top to find specific products quickly by name or description.
Select a Product:
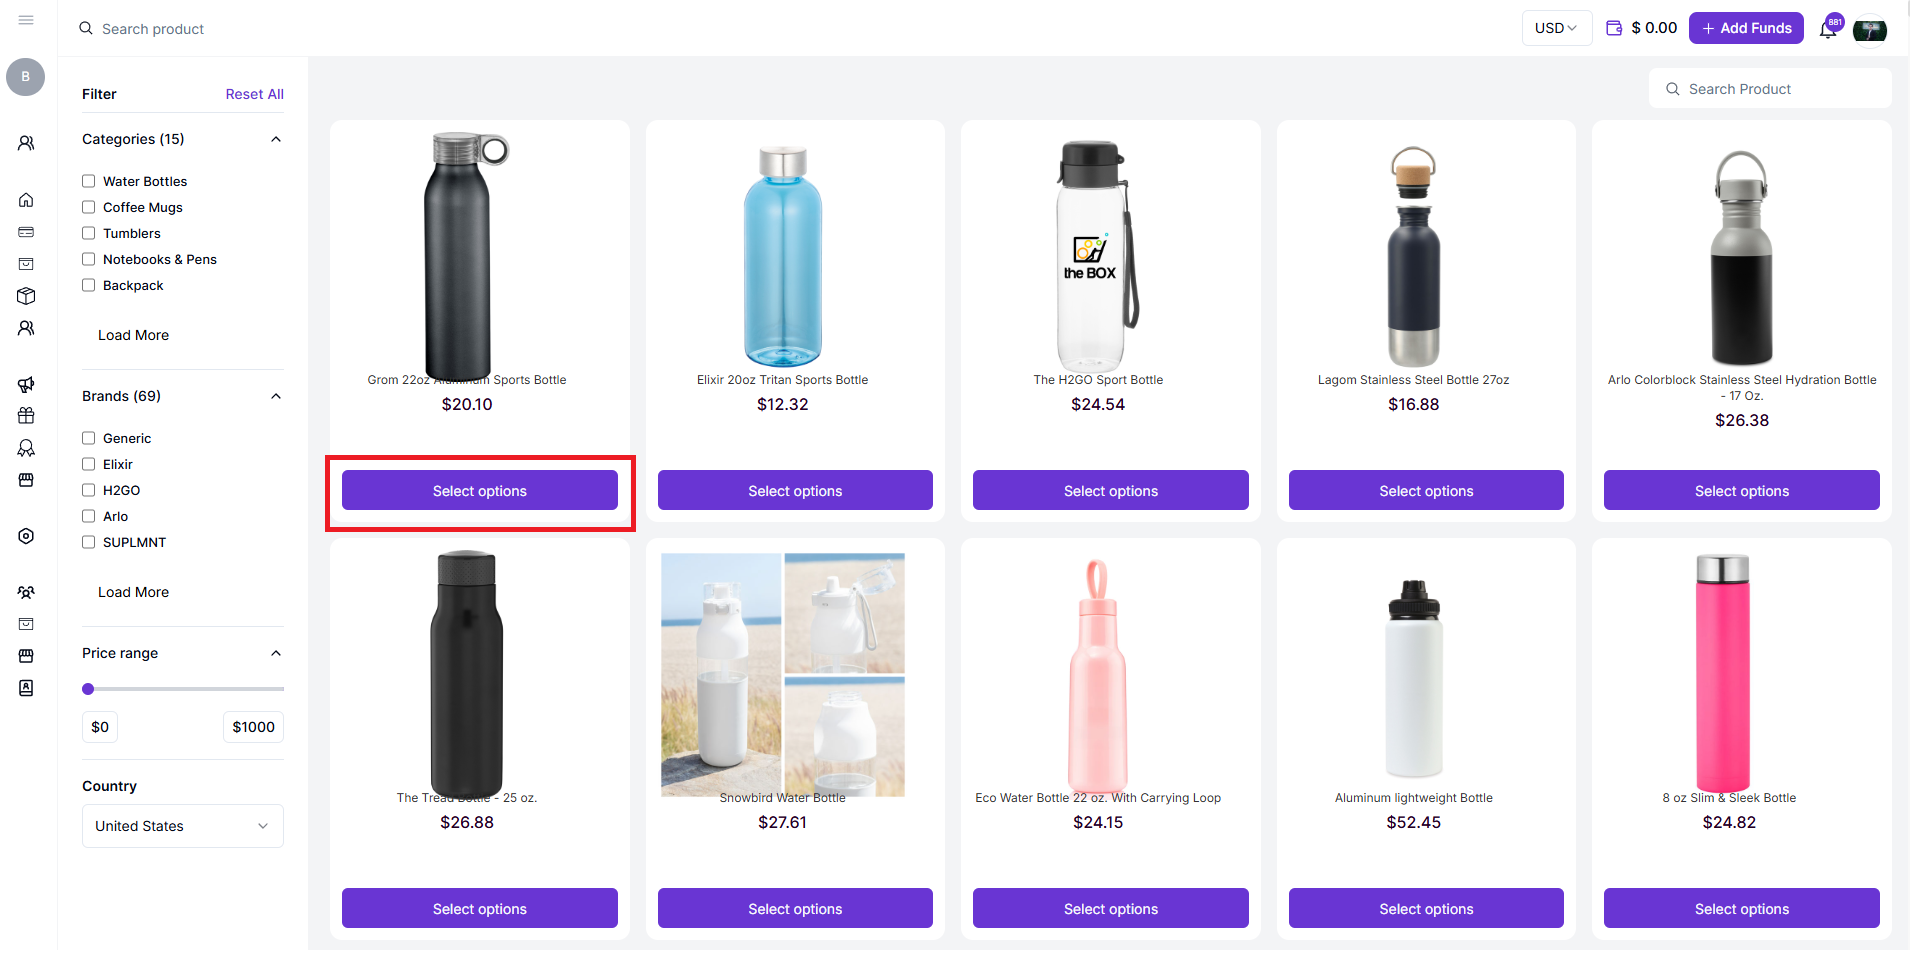
- Browse the displayed items and click “Select Options” under the product you want to add.
- Example Products:
- Grom 22oz Aluminum Sports Bottle – $20.10
- Elixir 20oz Tritan Sports Bottle – $12.32
- The H2GO Sport Bottle – $24.54
Customize the Product (if applicable):
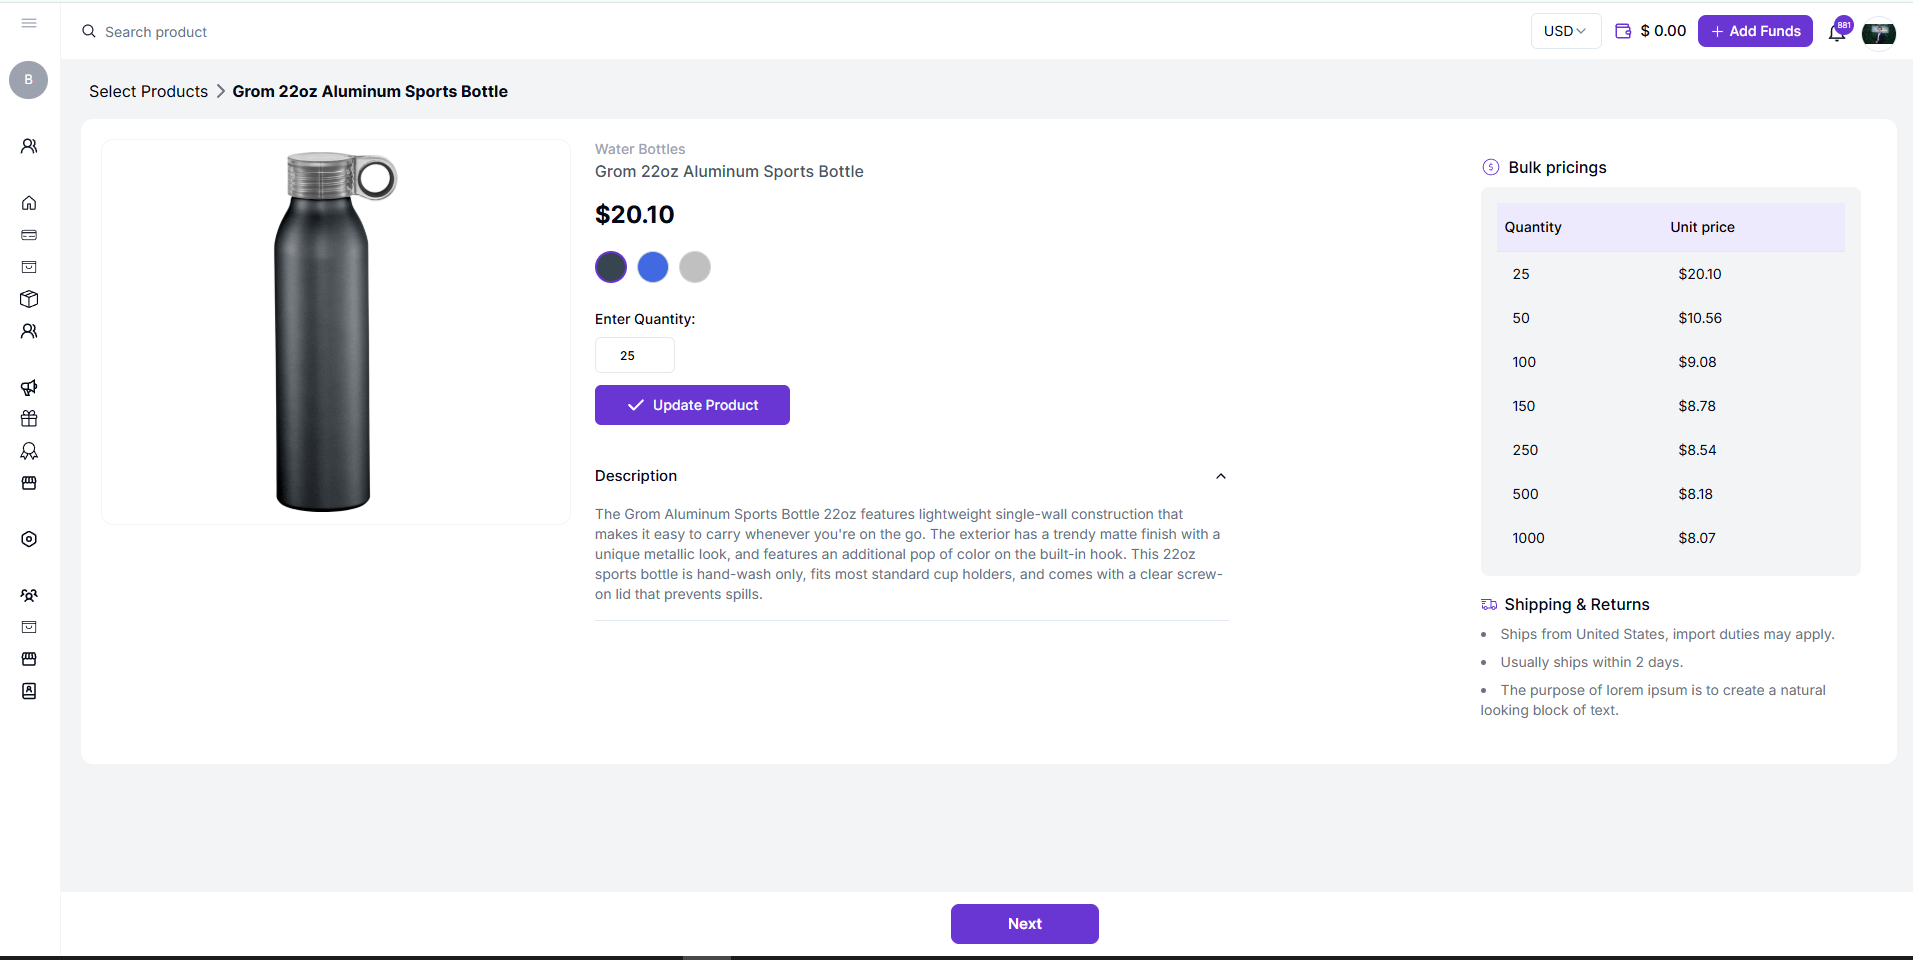
- Depending on the product, you may be able to customize details such as:
- Color
- Size
- Logo or branding options (optional based on product type) and press “Next Button”
Review Added Products:
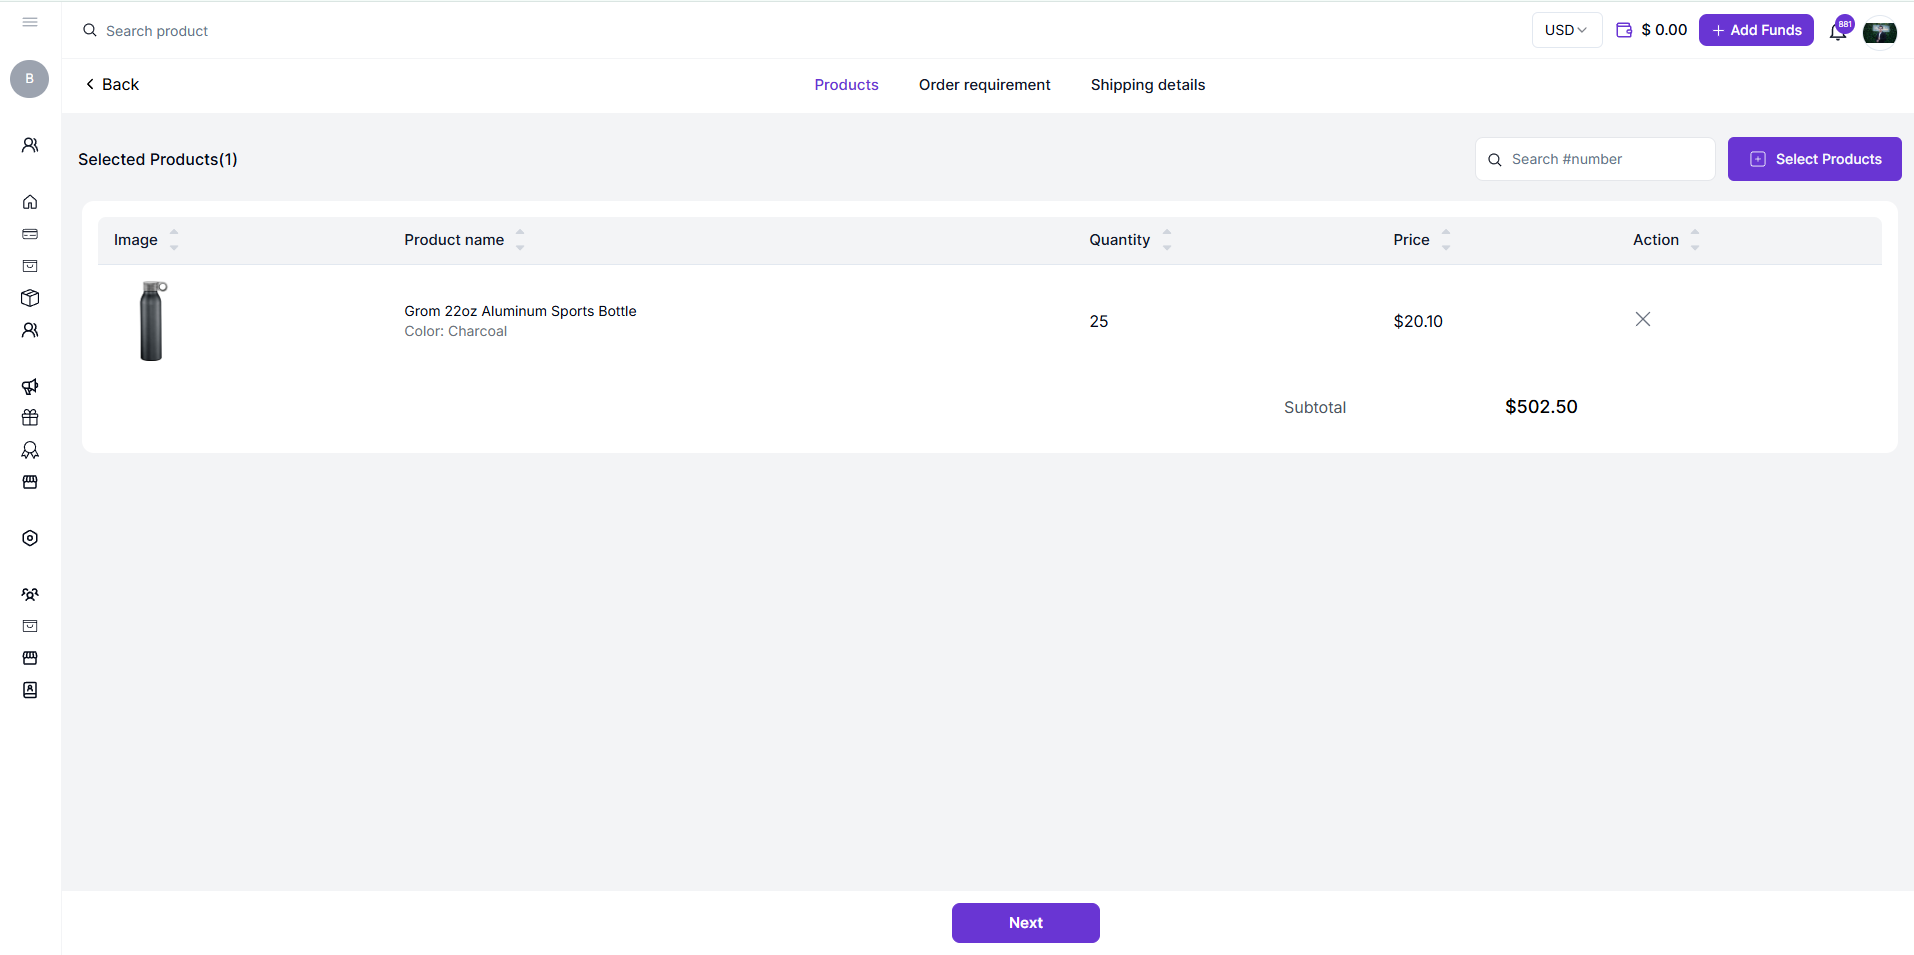
- View Selected Products:
- You’ll be redirected to this screen after selecting products and customizing options (e.g., quantity, color, or size).
- The screen summarizes all the items you’ve selected for your inventory or order.
- Product Details Displayed:
- Image: A visual thumbnail of each product.
- Product Name: The name of the product.
- Example: “Grom 22oz Aluminum Sports Bottle” or “TravisMathew Coto Performance 1/4-Zip.”
- Additional Options:
- Color: Displays the chosen color (e.g., Charcoal, Black).
- Size: If applicable, display the size (e.g., XS for apparel).
- Quantity: Shows the number of units you’ve added.
- Price: The unit price of the product.
- Action Buttons:
- Remove Products:
- Each product has an “X” button under the Action column.
- Click it to remove the item from your selection if needed.
- Select More Products:
- Use the Select Products button on the right to add products to your list.
- Remove Products:
- Subtotal Calculation:
- At the bottom, you’ll see the subtotal of all selected items based on quantity and unit price.
- Example: $3241.50 for the selected items.
- At the bottom, you’ll see the subtotal of all selected items based on quantity and unit price.
- Proceed to the Next Step:
- Click the Next button at the bottom of the screen to move to the next phase of the process, such as setting order requirements or entering shipping details.
Additional Tips
- Modify Quantities:
- If you need to adjust quantities, return to the product customization page by clicking the “Back” button or removing the item and re-adding it with updated values.
- Bulk Pricing:
- Ensure the quantity reflects any applicable bulk discounts shown earlier in the product details.
- Order Requirements and Shipping:
- After finalizing products, the next step will likely involve specifying requirements for the order and entering shipping details.
Access the Logo Upload Screen:
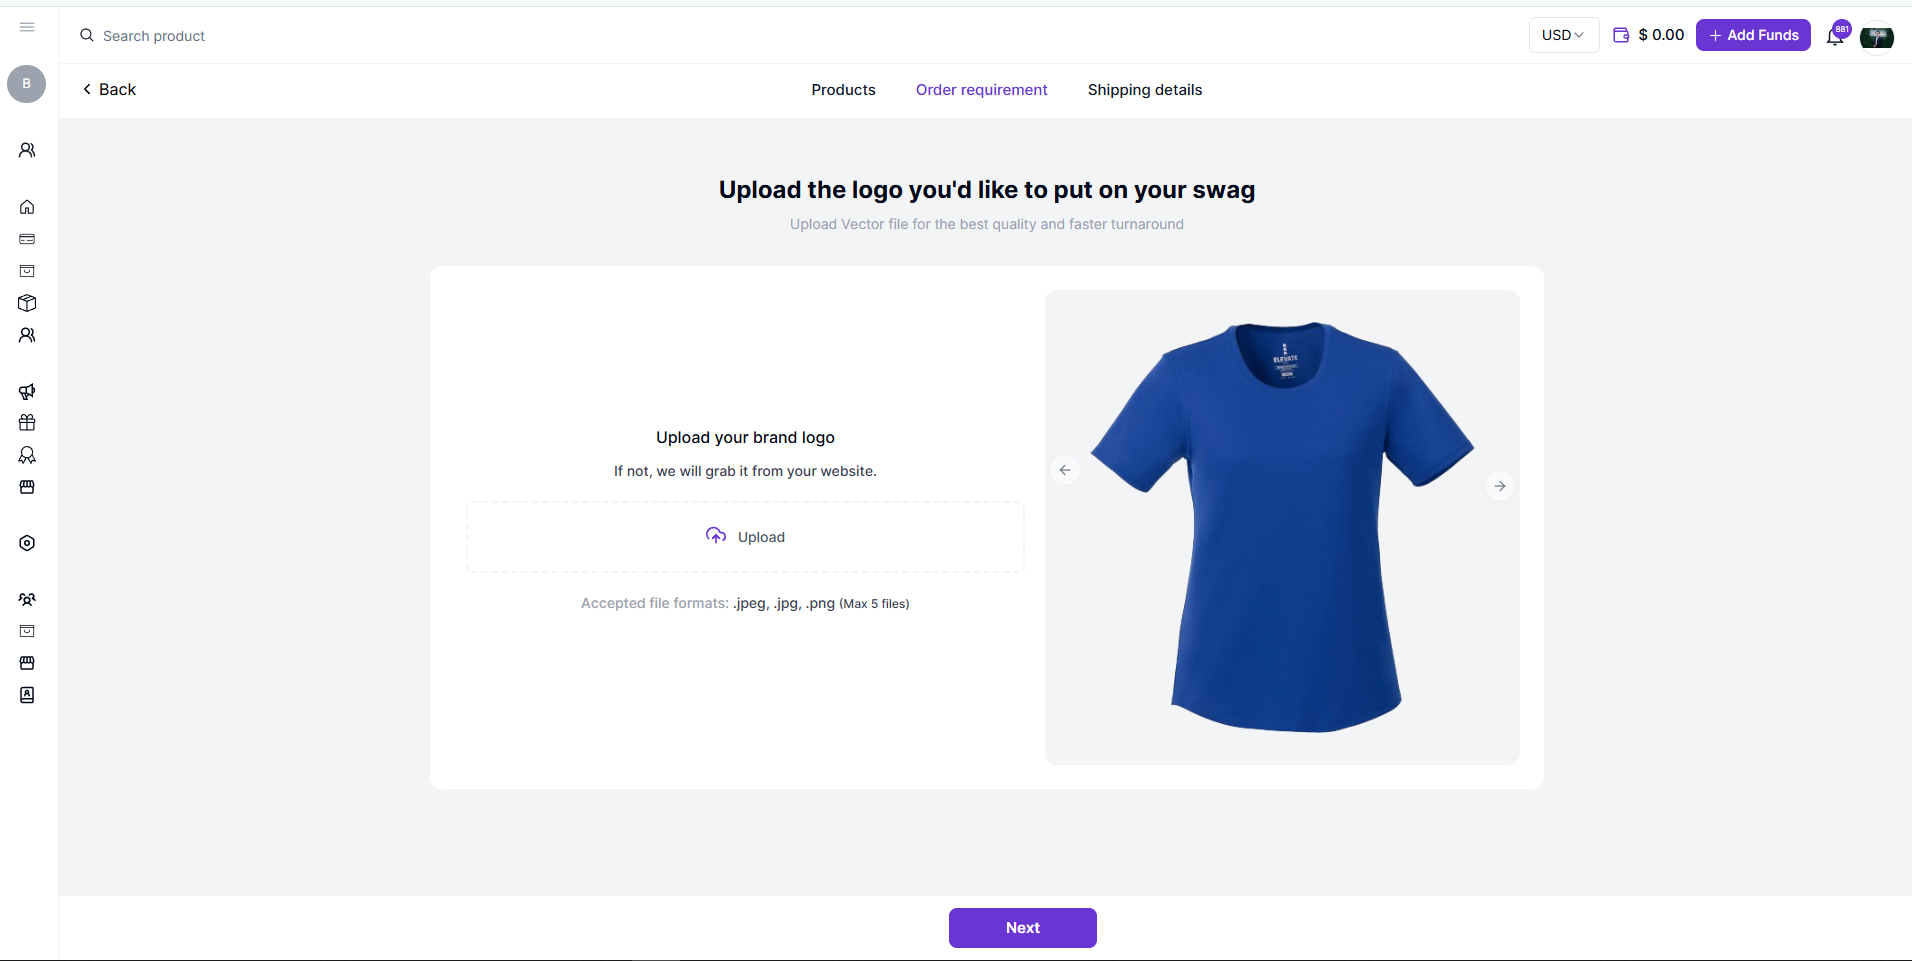
- After selecting products and finalizing quantities, you are directed to the Order Requirement step.
- This screen lets you upload your logo or branding design to customize the product.
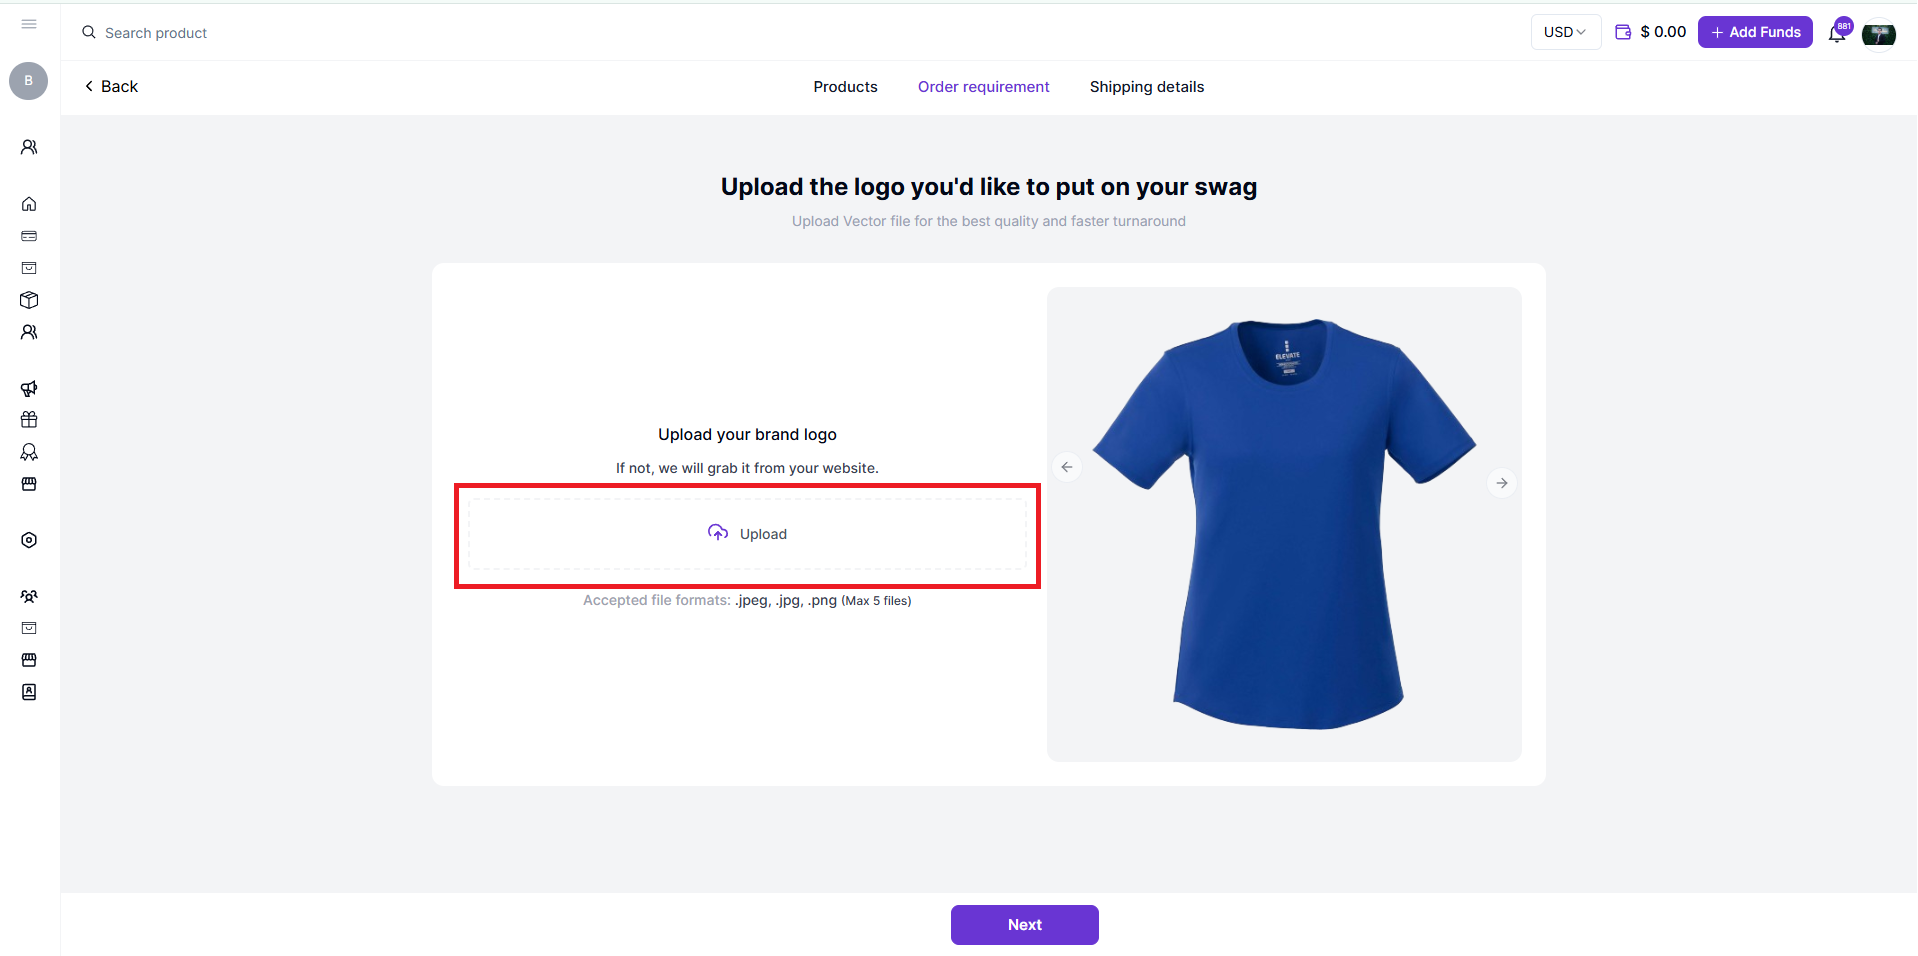
Upload Your Brand Logo:
- Locate the Upload your brand logo section on the left-hand side.
- Click the Upload button to upload your logo files.
File Format Requirements:
- Ensure your logo files meet the following format specifications:
- Accepted formats: .jpeg, .jpg, .png
- A maximum of 5 files can be uploaded.
- Use a high-resolution image or vector file (if applicable) for best results.
Preview the Product:
- On the right-hand side, you’ll see a preview of the product with your branding applied.
- Use the arrows to toggle through different angles or colors of the product.
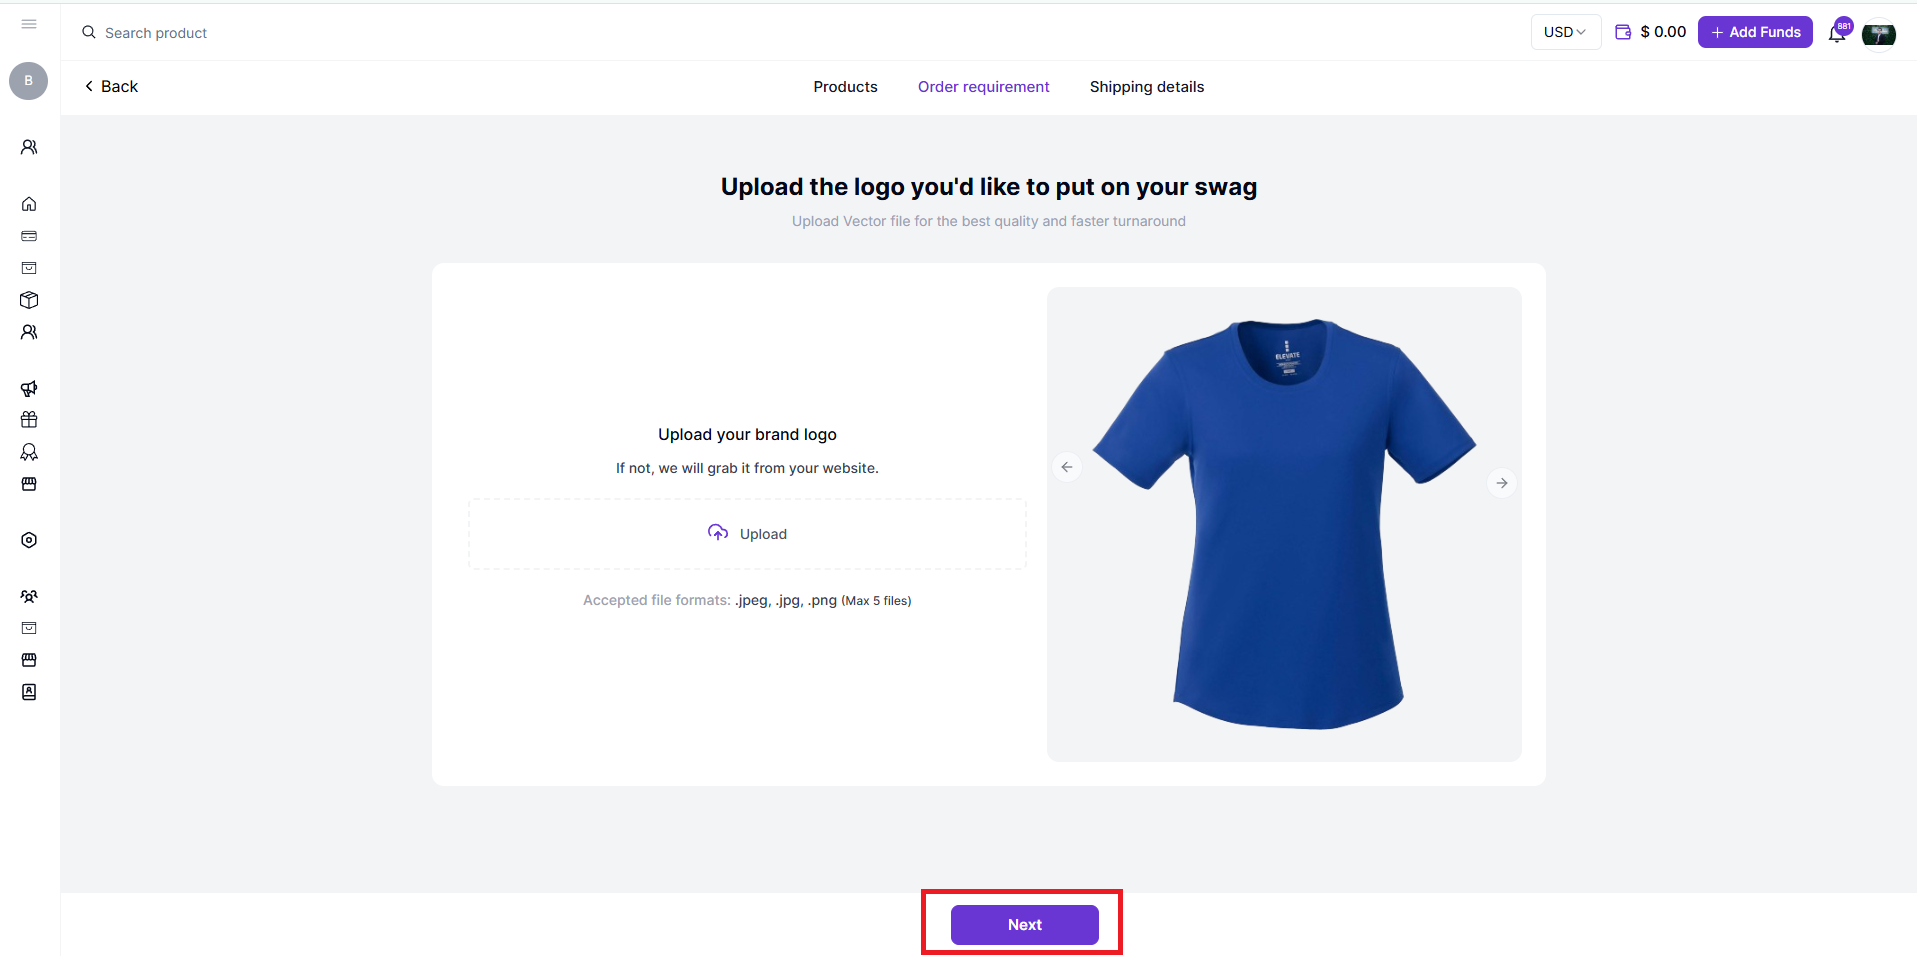
Next Steps:
- Once you’ve uploaded your logo and are satisfied with the preview, click the Next button at the bottom to proceed to the next step, which is likely shipping or final order details.
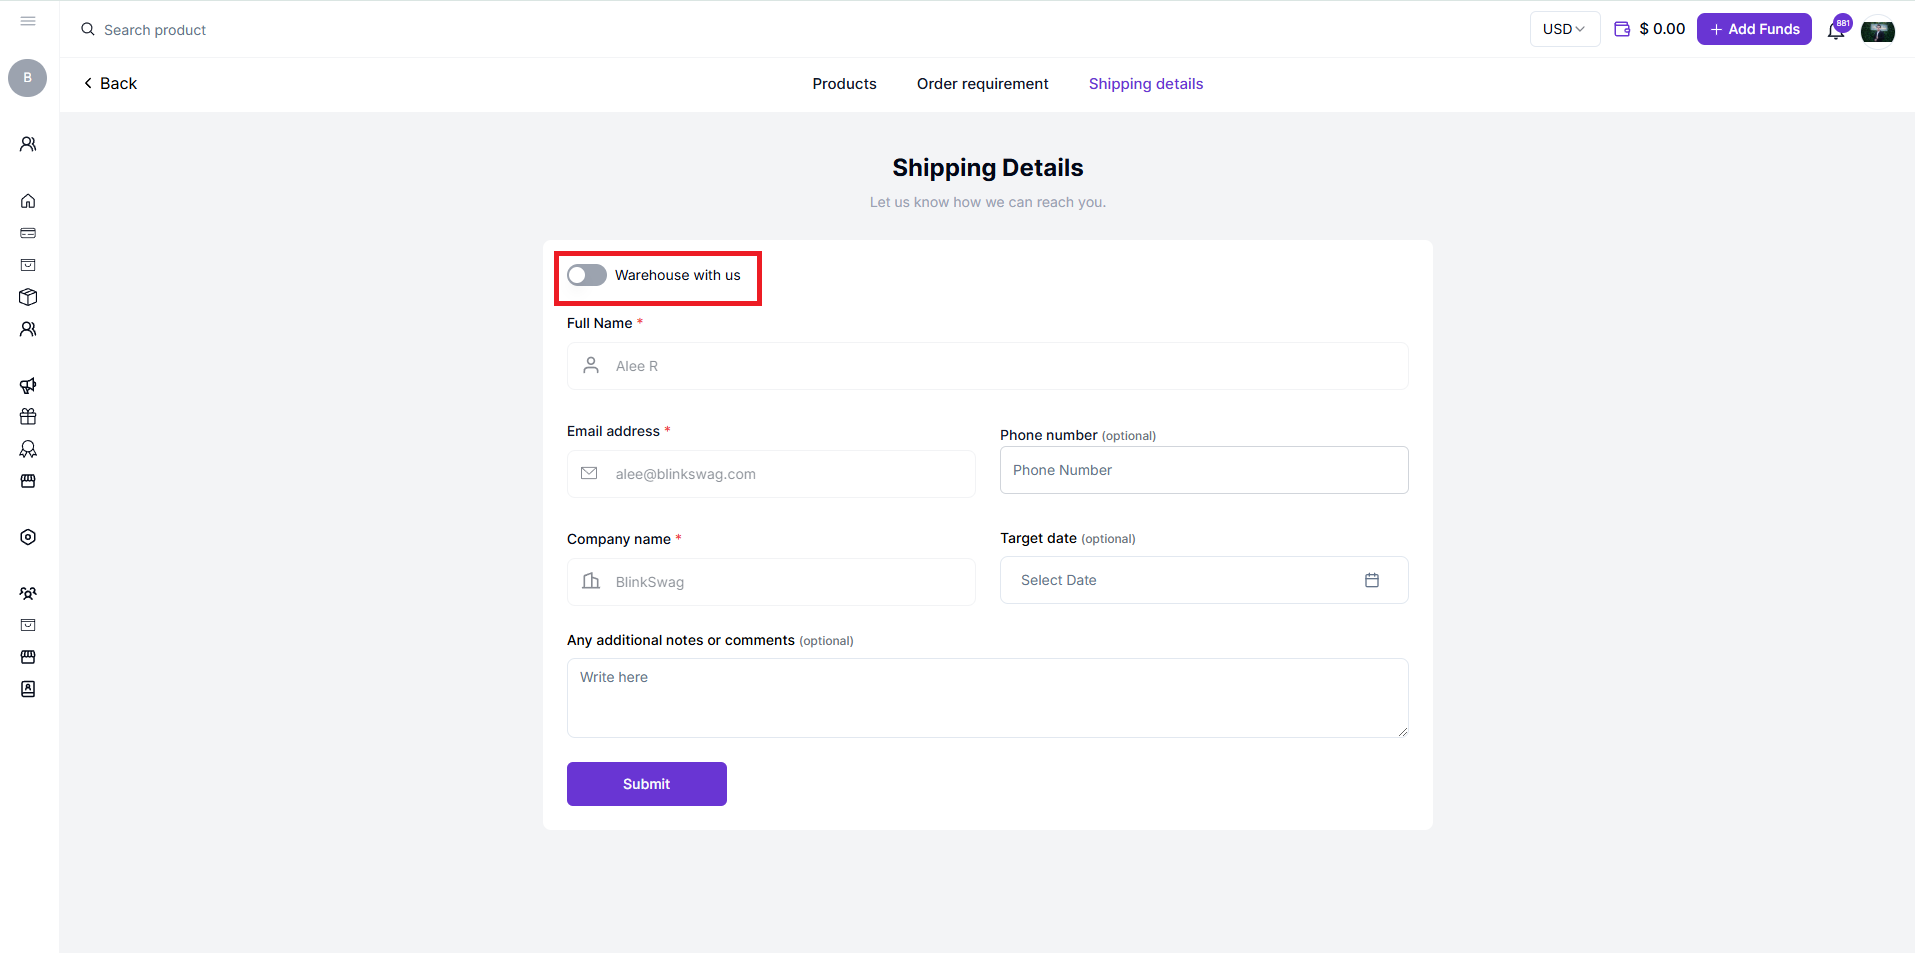
Warehouse with Us (Optional):
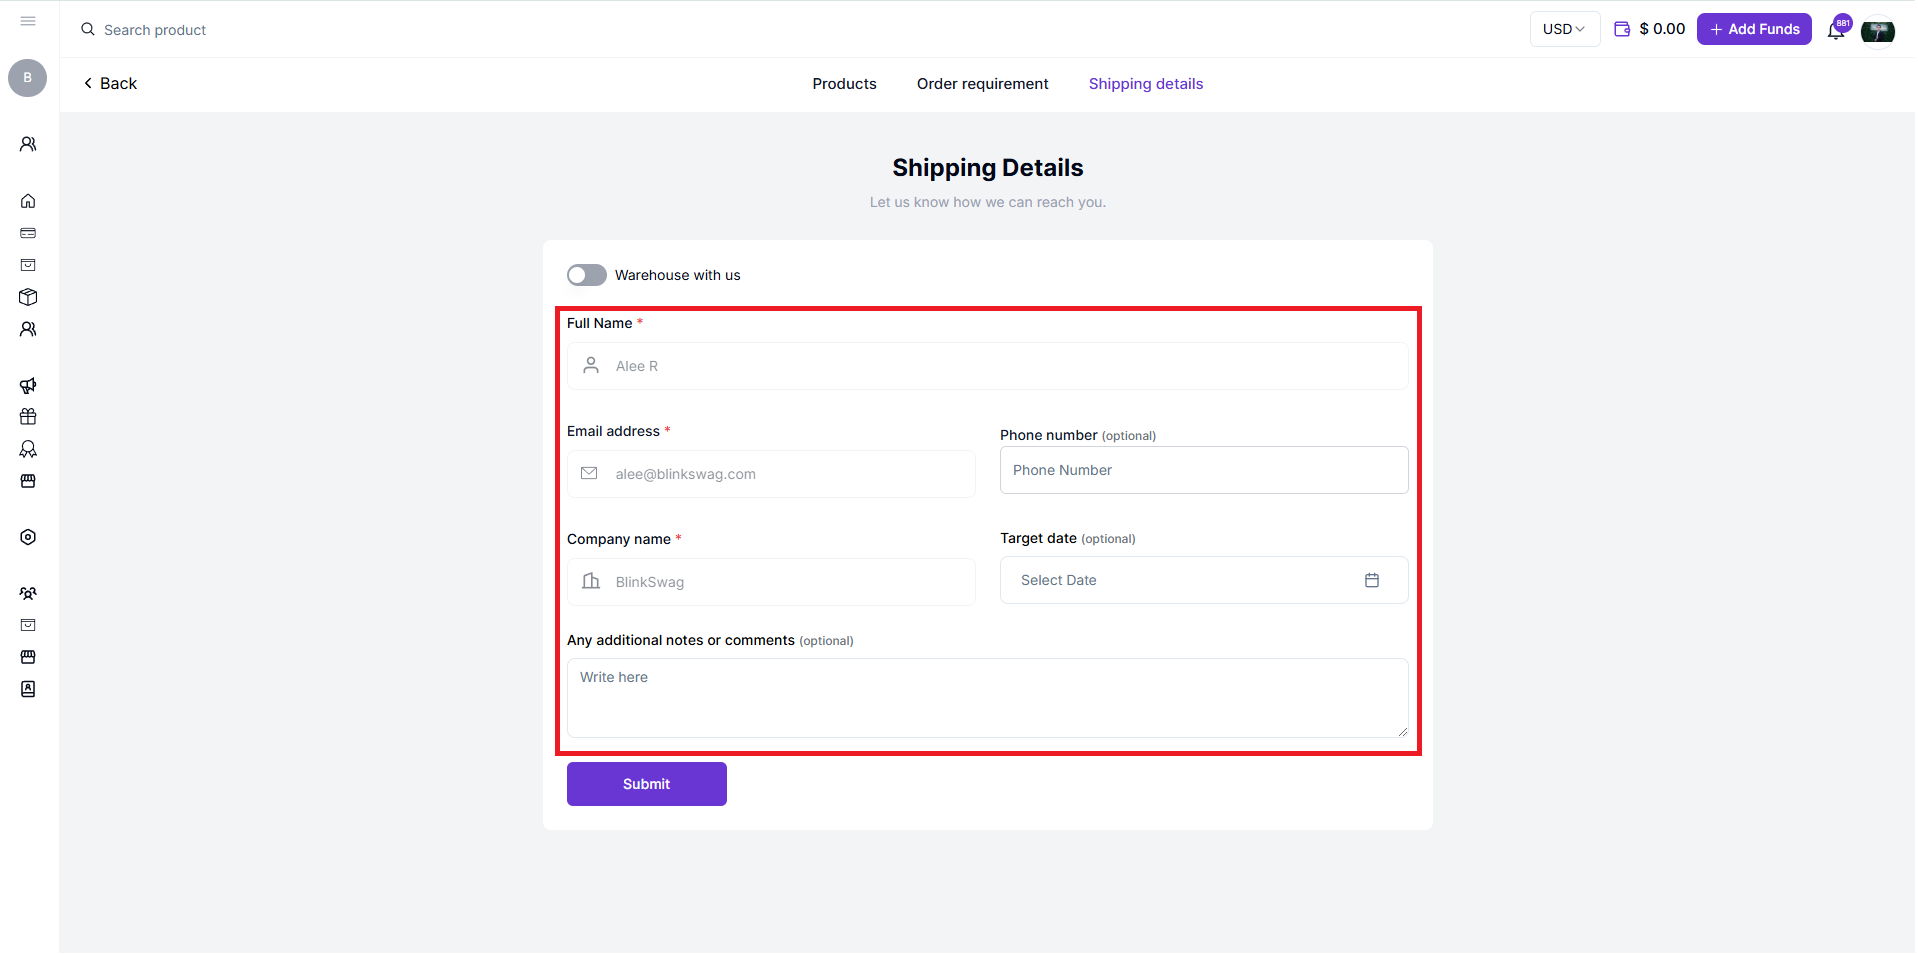
- At the top of the form, you’ll see a toggle option for “Warehouse with us.”
- Toggle this ON if you want BlinkSwag to store the products for you in their warehouse.
- Toggle OFF if the products will be shipped directly to you or your specified address.
Provide Contact Information:
- Full Name: Enter your full name to identify the contact person for the order.
- Email Address: Provide an email address for communication or updates about your order. (This field is mandatory.)
- Phone Number (Optional): Add a phone number for urgent inquiries or issues.
Specify Company Information:
- Company Name: Enter the name of your organization or company.
- This helps BlinkSwag associate the order with your business.
Set a Target Date (Optional):
- Use the Target Date field to specify the desired delivery date for your order.
- Click on the calendar icon to select the date.
Add Notes or Comments (Optional):
- Use the Any additional notes or comments box to provide specific instructions or details, such as:
- Delivery preferences
- Additional recipient information
- Special handling requirements
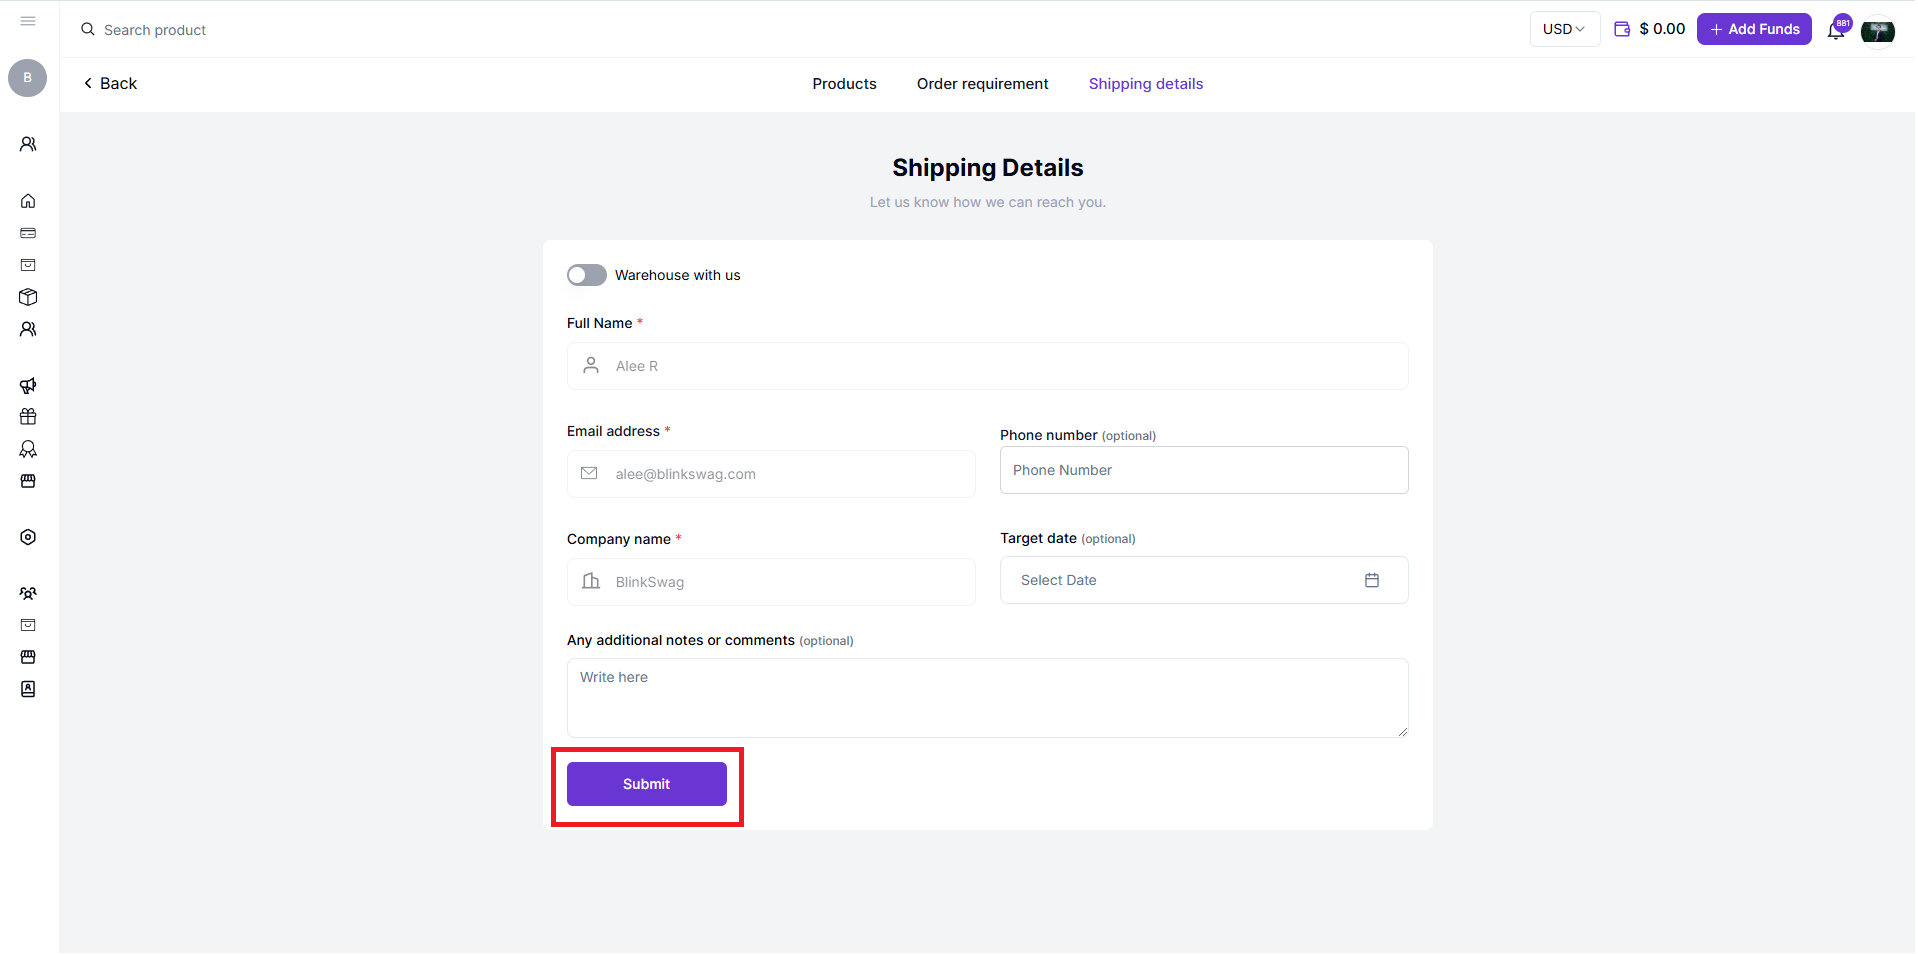
Submit the Form:
- Once all the required fields are filled in, click the Submit button at the bottom of the page to complete the shipping details step.
Final Step: Request Processing Confirmation in BlinkSwag
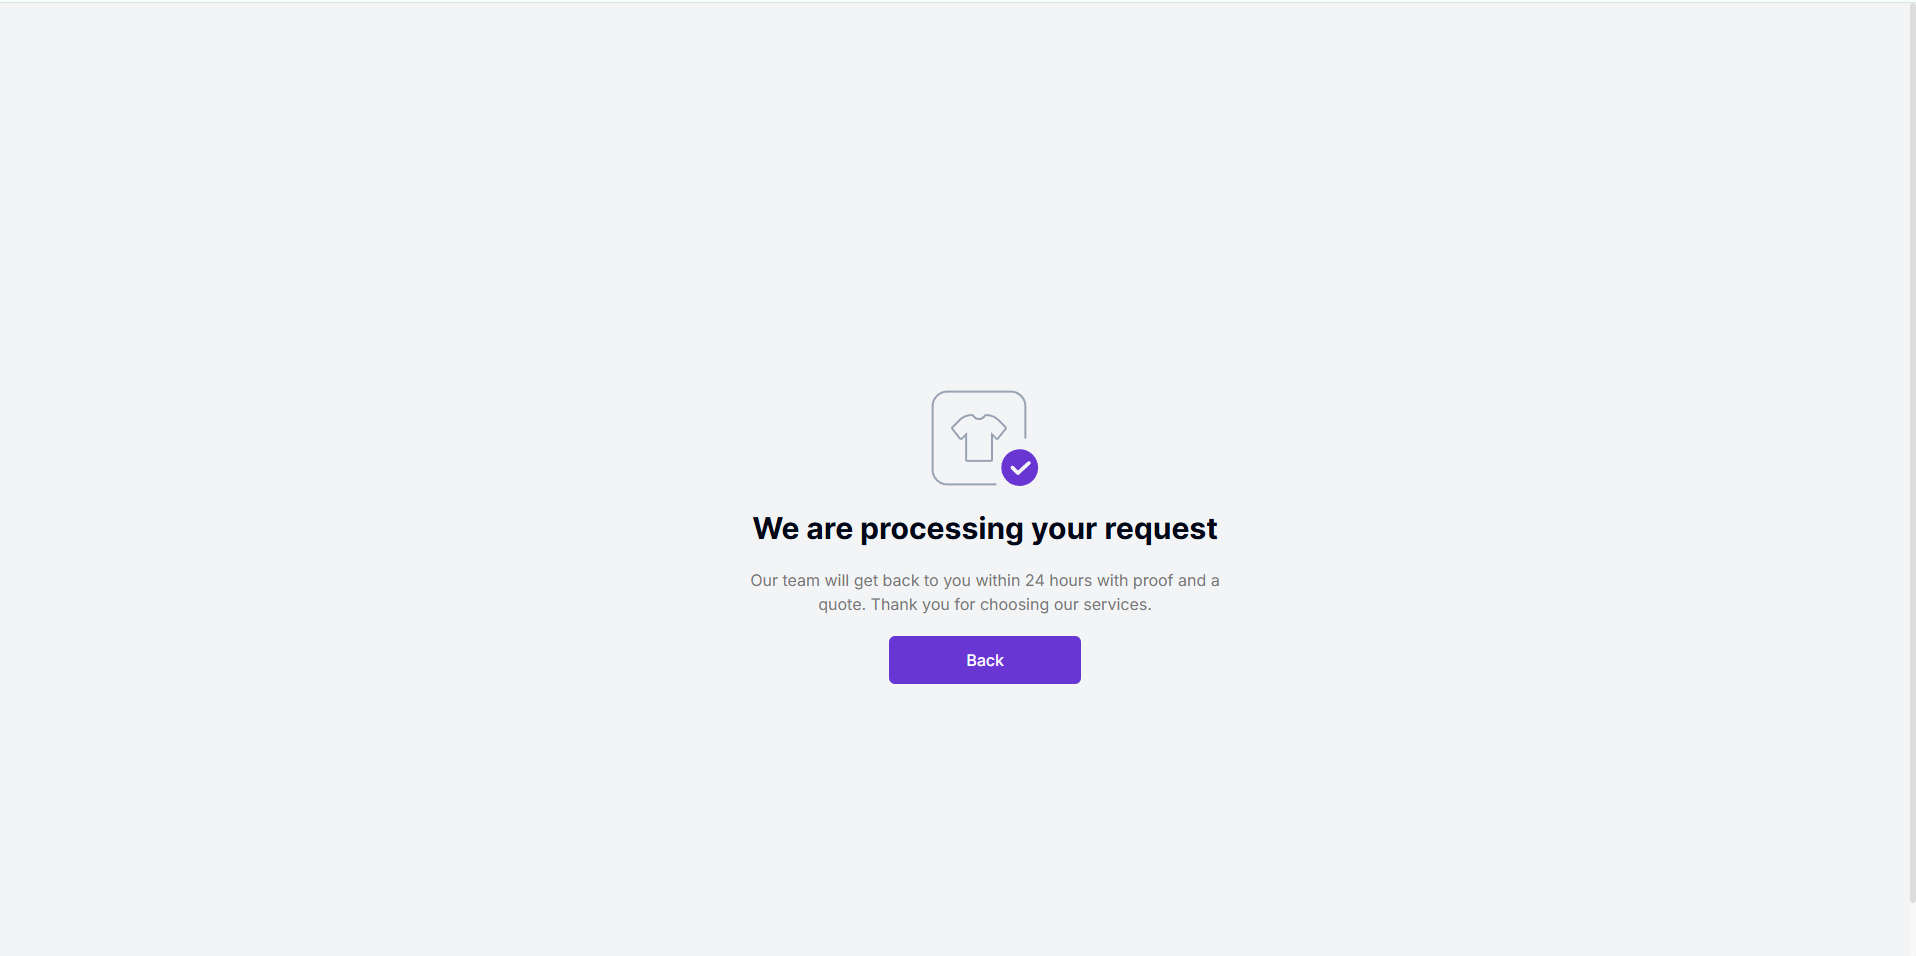
You’ll see the Processing Request screen once you’ve completed all previous steps, including product selection, customization, and shipping details. This step confirms that your request has been submitted and is being processed by BlinkSwag.
What Happens Next?
1. Processing Status:
- The message on the screen states:
“We are processing your request.” - This indicates that your order or request is now in BlinkSwag’s hands for further processing.
2. Response Timeline:
- BlinkSwag’s team will get back to you within 24 hours.
- They will provide:
- A proof of your order (e.g., mockups or design confirmation).
- A quote for the requested products and services.
3. Confirmation Details:
- You do not need to take any further action at this point.
- You will receive an update via the email address provided in the shipping details.
4. Navigation Option:
- The Back button on the screen allows you to navigate back to review the previous steps or make adjustments if necessary.
